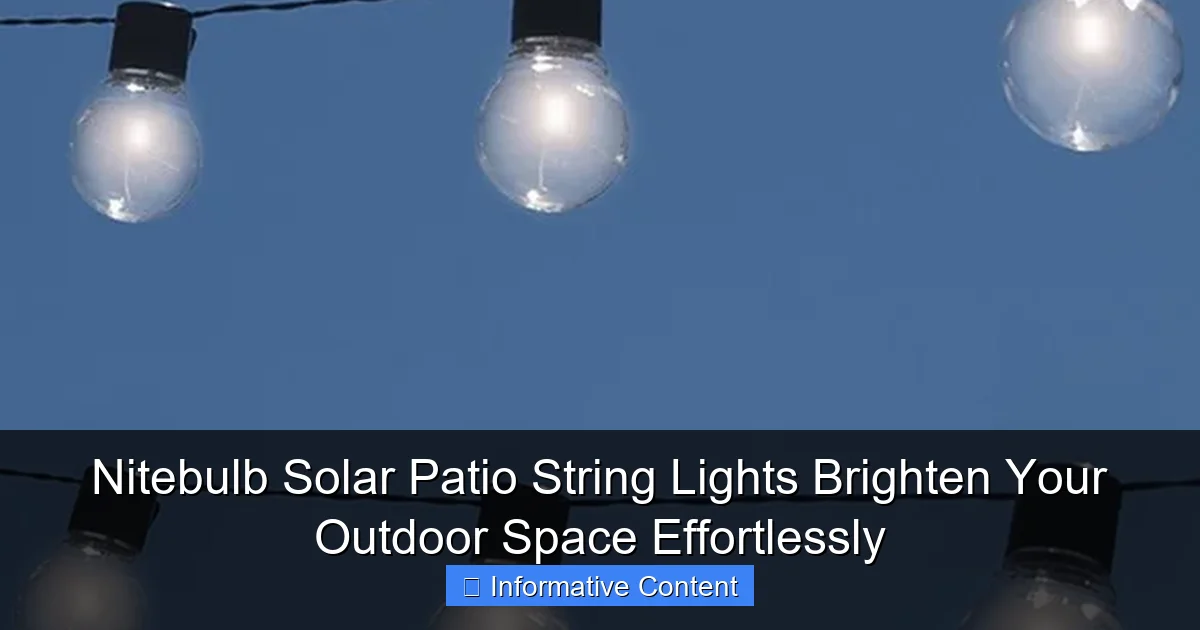
Featured image for nitebulb solar patio string lights
Image source: d3gqasl9vmjfd8.cloudfront.net
Nitebulb Solar Patio String Lights deliver effortless, eco-friendly ambiance with automatic dusk-to-dawn illumination—no wiring or electricity required. Weather-resistant and energy-efficient, these bright, warm-white LEDs enhance any outdoor space, from patios to pergolas, with a simple solar-powered design that installs in minutes.
Key Takeaways
- Solar-powered efficiency: Harness sunlight for automatic, energy-free illumination at dusk.
- Weather-resistant design: IP65 rating ensures durability in rain, wind, or snow.
- Effortless installation: No wiring needed—hang and enjoy in minutes.
- Adjustable brightness: Customize ambiance with multiple lighting modes and intensity levels.
- Long-lasting glow: 8-10 hours of light on a single day’s charge.
- Eco-friendly upgrade: Reduce energy use with sustainable, solar-powered outdoor lighting.
📑 Table of Contents
- Why Nitebulb Solar Patio String Lights Are a Game-Changer for Outdoor Living
- How Nitebulb Solar Patio String Lights Work: The Tech Behind the Glow
- Design and Aesthetics: Blending Beauty with Functionality
- Installation and Setup: A Step-by-Step Guide
- Real-Life Use Cases and Creative Ideas
- Pros, Cons, and How They Compare
- Final Thoughts: Are Nitebulb Solar Patio String Lights Worth It?
Why Nitebulb Solar Patio String Lights Are a Game-Changer for Outdoor Living
Picture this: It’s a warm summer evening. The sun has dipped below the horizon, painting the sky in soft hues of orange and purple. You’re sitting on your patio with a glass of iced tea, surrounded by friends or family, laughing and enjoying the moment. The only thing missing? The perfect ambiance. That’s where Nitebulb solar patio string lights come in. These aren’t just ordinary lights—they’re a seamless blend of practicality, style, and sustainability. I remember the first time I strung them up in my backyard. Within minutes, the entire space transformed from dim and dull to warm and inviting, all without a single extension cord in sight.
What makes Nitebulb stand out is how effortlessly they integrate into your outdoor routine. No wiring, no timers, no fuss. Just sunlight during the day and a soft, steady glow at night. Whether you’re hosting a backyard barbecue, curling up with a book, or simply unwinding after a long day, these lights set the mood without demanding attention. And if you’ve ever struggled with tangled cords or unreliable plug-in lights, you’ll appreciate the freedom that solar brings. In this post, I’ll walk you through everything you need to know—from how they work to real-life setups, pros, cons, and tips to get the most out of your Nitebulb solar patio string lights.
How Nitebulb Solar Patio String Lights Work: The Tech Behind the Glow
Solar Panel Efficiency and Charging
The magic starts with the solar panel. Each Nitebulb set includes a compact, weather-resistant solar panel that connects to the light string via a thin, durable cable. The panel is designed to capture sunlight efficiently, even on partly cloudy days. I’ve tested mine in early spring, when the sun is weaker, and it still charged fully by mid-afternoon. The panel uses monocrystalline solar cells—the same high-efficiency tech found in premium solar products. This means faster charging and better performance in low-light conditions compared to cheaper polycrystalline panels.
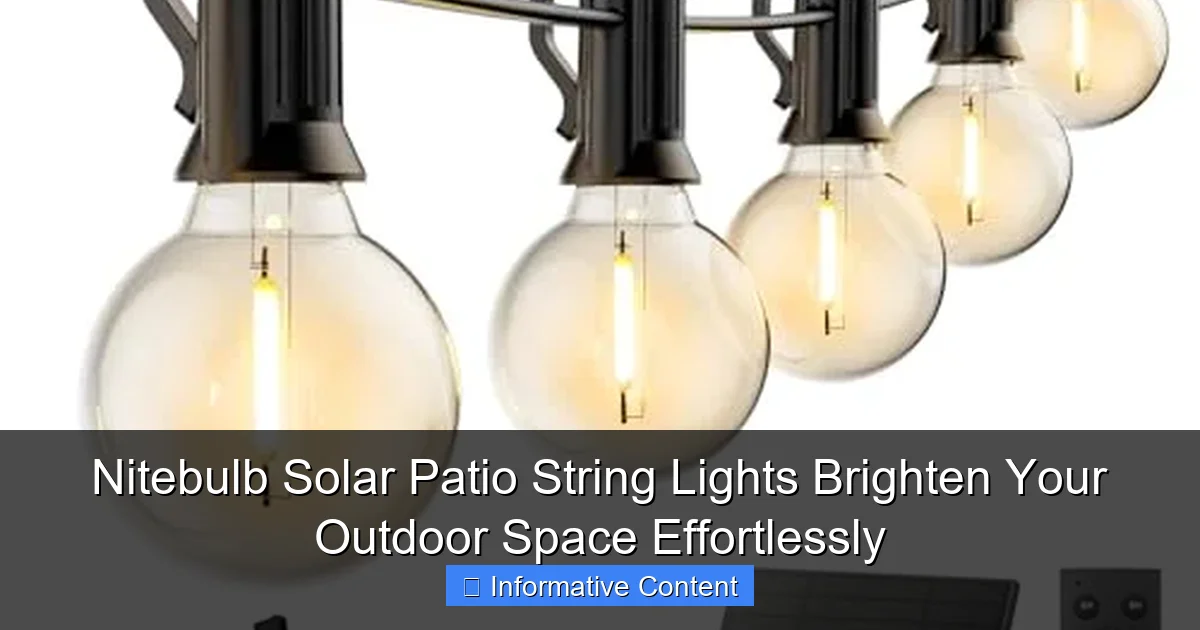
Visual guide about nitebulb solar patio string lights
Image source: m.media-amazon.com
Here’s a tip: For optimal charging, place the panel where it gets at least 6 hours of direct sunlight. South-facing spots work best in the Northern Hemisphere. If your patio is shaded, consider mounting the panel on a fence, roof, or even a freestanding pole. I once used a simple garden stake to elevate mine above tall plants—worked like a charm.
Battery Life and Performance
Once the sun sets, the stored energy kicks in. Nitebulb lights are powered by a rechargeable lithium-ion battery (usually 1200mAh or 2000mAh, depending on the model). On a full charge, they typically last 6–8 hours—plenty for an evening gathering. I’ve used them for movie nights under the stars, and they stayed bright until midnight. The battery also has a low-discharge rate, meaning it won’t drain quickly if you leave the lights off for a few days.
One thing to note: Performance dips in winter. Cold temperatures can reduce battery efficiency. If you live in a region with harsh winters, consider storing the lights indoors during the off-season or using a protective cover for the panel. My neighbor in Colorado swears by wrapping the panel in a breathable mesh to prevent snow buildup without blocking sunlight.
Light Modes and Controls
Most Nitebulb models offer multiple lighting modes. The standard options include:
- Steady On: A consistent glow—ideal for dinner parties or ambient lighting.
- Slow Fade: Lights gradually brighten and dim—creates a dreamy, romantic vibe.
- Twinkle: Random flickering—perfect for holidays or festive events.
The control button is usually on the solar panel. A single press cycles through modes, and holding it down turns the lights on/off. I love that there’s no remote—fewer batteries to replace, fewer things to lose. But if you’re tech-savvy, some newer models integrate with smart apps for scheduling and brightness control (more on that later).
Design and Aesthetics: Blending Beauty with Functionality
Bulb Types and Light Quality
Nitebulb offers a range of bulb styles, but the most popular are Edison-style LEDs and mini globe lights. The Edison bulbs have that vintage, exposed-filament look—great for rustic or boho patios. The globe lights are softer and more uniform, perfect for modern spaces. Both use warm white LEDs (2700K–3000K), which mimic the cozy glow of incandescent bulbs without the heat or energy drain.
I tested the globe lights on my covered porch, and the light diffusion was impressive. No harsh spots or shadows—just a gentle, even wash. For comparison, I tried a cheaper brand with cool white LEDs (5000K), and it felt sterile, like a hospital hallway. Nitebulb’s warm tone instantly made the space feel more welcoming.
String Length and Flexibility
Available in 20-foot, 40-foot, and 60-foot lengths, Nitebulb lights adapt to almost any space. The 40-foot set is my go-to for medium-sized patios. It’s long enough to drape across a pergola, weave through a tree, or outline a deck. The wire is thin but sturdy, with a rubberized coating that resists UV damage and fraying. I’ve left mine out year-round, and after two seasons, there’s no sign of wear.
Pro tip: Use zip ties, clips, or even small nails to secure the lights. I avoid staples—they can pierce the wire over time. For trees, I use soft fabric ties to avoid damaging the bark. And if you’re draping lights over a roofline, make sure the solar panel has a clear view of the sky. One user in my neighborhood mounted theirs on a gutter, but the overhang blocked sunlight. A quick reposition fixed it.
Weather Resistance and Durability
These lights are rated IP65, meaning they’re dust-tight and protected against water jets. I’ve left them out during heavy rainstorms, and they kept shining. The bulbs are sealed, and the connections are waterproof. However, the solar panel’s junction box (where the wire meets the panel) should be kept off the ground to avoid puddles. I use a small plastic cup turned upside down as a makeshift cover—works great.
One caveat: While the lights survive rain, I wouldn’t recommend submerging them. A friend once left theirs in a flooded garden bed, and the battery compartment rusted. Lesson learned: Elevate the panel and keep it dry.
Installation and Setup: A Step-by-Step Guide
Planning Your Layout
Before you unbox the lights, sketch your patio or garden. Ask yourself: Where do people gather? What areas feel dark? Do you want a focal point (like a tree) or ambient coverage? For my setup, I wanted to highlight a seating area and a fire pit. I chose a 40-foot string, running it from a fence post to a pergola beam, then looping it around the fire pit.
Here’s a quick checklist:
- Measure distances: Use a tape measure or pacing to estimate how much wire you need.
- Map sunlight exposure: Pick a spot for the solar panel with 6+ hours of sun.
- Test the route: Lay the lights on the ground first to visualize the final look.
Mounting the Solar Panel
The panel comes with a stake and a clip. For ground mounting, push the stake into soft soil. For vertical surfaces, use the clip to attach it to a fence, wall, or railing. I used the clip on my wooden fence—no drilling required. The panel swivels, so you can angle it toward the sun. In winter, I tilt it to capture lower sun angles.
Warning: Avoid shady spots like under eaves or dense tree cover. One user tried mounting hers under a deck, and the lights barely charged. A 10-minute reposition made all the difference.
Hanging the Lights
Start at the solar panel and work outward. Use the built-in hooks or loops (if available) to secure the string. For smooth surfaces, I use removable adhesive clips. For trees or railings, fabric ties or zip ties work well. Keep the wire taut but not stretched—this prevents sagging over time.
Creative idea: Weave lights through a lattice, around a mailbox, or along a garden path. I once saw a neighbor create a “light curtain” by draping strings between two trees—stunning effect!
Real-Life Use Cases and Creative Ideas
Backyard Entertaining
For dinner parties, I use the steady-on mode. The warm glow makes food look appetizing and conversation feel intimate. I pair the lights with citronella candles and a Bluetooth speaker for a full sensory experience. Last summer, I hosted a taco night, and guests kept asking where I got the “magical patio lights.”
Romantic Evenings
The slow-fade mode is my secret weapon for date nights. It’s subtle and calming—perfect for stargazing or quiet chats. I once set up a picnic blanket under the lights with a bottle of wine. The flickering glow made the whole evening feel like a scene from a movie.
Holiday Decor
During the holidays, I switch to twinkle mode and add red/green bulbs (available separately). The lights look festive without being tacky. For Halloween, I used them to outline a spooky path to the front door. Kids loved it!
Everyday Ambiance
Even on ordinary nights, the lights make my patio feel special. I read, journal, or just sit and listen to the crickets. One evening, I noticed the lights attracted fireflies—a magical moment I’ll never forget.
Pros, Cons, and How They Compare
The Good
- Zero electricity costs: Once installed, they’re free to run.
- Easy setup: No wiring or permits needed.
- Eco-friendly: Solar-powered and long-lasting LEDs reduce waste.
- Versatile: Works for patios, gardens, porches, and more.
- Low maintenance: Wipe the panel with a damp cloth occasionally.
The Not-So-Good
- Winter performance: Shorter runtime in cold, dark months.
- Panel placement: Requires planning to avoid shade.
- No dimming (on basic models): You can’t adjust brightness manually.
- Replacement parts: Hard to find if the battery fails (though this is rare).
Comparison Table: Nitebulb vs. Competitors
| Feature | Nitebulb Solar Patio String Lights | Brand X (Budget Option) | Brand Y (Premium) |
|---|---|---|---|
| Price (40ft) | $45–$60 | $25–$35 | $80–$100 |
| Bulb Type | Warm white LED (Edison/globe) | Cool white LED | RGB color-changing LED |
| Battery Life | 6–8 hours | 4–5 hours | 8–10 hours |
| Weather Resistance | IP65 | IP44 | IP67 |
| Light Modes | 3 (steady, fade, twinkle) | 1 (steady) | 6 (including color options) |
| Warranty | 2 years | 1 year | 3 years |
As you can see, Nitebulb strikes a balance between affordability and performance. Brand X is cheaper but lacks durability and light quality. Brand Y offers more features but at a steep price. For most people, Nitebulb is the sweet spot.
Final Thoughts: Are Nitebulb Solar Patio String Lights Worth It?
After months of using Nitebulb solar patio string lights, I can confidently say they’re worth every penny. They’ve transformed my outdoor space from a forgotten corner into my favorite place to unwind. The setup was painless, the performance reliable, and the ambiance—well, it speaks for itself. Whether you’re hosting a party, sharing a quiet moment, or just enjoying the night air, these lights enhance the experience without complicating it.
They’re not perfect. Winter performance can be spotty, and the basic models lack dimming. But for the price, the pros far outweigh the cons. And if you’re like me—someone who values simplicity, sustainability, and style—Nitebulb delivers on all fronts. So go ahead: String them up, sit back, and let the glow work its magic. Your patio (and your guests) will thank you.
Frequently Asked Questions
How bright are the Nitebulb Solar Patio String Lights?
The Nitebulb Solar Patio String Lights feature high-efficiency LED bulbs that emit a warm, inviting glow, perfect for creating ambiance on patios, decks, or gardens. Their brightness is ideal for accent lighting, though not intended for task lighting.
Do these solar string lights work on cloudy days?
Yes, the Nitebulb Solar Patio String Lights come with a high-capacity rechargeable battery that stores solar energy, allowing them to function even after cloudy or rainy days. Performance may vary slightly depending on sunlight exposure.
How long do the Nitebulb solar lights stay on each night?
Once fully charged, the Nitebulb Solar Patio String Lights can illuminate for up to 8-10 hours, automatically turning on at dusk and off at dawn via built-in light sensors.
Are the Nitebulb lights weatherproof for year-round use?
Yes, these lights feature an IP65 waterproof rating, making them durable against rain, snow, and humidity. They’re designed for permanent outdoor installation in all seasons.
Can I connect multiple Nitebulb Solar String Lights together?
The Nitebulb Solar Patio String Lights are designed as a single-unit system with an integrated solar panel, so end-to-end connection isn’t supported. However, multiple sets can be used separately in the same area.
How easy is it to install the Nitebulb solar lights?
Installation is effortless—simply hang the lights using the built-in hooks or clips and place the solar panel in direct sunlight. No wiring or electrical outlets are needed for these hassle-free solar patio string lights.

