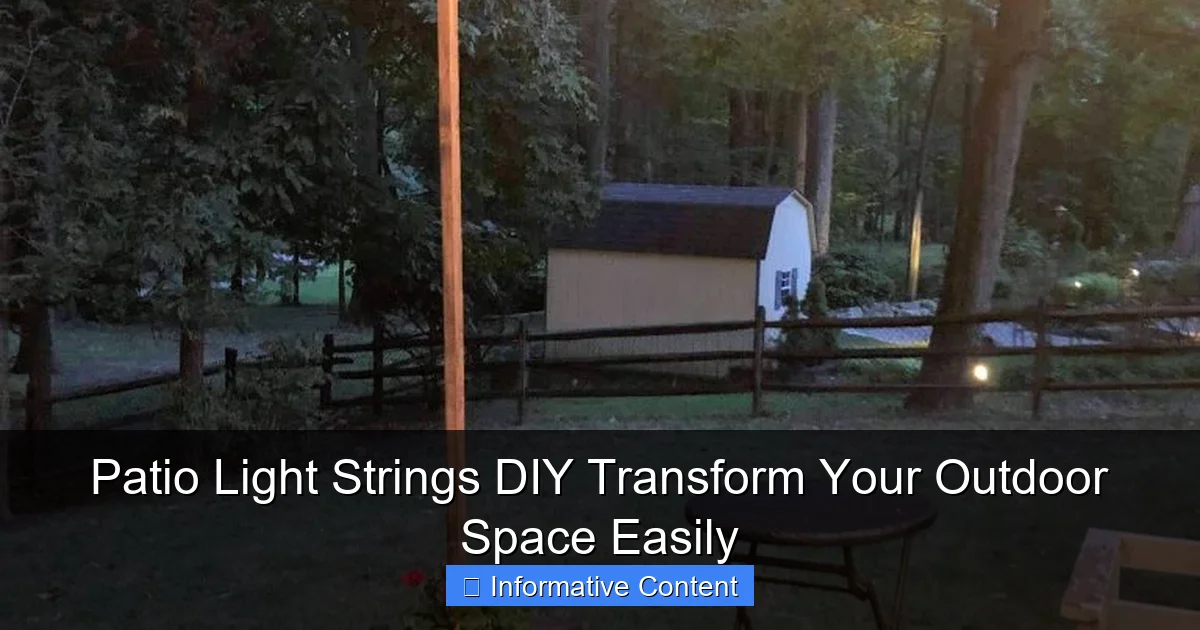
Featured image for patio light strings diy
Image source: thishomemadeheaven.com
Transform your outdoor space effortlessly with DIY patio light strings—an affordable, customizable lighting solution that adds ambiance and charm in minutes. With simple tools and creative placement, you can elevate your patio, deck, or backyard for cozy nights or lively gatherings. No electrician needed—just plug, hang, and enjoy instant atmosphere.
Key Takeaways
- Plan your layout: Measure space and sketch design before installation.
- Choose weatherproof lights: Ensure durability for long-term outdoor use.
- Use clips or hooks: Avoid damaging surfaces during installation.
- Layer lighting: Combine string lights with lanterns for ambiance.
- Install timers: Automate on/off times for convenience and energy savings.
- Test before finalizing: Check connections and brightness early to fix issues.
📑 Table of Contents
- Why Patio Light Strings DIY Are the Ultimate Outdoor Upgrade
- Choosing the Right Patio Light Strings for Your Space
- Planning Your Patio Light Strings DIY Layout
- Installation Tips for a Flawless Patio Light Strings DIY Setup
- Creative Ideas to Elevate Your Patio Light Strings DIY
- Maintenance and Safety Tips for Long-Lasting Lights
- Comparing Popular Patio Light Strings Options
- Final Thoughts: Light Up Your Outdoor Space
Why Patio Light Strings DIY Are the Ultimate Outdoor Upgrade
Imagine this: It’s a warm summer evening. The sun is setting, the air is cool, and you’re sitting outside with a glass of wine. The only thing missing? The perfect ambiance. That’s where patio light strings DIY come in. Whether you’re hosting a dinner party, enjoying a quiet night under the stars, or just want to make your backyard feel more inviting, string lights can transform your outdoor space from ordinary to magical.
I learned this the hard way. A few years ago, I hosted a backyard barbecue that ended up feeling… flat. The food was great, the company was better, but the space just didn’t have that “wow” factor. That’s when a friend suggested I try adding some DIY patio string lights. I was skeptical—how much of a difference could a few strands of lights really make? But after spending a few hours installing them, I was hooked. The soft glow, the cozy atmosphere, the way they made my patio feel like an extension of my living room—it was a game-changer. Since then, I’ve experimented with countless setups, materials, and styles, and I’m here to share everything I’ve learned so you can skip the trial and error.
Choosing the Right Patio Light Strings for Your Space
Before you start hammering nails into your pergola or wrapping lights around a tree, it’s important to pick the right type of lights for your needs. Not all string lights are created equal, and the wrong choice can leave you frustrated (or worse, with a tangled mess).
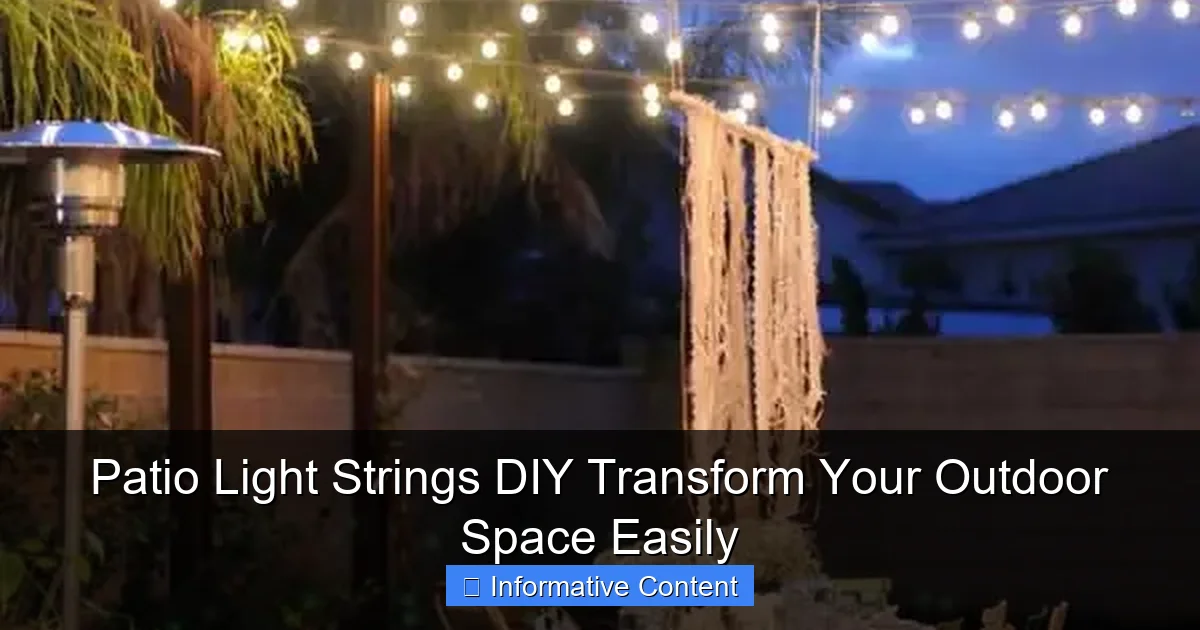
Visual guide about patio light strings diy
Image source: woohome.com
Types of Patio Light Strings
- LED vs. Incandescent: LED lights are more energy-efficient, last longer, and stay cooler than incandescent bulbs. They’re also available in a wider range of colors and styles. Incandescent bulbs give off a warmer glow, but they burn out faster and use more electricity. For most DIY setups, I recommend LEDs.
- Bulb Shape: Edison bulbs (those with the vintage, exposed filaments) are trendy and give off a warm, nostalgic glow. Globe lights offer a softer, more diffused light, while mini lights are great for wrapping around railings or trees. Choose based on the vibe you want.
- Weather Resistance: Look for lights labeled “outdoor use” or “weatherproof.” These are designed to withstand rain, wind, and temperature changes. If your lights are only rated for indoor use, they’ll burn out fast outside.
- Plug-In vs. Solar: Plug-in lights offer consistent brightness and more control over placement. Solar lights are eco-friendly and don’t require outlets, but they can be dimmer and may not work well on cloudy days. For permanent installations, I prefer plug-in lights with outdoor-rated extension cords.
Measuring Your Space
Before buying lights, measure the area you want to illuminate. This will help you avoid buying too few (leaving dark spots) or too many (creating a tangled, over-lit mess). Here’s how to do it:
- For linear spaces (e.g., a patio railing or pergola): Measure the length of the area. Add 10% extra to account for wrapping or sagging.
- For circular or irregular spaces (e.g., a tree or umbrella): Measure the circumference or estimate the distance around the object. Again, add 10-15% extra for slack.
- For layered effects (e.g., lights on a fence and a tree): Measure each area separately, then add the totals together.
Pro tip: Buy lights with a “plug at both ends” design. This lets you connect multiple strands without needing extra extension cords, which keeps your setup clean and efficient.
Planning Your Patio Light Strings DIY Layout
Now that you’ve chosen your lights, it’s time to plan your layout. A little planning goes a long way in creating a balanced, visually appealing setup.
Decide on the Lighting Effect
- Uniform glow: Hang lights in a straight line (e.g., along a railing or pergola) for even, consistent lighting.
- Layered ambiance: Combine multiple light sources (e.g., lights on a fence, a tree, and an umbrella) to create depth and interest.
- Focal point: Use lights to highlight a specific area, like a dining table or fire pit. For example, hang a cluster of lights above your table to draw attention to it.
Sketch Your Design
Grab a piece of paper and sketch your outdoor space, including furniture, trees, and architectural features. Then, draw where you want to place the lights. This helps you visualize the final result and catch potential issues (like lights blocking a pathway or being too close to a grill).
For example, if you’re lighting a pergola, sketch the structure and mark where the lights will hang. If you’re wrapping lights around a tree, note the tree’s height and branch placement to avoid tangles.
Consider Power Sources
- Nearby outlets: Plan your layout so the light strands can reach an outdoor-rated outlet without needing extension cords. If you don’t have an outlet nearby, consider installing one (with a weatherproof cover) or using a heavy-duty outdoor extension cord.
- Hidden cords: If cords will be visible, use cord clips or conduit to keep them tidy. You can also run cords along the ground and cover them with mulch or outdoor rugs to hide them.
Real-world example: I once installed lights on a pergola that was 20 feet from the nearest outlet. Instead of using a long extension cord (which would’ve been messy and unsafe), I ran the cord through a conduit along the pergola’s beam. It looked clean and kept the cord protected from the elements.
Installation Tips for a Flawless Patio Light Strings DIY Setup
Now for the fun part: installing your lights! With the right tools and techniques, you can create a professional-looking setup without hiring an electrician.
Tools and Materials You’ll Need
- String lights: Your chosen type and length.
- Fasteners: Outdoor-rated clips, hooks, or nails. Avoid staples—they can damage the cord.
- Measuring tape: To ensure even spacing.
- Ladder or step stool: For hard-to-reach areas.
- Extension cords (if needed): Outdoor-rated and heavy-duty.
- Timer or smart plug (optional): For automatic on/off control.
Step-by-Step Installation
- Test the lights: Plug them in before installing to make sure they work. Nothing’s worse than hanging a strand only to realize it’s dead.
- Start at the power source: Begin installing the lights near the outlet. This reduces the risk of tangles and makes it easier to connect multiple strands.
- Hang the lights:
- For railings or pergolas: Use outdoor-rated clips or zip ties to attach the lights. Space them evenly (every 6-12 inches) for a balanced look.
- For trees: Wrap the lights loosely around the trunk and branches. Avoid wrapping too tightly, as this can damage the tree.
- For fences: Use cup hooks or eye screws to hang the lights. Screw them into the fence posts or rails, then clip the lights onto the hooks.
- Secure the cords: Use cord clips or conduit to keep the cords tidy and prevent tripping hazards. If you’re running cords along the ground, bury them slightly under mulch or use a cord cover.
- Connect multiple strands: If you’re using more than one strand, connect them end-to-end. Make sure the connections are snug and protected from the weather.
- Add a timer or smart plug: This lets you turn the lights on and off automatically, saving energy and adding convenience.
Pro Tips for a Clean Look
- Use a level: If you’re hanging lights in a straight line, use a level to keep them aligned.
- Hide the plugs: Place the plugs in a weatherproof box or cover them with a small planter or outdoor decor.
- Leave slack: Don’t pull the lights too tight. A little slack gives a relaxed, natural look and makes it easier to adjust later.
- Check for shadows: Step back and look at your setup from different angles. Adjust the lights if they’re casting shadows on important areas (like a dining table).
Personal tip: I once installed lights on a pergola but didn’t leave enough slack. When the wind blew, the lights swayed and hit the beams, creating an annoying flickering effect. Now I always leave a little extra slack—it’s a small detail that makes a big difference.
Creative Ideas to Elevate Your Patio Light Strings DIY
Ready to take your setup to the next level? Here are some creative ideas to make your lights stand out.
Mix Light Types
Combine different styles of lights for a layered, dynamic look. For example:
- Hang Edison bulbs along your pergola for a vintage vibe.
- Wrap mini lights around tree branches for a twinkling effect.
- Add globe lights to your dining table for a soft, ambient glow.
This creates visual interest and makes your space feel more inviting.
Use Lights as Decor
String lights aren’t just for illumination—they can also be a design element. Try these ideas:
- Hanging lanterns: Attach small lanterns or mason jars to the light strands for a rustic touch.
- Light curtains: Hang multiple strands vertically from a pergola or fence to create a “wall” of light.
- Light canopies: Crisscross lights over your patio to create a starry-night effect.
Incorporate Nature
Use your yard’s natural features to enhance the lighting:
- Wrap lights around tree trunks or branches for a magical glow.
- Hang lights on a trellis or arbor for a romantic, garden-like feel.
- Use lights to highlight water features, like a fountain or pond.
Example: I once wrapped lights around a large oak tree in my backyard. The effect was stunning—like the tree was glowing from within. It became the focal point of every outdoor gathering.
Add Motion
For a dynamic look, use lights with a twinkling or fading effect. These create a sense of movement and energy, perfect for parties or lively evenings.
Maintenance and Safety Tips for Long-Lasting Lights
To keep your patio light strings looking great and working safely, follow these maintenance and safety tips.
Regular Maintenance
- Check bulbs: Replace any burned-out bulbs promptly to keep the lights looking even.
- Clean the lights: Wipe down the bulbs and cords with a damp cloth to remove dirt, dust, and spiderwebs. Avoid using harsh chemicals.
- Inspect the cords: Look for fraying, cracks, or exposed wires. If you find any damage, replace the strand immediately.
- Store properly: If you’re taking the lights down for the winter, store them in a dry, cool place. Wrap them around a cardboard reel or use a light storage reel to prevent tangles.
Safety First
- Use outdoor-rated lights and cords: Indoor lights and cords aren’t designed for outdoor use and can be a fire hazard.
- Avoid overloading circuits: Check the wattage of your lights and make sure your circuit can handle the load. If in doubt, use a circuit tester.
- Keep cords away from water: Don’t run cords through puddles or wet areas. Use weatherproof boxes for connections.
- Use a GFCI outlet: These outlets shut off automatically if they detect a ground fault, reducing the risk of electric shock.
Real-world example: A friend once used indoor extension cords for her patio lights. After a rainy night, the cords shorted out and caused a small fire. Now she only uses outdoor-rated equipment—a simple switch that could’ve prevented a disaster.
Comparing Popular Patio Light Strings Options
To help you choose the best lights for your space, here’s a comparison of popular options:
| Light Type | Pros | Cons | Best For |
|---|---|---|---|
| LED Edison Bulbs | Energy-efficient, vintage look, long lifespan | More expensive than mini lights | Pergolas, dining areas |
| Mini LED Lights | Inexpensive, easy to install, versatile | Less bright than other types | Trees, railings, small spaces |
| Globe Lights | Soft, diffused glow, modern look | Bulky, can be heavy | Dining tables, patios |
| Solar String Lights | No outlet needed, eco-friendly | Less bright, inconsistent performance | Low-traffic areas, temporary setups |
| Twinkle Lights | Dynamic, festive look | More expensive, shorter lifespan | Parties, special occasions |
Final Thoughts: Light Up Your Outdoor Space
Transforming your patio with patio light strings DIY is one of the easiest, most affordable ways to upgrade your outdoor space. Whether you want a cozy nook for quiet evenings or a vibrant area for entertaining, the right lights can make all the difference. From choosing the perfect bulbs to planning your layout and installing them safely, every step is a chance to add your personal touch.
Remember, it’s not about perfection—it’s about creating a space that feels like *you*. So don’t be afraid to experiment, mix styles, and make mistakes. Some of my favorite setups came from trial and error (like the time I accidentally hung lights in a zigzag pattern—it turned out to be a hit!). With a little creativity and the tips I’ve shared, you’ll have a backyard that’s not just functional, but magical. Now go grab those lights and start shining!
Frequently Asked Questions
How do I install patio light strings DIY without damaging my outdoor space?
Use adhesive hooks, removable clips, or tension rods to hang patio light strings DIY without drilling holes. These methods work well for renters or those who want a damage-free setup while ensuring a secure hold.
What type of bulbs are best for DIY patio light strings?
LED bulbs are ideal for patio light strings DIY because they’re energy-efficient, long-lasting, and weather-resistant. Choose warm white or color-changing options to match your outdoor ambiance.
Can I use indoor light strings for my patio?
No, indoor light strings aren’t designed for outdoor conditions and can pose safety hazards. Opt for weatherproof, UL-listed patio light strings DIY to ensure durability and safety in rain or humidity.
How do I power patio light strings DIY in areas without outlets?
Solar-powered or battery-operated patio light strings DIY are great for spaces without outdoor outlets. For longer runs, consider a portable power station or extension cords rated for outdoor use.
What spacing should I use for patio light strings to create even lighting?
Space patio light strings DIY 12–24 inches apart for balanced illumination, depending on bulb brightness and spacing. Overlap strands slightly for a layered effect in larger areas.
How can I customize my patio light strings DIY for a unique look?
Swap bulbs, add lanterns, or weave greenery through the strings to personalize your patio light strings DIY. Use colored filters or dimmers to enhance the mood for different occasions.

