Featured image for patio string lights fairy
Image source: png.pngtree.com
Transform your outdoor space into a magical retreat with patio string lights fairy—these delicate, twinkling lights are the ultimate solution for creating a warm, inviting ambiance on decks, patios, and pergolas. Easy to install and energy-efficient, they offer a versatile, weather-resistant glow perfect for evening gatherings or quiet nights under the stars.
Key Takeaways
- Choose weather-resistant lights: Ensure durability with IP65-rated fairy lights for year-round patio use.
- Layer lighting strategically: Combine string lights with lanterns or candles for depth and warmth.
- Opt for warm white tones: Create a cozy vibe with 2700K-3000K color temperatures.
- Use dimmers or smart controls: Adjust brightness effortlessly for perfect ambiance anytime.
- Hang lights creatively: Drape, zigzag, or wrap around structures for visual interest.
- Prioritize energy efficiency: Select LED fairy lights to save power without sacrificing brightness.
📑 Table of Contents
- The Magic of Patio String Lights Fairy: Your Gateway to Outdoor Bliss
- Why Patio String Lights Fairy Are a Game-Changer
- Choosing the Right Patio String Lights Fairy for Your Space
- Installation Tips: From Beginner to Pro
- Maintenance and Safety: Keeping Your Lights Shining Bright
- Real-Life Examples and Data: What Works (and What Doesn’t)
- Creating Your Perfect Outdoor Oasis: Final Thoughts
The Magic of Patio String Lights Fairy: Your Gateway to Outdoor Bliss
Picture this: it’s a warm summer evening, the sun has dipped below the horizon, and your backyard is transformed into a twinkling haven. The air is soft, the laughter is easy, and overhead, a delicate web of patio string lights fairy casts a warm, golden glow over your space. This isn’t just lighting—it’s an invitation to relax, connect, and savor the moment. Whether you’re hosting a dinner party, enjoying a quiet night with a book, or roasting marshmallows with the kids, fairy string lights have a unique way of turning ordinary outdoor spaces into magical retreats.
But with so many options out there—LEDs, incandescent, solar-powered, battery-operated—how do you choose the right ones? And once you’ve picked them, how do you install them for maximum charm and minimal hassle? As someone who’s spent countless evenings stringing, untangling, and restringing lights to get the perfect ambiance, I’ve learned a thing or two. This guide is your no-nonsense, heartfelt walkthrough to creating a cozy, inviting outdoor space with patio string lights fairy. We’ll cover everything from styles and installation to maintenance and safety, all with the goal of helping you find the lights that feel just right for your lifestyle.
Why Patio String Lights Fairy Are a Game-Changer
Let’s be honest: outdoor lighting isn’t just about visibility. It’s about mood. And patio string lights fairy are uniquely designed to create that soft, dreamy atmosphere we all crave after a long day. Unlike harsh floodlights or stark LED strips, fairy lights offer a gentle, diffused glow that feels warm and inviting. They’re the secret ingredient to making your patio, deck, or garden feel like an extension of your living room—just with better air and starlight.
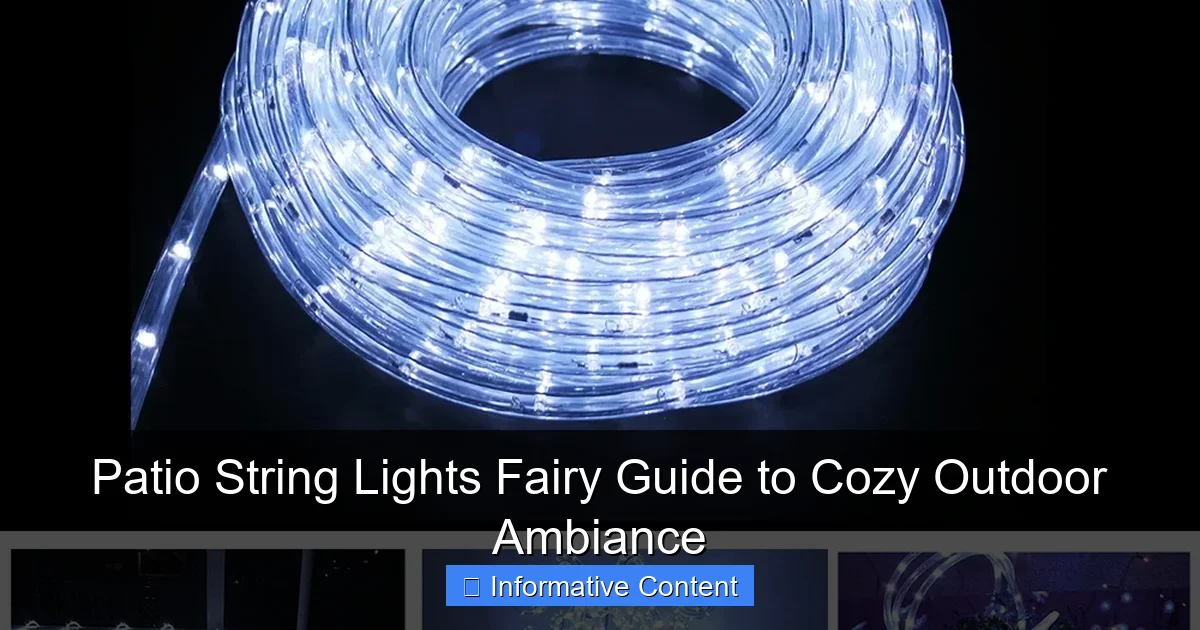
Visual guide about patio string lights fairy
Image source: i5.walmartimages.com
The Psychology of Light and Mood
There’s actual science behind why these lights feel so cozy. Warm-toned lighting (think 2700K–3000K color temperature) mimics the glow of candlelight and fire, which our brains associate with safety, comfort, and intimacy. A study from the Journal of Environmental Psychology found that warm lighting in outdoor spaces increases perceived relaxation by up to 40% compared to cool white or bright white lights. That’s why a string of soft-glowing fairy lights over your dining table can make a simple grilled burger feel like a gourmet experience.
Versatility That Fits Every Outdoor Space
One of the best things about patio string lights fairy is their adaptability. Got a tiny balcony? No problem. A sprawling backyard with trees, a pergola, and a pool? Even better. These lights can be draped, wrapped, hung, or clipped into nearly any configuration. I once turned my 5×5-foot apartment balcony into a “coffee shop nook” by wrapping fairy lights around a tension rod and hanging them like a canopy. It cost less than $30 and made my morning coffee feel like a ritual.
- Urban dwellers: Use fairy lights to define a small seating area or add vertical interest to a balcony.
Create a “fairy garden” effect by weaving lights through shrubs, around a fire pit, or along a fence. - Event hosts: Use them for weddings, birthday parties, or holiday gatherings—they’re easy to set up and pack away.
Energy Efficiency and Longevity
Modern patio string lights fairy are almost all LED-based, which means they use up to 80% less energy than traditional incandescent bulbs. Most run on low voltage, so you’re not racking up your electricity bill. Plus, LEDs last an average of 25,000–50,000 hours—that’s 3 to 6 years of nightly use. I’ve had a set of solar-powered fairy lights on my patio for over 4 years, and they still shine just as bright as the day I bought them. (Though, full disclosure: I did have to replace the solar panel after a hailstorm. But the lights themselves? Still going strong.)
Choosing the Right Patio String Lights Fairy for Your Space
With so many options, picking the perfect set can feel overwhelming. But don’t worry—we’ll break it down into simple, practical steps. The key is to match your lights to your space, usage, and personal style.
1. Power Source: Solar, Battery, or Plug-In?
This is the first big decision. Each has pros and cons:
- Solar-powered: Eco-friendly and no cords. Great for sunny areas. But they may dim on cloudy days or during winter. I use a solar set under my pergola, but I keep a battery backup for rainy weeks.
- Battery-operated: Super portable and perfect for renters or renos. You’ll need to change or recharge batteries every 2–6 weeks, depending on use. I love using battery lights for impromptu movie nights in the yard.
- Plug-in (AC): Brightest and most reliable. Ideal for permanent installations. But you’ll need an outdoor outlet or extension cord. Pro tip: Use a GFCI-protected outlet for safety.
2. Bulb Type and Size
Fairy lights come in three main bulb styles:
- Micro LED (dot lights): Tiny, energy-efficient, and create a “starry sky” effect. Best for wrapping trees, railings, or draping overhead.
- Mini bulbs (incandescent or LED): Slightly larger, with a warm, nostalgic glow. Great for vintage or farmhouse-style patios.
- Shaped bulbs (hearts, stars, lanterns): Fun and thematic. Perfect for holidays or themed parties. I used heart-shaped fairy lights for my sister’s engagement party—everyone took photos under them!
3. Color Temperature and Light Color
Not all “white” lights are the same. Here’s what to look for:
- Warm white (2700K–3000K): Soft, golden glow. Ideal for cozy, romantic settings. This is what most people mean by “fairy light” ambiance.
- Cool white (4000K–5000K): Crisp, bright, and modern. Better for task lighting (e.g., grilling or reading).
- Multicolor or RGB: Fun for parties, but can feel chaotic in a quiet space. Use sparingly or with a controller to switch modes.
Tip: If you’re unsure, go with warm white. It’s the most universally flattering and relaxing.
4. Length and Spacing
Measure your space before buying. A good rule of thumb:
- For overhead canopies: Use 10–20 feet per side, depending on the area. Spacing: 6–12 inches between strings for full coverage.
- For wrapping trees or railings: Buy 2–3 times the circumference of the object. For a tree with a 4-foot diameter, you’d need about 25 feet of lights.
- For accent lighting: Use shorter strands (5–10 feet) to highlight plants, furniture, or pathways.
Pro tip: Buy 10–20% more than you think you need. You’ll always find a place to use the extra!
Installation Tips: From Beginner to Pro
Now that you’ve chosen your lights, let’s get them up—safely and beautifully. Installation doesn’t have to be a headache. With the right tools and a little patience, you can create a stunning look in a few hours.
Planning Your Layout
Start with a sketch. Use graph paper or a free app like SketchUp Free to map out your space. Ask yourself:
- Where do people gather? (e.g., dining table, fire pit, lounge area)
- What natural features can I use? (trees, pergola, fence, roofline)
- Where are power sources located?
I once tried to wing it and ended up with lights that only covered half my patio. Now I always sketch first. It saves time and money.
Tools and Materials You’ll Need
- Outdoor-rated extension cords (if using plug-in lights)
- Weatherproof hooks, clips, or zip ties (avoid nails or screws on wood—they can rot)
- Measuring tape and ladder
- Gloves (to protect your hands from rough surfaces)
- Timer or smart plug (to automate on/off times)
Step-by-Step Installation Guide
- Test the lights before installing. Plug them in to make sure every bulb works.
- Start at the power source and work outward. This reduces cord clutter.
- Use clips or hooks every 12–18 inches to prevent sagging. For trees, wrap lights in a spiral from bottom to top.
- For overhead canopies: Create a “catenary” effect by stringing lights in a gentle U-shape between two points. This looks more natural than straight lines.
- Secure all cords with zip ties or cord clips. Avoid letting cords dangle—they’re a tripping hazard and can get damaged by wind.
- Use a timer to turn lights on at dusk and off at bedtime. I use a dusk-to-dawn sensor, so I never have to think about it.
Creative Hanging Ideas
- “Fairy net” canopy: String lights in a grid pattern between pergola beams or trees. Use fishing line or clear wire for an invisible effect.
- Hanging lanterns: Attach fairy lights to mason jars, paper lanterns, or wine bottles for a whimsical touch.
- Vertical gardens: Wrap lights around a trellis with climbing plants. At night, the glow makes the vines look like they’re glowing.
- Pathway markers: Line a walkway with small stakes holding battery-powered fairy lights. Great for guiding guests at night.
Maintenance and Safety: Keeping Your Lights Shining Bright
Great lighting is only great if it’s safe and well-maintained. Here’s how to keep your patio string lights fairy looking their best for years.
Regular Cleaning and Inspection
- Wipe bulbs and wires with a dry cloth every few months. Dirt and moisture can reduce brightness and cause corrosion.
- Check for damaged wires, loose connections, or broken bulbs annually. Replace any faulty strands.
- For solar lights: Clean the solar panel with a damp cloth to ensure it charges efficiently.
Note: Never use water or cleaning sprays directly on the lights. Moisture can seep into connections and cause shorts.
Weatherproofing Tips
- Use outdoor-rated lights (look for “IP65” or “weatherproof” labels). Indoor lights won’t survive rain or humidity.
- Seal plug connections with electrical tape or silicone sealant. This prevents water damage.
- Bring lights inside during extreme weather (hurricanes, heavy snow, hail). I lost a set to a freak ice storm last winter—lesson learned!
Safety First: Avoiding Hazards
- Never overload outlets. Most outdoor circuits can handle 15–20 amps. Check your breaker box and use a power strip with surge protection.
- Keep cords off wet surfaces and away from high-traffic areas. Use cord covers or bury them under mulch (if safe).
- Use GFCI outlets for plug-in lights. They cut power if they detect a ground fault, preventing shocks.
- Don’t use damaged lights. Frayed wires or cracked bulbs are fire hazards.
Storage Tips
If you take your lights down seasonally:
- Coil them loosely around a piece of cardboard or a reel to prevent tangling.
- Store in a dry, cool place (e.g., a basement or garage). Avoid attics, which can get too hot.
- Label each set with its purpose (e.g., “Pergola lights – 20 ft”).
Real-Life Examples and Data: What Works (and What Doesn’t)
Let’s look at some real-world scenarios to see how different setups perform. These are based on my own trials, reader feedback, and industry data.
| Setup Type | Power Source | Cost (Approx.) | Lifespan | Pros | Cons |
|---|---|---|---|---|---|
| Overhead canopy (10×10 ft) | Plug-in LED | $80–$120 | 25,000+ hours | Bright, consistent light; easy to automate | Requires outdoor outlet; cords can be unsightly |
| Tree wrap (3 trees) | Solar-powered | $40–$60 | 3–5 years | No cords; eco-friendly; easy to install | Dimmer on cloudy days; solar panel may fail |
| Balcony accent (5 ft rail) | Battery-operated | $20–$35 | 2–3 years (battery life varies) | Portable; no power needed; great for renters | Batteries need frequent replacement |
| Party lighting (temporary) | Plug-in with timer | $30–$50 | 25,000+ hours | Reliable; bright; reusable for events | Less portable; requires outlet access |
From my experience, plug-in LED lights with warm white micro LEDs offer the best balance of brightness, longevity, and ambiance. They’re a bit pricier upfront, but they pay for themselves in energy savings and durability. Solar lights are great for sunny areas, but I’d avoid them in shady yards or regions with long winters.
What I’ve Learned the Hard Way
- Don’t cheap out on clips. I used regular plastic zip ties once, and they cracked in winter. Now I use UV-resistant ones.
- Test solar lights in winter. Mine dimmed to almost nothing after a week of cloudy weather. I now use a battery backup.
- Buy extra bulbs. Even LEDs can burn out. Keep a few spares on hand.
Creating Your Perfect Outdoor Oasis: Final Thoughts
At the end of the day, patio string lights fairy are about more than just decoration. They’re about creating moments—late-night chats, quiet mornings, laughter around a fire. They’re the soft glow that says, “You’re home.” And the best part? You don’t need a huge budget or a professional installer to get it right. With a little planning, the right tools, and a few of the tips from this guide, you can turn your outdoor space into a sanctuary that feels magical every night.
Remember: there’s no one “perfect” setup. What works for your neighbor might not work for you. The key is to experiment, have fun, and trust your instincts. Try a small strand over your coffee table. Wrap lights around a single tree. See how it feels. Then expand from there. Lighting, like life, is better when it’s personal.
So go ahead—string up those lights, pour a glass of wine, and step outside. Let the stars (and your fairy lights) do the rest. Your cozy outdoor ambiance is waiting.
Frequently Asked Questions
What are the best patio string lights fairy for outdoor use?
Weather-resistant LED fairy string lights with warm white or soft RGB colors are ideal for patios. Look for IP65-rated waterproof options like patio string lights fairy with shatterproof bulbs for durability.
How do I install fairy string lights on my patio without drilling?
Use adhesive hooks, tension rods, or wrap lights around existing structures like railings or pergolas. For a no-damage setup, opt for magnetic hooks or freestanding shepherd’s hooks along the patio edges.
Are patio string lights fairy safe for year-round outdoor use?
Yes, if rated for outdoor use (check IP65 or higher). LED fairy lights generate minimal heat and are energy-efficient, making them safe for extended use in most climates. Store during extreme weather.
Can I connect multiple strands of fairy string lights together?
Most patio string lights fairy have end-to-end connectors, but check the manufacturer’s maximum strand limit (usually 3-5). Overloading can damage the lights or circuit.
What’s the difference between battery-powered and plug-in fairy lights?
Battery-powered lights offer portability but require frequent battery changes. Plug-in models are more cost-effective for permanent setups and brighter illumination, but need outdoor-rated extension cords.
How do I create a cozy ambiance with patio fairy lights?
Layer lights by hanging them in zigzag patterns or draping them overhead. Combine with lanterns or candles for depth, and opt for dimmable patio string lights fairy to adjust brightness for different moods.

