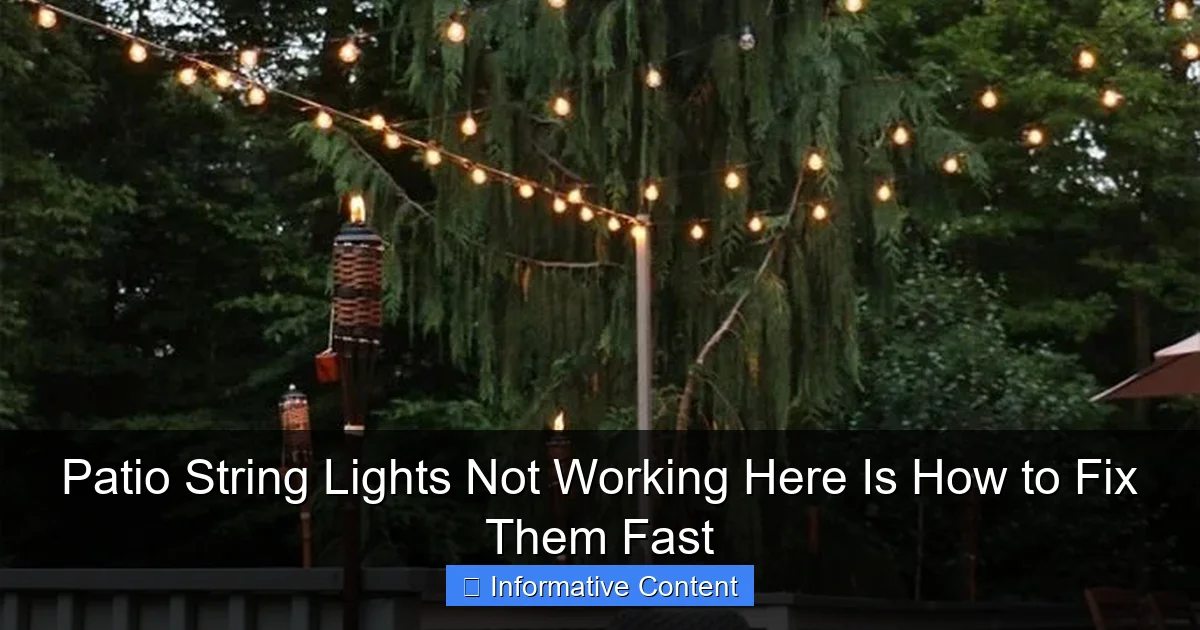
Featured image for patio string lights not working
Image source: mycozylive.com
Patio string lights not working? Start by checking the power source and replacing any burnt-out bulbs, as these are the most common culprits. Often, a tripped breaker, loose plug, or a single failed bulb can disable the entire strand—quick fixes that restore glow in minutes. For persistent issues, test the fuse or consider upgrading to shatterproof, outdoor-rated lights for long-term reliability.
Key Takeaways
- Check the power source first: Ensure the outlet works and the plug is securely connected.
- Inspect bulbs and sockets: Replace burnt-out bulbs and clean corroded sockets for better contact.
- Test the fuse: Locate and replace a blown fuse in the plug if needed.
- Look for damaged wires: Repair or replace sections with visible cuts or frays immediately.
- Use a timer or dimmer: Bypass faulty switches by testing with a compatible controller.
- Opt for LED bulbs: Switch to energy-efficient LEDs to reduce strain on the circuit.
📑 Table of Contents
- Why Your Patio String Lights Stopped Working (And What to Do About It)
- Step 1: Check the Power Source and Connections
- Step 2: Diagnose the Bulbs and Sockets
- Step 3: Inspect the Fuse and Wiring
- Step 4: Consider Environmental and Usage Factors
- Step 5: When to Repair vs. Replace
- Prevent Future Failures: Maintenance Tips and Best Practices
Why Your Patio String Lights Stopped Working (And What to Do About It)
There’s something magical about patio string lights. They transform a simple backyard into a cozy, inviting retreat—perfect for summer nights, weekend barbecues, or quiet evenings with a book. But when they suddenly stop working, that magic can feel frustratingly out of reach. One moment, your patio is glowing with warmth; the next, you’re staring at a string of dark, unresponsive bulbs, wondering what went wrong.
If your patio string lights aren’t working, you’re not alone. It’s a common issue, and the good news is that most problems are fixable—often without needing a professional or replacing the entire set. Whether your lights flickered out after a storm, stopped working after years of use, or just never turned on in the first place, this guide will walk you through the most common causes and how to fix them quickly. Think of it as a troubleshooting roadmap, packed with practical tips and real-life solutions. Let’s get those lights shining again.
Step 1: Check the Power Source and Connections
Before you start pulling apart bulbs or blaming the weather, take a step back and examine the basics. A surprising number of patio string light issues stem from simple power problems. Here’s how to rule them out—fast.
Inspect the Plug and Outlet
Start by checking the plug. Is it fully inserted into the outlet? Sometimes, a loose plug can cause intermittent power. Try wiggling it gently. If the lights flicker on and off, the connection might be the culprit. Unplug it completely, wait 10 seconds, then plug it back in firmly.
Next, test the outlet. Plug in a working device—like a phone charger or lamp—to confirm the outlet is receiving power. If the other device works, the outlet is fine. If not, check your circuit breaker or fuse box. A tripped breaker (especially after a storm) is a common cause of sudden light failure. Reset it, and see if power returns.
Pro tip: If you’re using an outdoor extension cord, make sure it’s rated for outdoor use and isn’t frayed or damaged. Damaged cords can cut power and pose a safety hazard.
Check for GFCI Outlets
Many outdoor outlets are GFCI (Ground Fault Circuit Interrupter) types. These have “Test” and “Reset” buttons. If the GFCI tripped—common after rain or moisture exposure—your lights won’t work. Press the “Reset” button. If it pops back out, there’s likely a ground fault (like water in the outlet or a short in the lights). Dry the area thoroughly and try again. If it keeps tripping, unplug the lights and call an electrician—safety first.
Look for Extension Cord Issues
If you’re daisy-chaining multiple cords or using a long extension, voltage drop can prevent lights from turning on. For example, a 100-foot cord powering a 50-light string might not deliver enough power to the end. Try plugging the string directly into the outlet. If it works, consider using shorter cords or a thicker gauge (lower AWG number) for better power delivery.
Example: Sarah noticed her patio lights dimmed halfway down the string. After testing, she realized her 75-foot extension cord was the issue. Switching to a 25-foot cord fixed the problem instantly.
Step 2: Diagnose the Bulbs and Sockets
Once you’ve confirmed power is reaching the string, the next step is to examine the bulbs and sockets. This is where most DIYers find the real issue—and it’s often easier to fix than it looks.
Test for Burnt-Out Bulbs
Even if one bulb is out, the whole string might not light up. Here’s why: many patio strings use series wiring, where electricity flows through each bulb in sequence. If one bulb fails, the circuit breaks, and the rest stay off. (Some newer sets use parallel wiring, which keeps other bulbs on even if one fails—check your manual if unsure.)
To test, use a bulb tester (a $10 tool available at hardware stores) or simply swap out each bulb with a known-working one. Start at the end farthest from the plug. If the lights come back on after replacing a bulb, you’ve found the culprit. Keep a few spare bulbs handy for future fixes.
Quick fix: If you don’t have spares, remove the suspected dead bulb and plug the string back in. If the other bulbs light, the socket is fine—just replace the bulb.
Clean Dirty or Corroded Sockets
Outdoor exposure can lead to corrosion, dust, or moisture buildup in sockets. This disrupts the electrical connection. Turn off the power, then use a cotton swab and rubbing alcohol to clean the metal contacts inside each socket. For stubborn corrosion, a soft wire brush works—but be gentle to avoid damaging the socket.
For example, Mike noticed his lights flickered during rain. After cleaning the sockets, he applied a thin layer of dielectric grease (a non-conductive sealant) to prevent future corrosion. No more flickers.
Check for Loose or Damaged Sockets
Over time, sockets can loosen, crack, or lose their spring tension, preventing bulbs from making contact. Gently press each bulb into its socket. If it feels loose or wobbly, the socket may need repair. For minor looseness, use a small screwdriver to carefully bend the metal contact strips upward for a tighter fit. For cracked or broken sockets, replacement is the safest option—more on that later.
Step 3: Inspect the Fuse and Wiring
If the bulbs and sockets look fine, the issue might be deeper—like a blown fuse or damaged internal wiring. Don’t panic; these are fixable with a little patience.
Locate and Replace the Fuse
Most patio string lights have a small fuse box in the plug. It’s usually a tiny compartment you can open with a screwdriver or by squeezing the sides. Inside, you’ll find one or two fuses (often 3-amp or 5-amp). If the fuse is blackened or the wire inside is broken, it’s blown.
Replace it with an identical fuse (check the rating printed on the old one). Never use a higher-rated fuse—it can damage the lights or create a fire risk. If you don’t have a spare, most hardware stores carry universal fuses for under $5.
Example: After a lightning storm, Lisa’s lights wouldn’t turn on. A blown fuse was the culprit. Replacing it cost $2 and took 5 minutes.
Look for Damaged or Cut Wires
Inspect the entire string for cuts, frays, or kinks in the wire. Common causes: animals chewing, sharp edges, or rough handling during storage. If you find damage, cut the wire at the problem spot and splice it using a waterproof wire connector (available at hardware stores). Wrap the connection with electrical tape for extra protection.
For larger sections of damage, consider cutting out the bad part and reattaching the two ends. But if more than 10-15% of the string is damaged, replacement might be more cost-effective.
Safety note: Always turn off and unplug the lights before working on the wiring. If you’re uncomfortable with electrical work, call a professional.
Test for Internal Breaks
Sometimes, the wire is intact on the outside but broken inside. This is common in older or cheaply made strings. To test, gently bend the wire along its length while the lights are plugged in. If they flicker, you’ve found a break. Use a continuity tester (a $15 multimeter) to pinpoint the exact location, then splice as above.
Step 4: Consider Environmental and Usage Factors
Outdoor lights face unique challenges—rain, wind, temperature swings, and even curious critters. These factors can shorten lifespan or cause sudden failures.
Weather and Moisture Damage
Moisture is a major enemy of patio lights. Even if your set is “weather-resistant,” prolonged rain or snow can seep into sockets, fuses, or connections. After heavy rain, unplug the lights and dry them thoroughly. Use a hairdryer on low heat to dry sockets and the plug.
For long-term protection, invest in weatherproof covers for outlets and connections. Silicone sealant can also help seal gaps around sockets. Avoid covering the bulbs themselves—trapped heat can damage them.
Overheating and Burnout
Using bulbs with higher wattage than recommended can overheat the string, melting sockets or wiring. Check the label on your lights for the maximum wattage per bulb. For example, a string rated for “25W max per bulb” can’t handle 40W bulbs. LED bulbs are safer—they run cooler and use less power.
Example: Tom upgraded to brighter bulbs but ignored the wattage limit. Within a month, several sockets melted. Switching to LED bulbs fixed the issue and saved energy.
Animals and Physical Damage
Squirrels, raccoons, and even birds can chew through wires or knock over lights. If you notice bite marks or chewed insulation, replace the damaged section. To prevent future issues, run wires through PVC conduit or use animal-repellent sprays (safe for plants). Also, secure lights with sturdy hooks or zip ties to reduce swaying in wind.
Step 5: When to Repair vs. Replace
Not every string is worth saving. Here’s how to decide whether to repair or replace.
Assess the Age and Quality
Cheap, mass-market strings often use thin wire, weak sockets, and flimsy fuses. If your lights are over 3-5 years old and have recurring issues, replacement might be smarter. High-quality sets (with thicker wire, weatherproof sockets, and replaceable bulbs) are worth repairing.
Check the price: If repairs cost more than 50% of a new set, consider upgrading. For example, a $25 string with $20 in repairs isn’t cost-effective.
Evaluate the Damage
Minor fixes—like a single dead bulb or blown fuse—are usually worth it. But if you’re dealing with multiple broken sockets, extensive wire damage, or a melted plug, replacement is safer and more reliable. Also, if the lights use outdated incandescent bulbs, switching to a modern LED set can save energy and reduce future issues.
Upgrade for Long-Term Savings
Newer LED patio lights are more durable, energy-efficient, and often have features like dimmers, timers, or remote controls. While the upfront cost is higher, they last longer and use less electricity. For example, a 50-foot LED string uses about 10 watts—vs. 200+ watts for incandescent—saving you money over time.
Prevent Future Failures: Maintenance Tips and Best Practices
An ounce of prevention is worth a pound of repair. Here’s how to keep your patio lights shining for years.
Store Lights Properly
When not in use, store lights in a dry, cool place. Avoid wrapping them tightly around poles or trees—this stresses the wire. Instead, use a storage reel or loosely coil them in a box. Remove bulbs if storing for long periods to prevent socket corrosion.
Use a Surge Protector
Lightning strikes or power surges can fry fuses or bulbs. Plug your lights into a surge protector to absorb excess voltage. It’s a small investment that can save you from frequent replacements.
Inspect Seasonally
Before hanging lights each year, inspect them thoroughly. Check for frayed wires, loose sockets, and dead bulbs. Test the fuse and clean the sockets. A 10-minute check can prevent headaches later.
Choose the Right Lights
For harsh climates, look for lights rated “IP65” or higher (dustproof and waterproof). For windy areas, opt for shatterproof bulbs or LED strips. And always follow the manufacturer’s guidelines for wattage and usage.
Here’s a quick-reference table for common patio light issues and solutions:
| Issue | Likely Cause | Quick Fix |
|---|---|---|
| Lights don’t turn on | Blown fuse, dead bulb, or loose plug | Replace fuse, check bulbs, reseat plug |
| Lights flicker | Loose bulb, corroded socket, or damaged wire | Tighten bulb, clean socket, inspect wire |
| Half the string is out | Series wiring with a dead bulb | Replace bulbs one by one to find the culprit |
| Lights dim | Long extension cord or voltage drop | Use shorter cords or higher gauge |
| Lights won’t turn off | Faulty timer or switch | Replace timer or bypass it temporarily |
Patio string lights not working doesn’t have to mean the end of your outdoor ambiance. With a little patience and these step-by-step fixes, you’ll likely have them glowing again in no time. Remember: start simple (power, bulbs, fuses), then work your way to more complex issues (wiring, environment). And if all else fails, don’t hesitate to upgrade—modern LED sets are brighter, safer, and more reliable than ever.
The next time your lights go dark, take a breath. Grab a bulb tester, check the fuse, and clean those sockets. You’ve got this. And when those lights finally flicker back to life, that warm, golden glow will feel even more rewarding—because you fixed it yourself.
Frequently Asked Questions
Why are my patio string lights not working even though they’re plugged in?
This is often due to a tripped GFCI outlet, a loose plug, or a blown fuse in the string light’s plug. Try resetting the outlet, checking the plug connection, or replacing the fuse to restore power.
How do I fix patio string lights not working due to a broken bulb?
If one bulb is out, the entire string may fail if it’s a series circuit. Remove the faulty bulb and replace it with an identical one, or use a bulb tester to identify the culprit quickly.
Can weather damage cause my outdoor string lights to stop working?
Yes, exposure to rain, snow, or extreme heat can corrode wiring or damage sockets. Inspect for frayed wires or moisture in sockets, and consider upgrading to weatherproof or waterproof-rated patio string lights.
What should I do if only half of my patio string lights are working?
Partial outages often point to a failed bulb or loose connection in the first non-working section. Test each bulb and socket, and tighten any loose bulbs to ensure consistent contact.
How can I troubleshoot flickering patio string lights not working properly?
Flickering may result from a loose bulb, faulty socket, or voltage fluctuations. Tighten all bulbs, check for debris in sockets, and ensure the lights aren’t connected to a dimmer switch.
Do patio string lights have fuses, and how do I replace them?
Many plug-in string lights have small fuses in the plug housing. Open the plug cover, remove the old fuse, and insert a new one with the same rating (usually 3–5 amps) to fix power issues.

