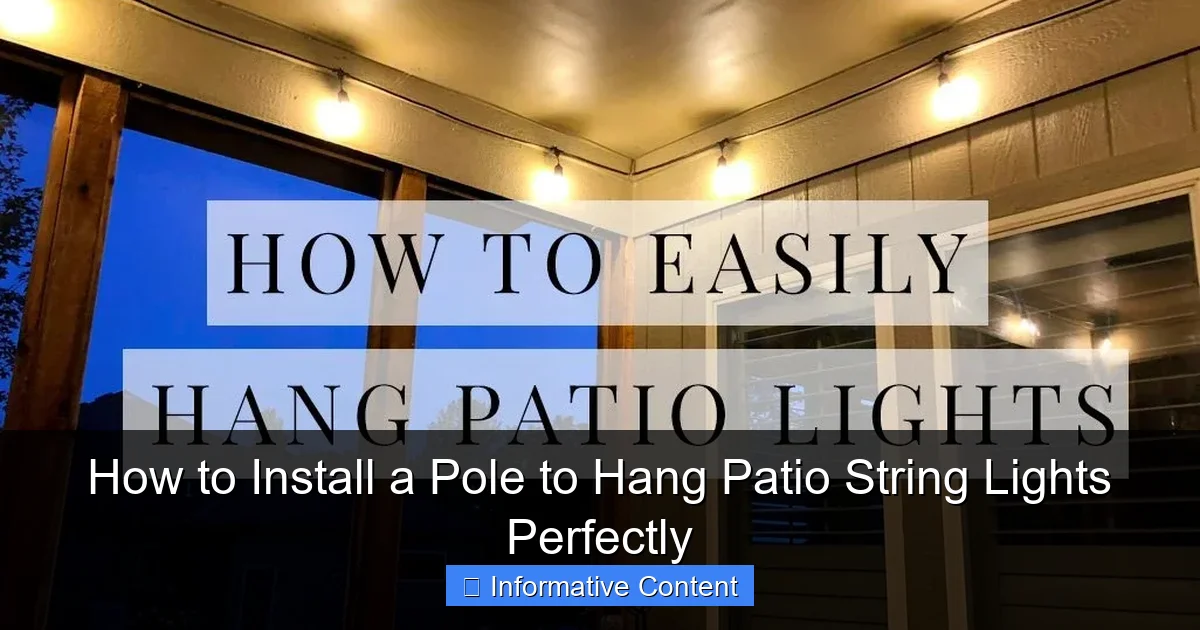
Featured image for pole to hang patio string lights
Image source: sengerson.com
Installing a sturdy pole to hang patio string lights ensures a safe, professional-looking setup that transforms your outdoor space. Choose a durable, weather-resistant material like steel or aluminum and secure it deeply in concrete for maximum stability and long-term performance. With the right tools and placement, your lights will shine perfectly for seasons to come.
Key Takeaways
- Choose sturdy poles: Opt for durable materials like steel or aluminum to support weight and weather.
- Measure spacing accurately: Ensure 10–15 feet between poles for optimal light coverage and tension.
- Anchor deeply: Set poles at least 24 inches in ground or use weighted bases for stability.
- Use adjustable hardware: Install turnbuckles or hooks for easy tension adjustment and light alignment.
- Check local codes: Verify permit requirements before permanent installation to avoid violations.
- Weatherproof connections: Seal all electrical connections with silicone to prevent water damage and hazards.
📑 Table of Contents
- Why a Pole to Hang Patio String Lights is a Game-Changer for Your Outdoor Space
- Choosing the Right Pole for Your Patio String Lights
- Planning Your Installation: Location, Spacing, and Layout
- Installing the Pole: Step-by-Step Guide
- Hanging the String Lights: Techniques for a Perfect Glow
- Maintenance and Safety Tips for Long-Lasting Lights
- Data Table: Recommended Pole and Light Combinations
- Final Thoughts: Enjoy Your Perfectly Lit Patio
Why a Pole to Hang Patio String Lights is a Game-Changer for Your Outdoor Space
Let’s face it: nothing beats the cozy, magical vibe of patio string lights glowing softly above your backyard. Whether you’re hosting a summer barbecue, enjoying a quiet evening with a book, or just want to make your outdoor space feel more inviting, those twinkling lights are a must-have. But here’s the catch—hanging them can be a real headache. Trees too far apart? No sturdy walls? Or maybe you just don’t want to drill holes into your house or damage your trees? That’s where a pole to hang patio string lights comes in. It’s the unsung hero of outdoor decor, offering a clean, flexible, and damage-free solution.
I remember my first attempt at hanging string lights. I tied them to a tree branch on one end and a gutter on the other, only to realize halfway through that the tension was warping the branch and the gutter was starting to pull away. Not exactly the dreamy setup I had in mind. After some trial, error, and a few YouTube tutorials later, I discovered the magic of dedicated poles. These simple yet effective structures let you create the perfect ambiance without the stress or damage. In this guide, I’ll walk you through everything you need to know to install a pole to hang patio string lights perfectly—so you can skip the headaches and go straight to the glow.
Choosing the Right Pole for Your Patio String Lights
Before you start digging or drilling, it’s crucial to pick the right kind of pole. Not all poles are created equal, and the wrong choice can lead to sagging lights, unstable setups, or even a mid-summer collapse. Here’s what to consider when selecting your pole to hang patio string lights.
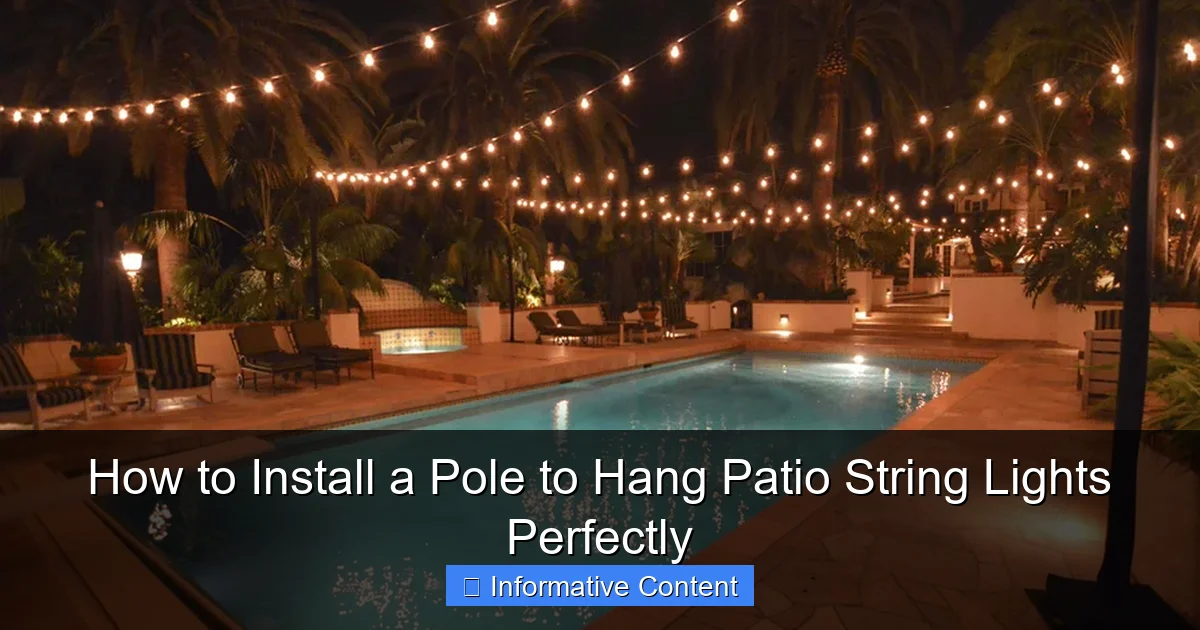
Visual guide about pole to hang patio string lights
Image source: img.yardenvy.com
Material Matters: Metal vs. Wood vs. Composite
The material of your pole affects durability, aesthetics, and maintenance. Let’s break it down:
- Metal poles (steel or aluminum) are the most common. They’re strong, long-lasting, and great for heavy-duty setups. Galvanized steel resists rust, while aluminum is lighter and easier to move. Downside? They can get hot in direct sunlight, and some people find the industrial look less cozy.
- Wooden poles (cedar, redwood, or pressure-treated pine) offer a warm, natural look that blends beautifully with gardens and patios. They’re also easier to customize—stain or paint them to match your decor. However, wood requires more maintenance (sealing, staining) and may warp or rot over time if not treated properly.
- Composite poles (plastic-resin blends) are low-maintenance and weather-resistant, making them ideal for humid or rainy climates. They’re lightweight and won’t rust, but they’re not as strong as metal or wood. Best for lighter string lights or temporary setups.
My personal favorite? A powder-coated aluminum pole. It’s sturdy, won’t rust, and looks sleek without being too flashy. Plus, it doesn’t absorb heat like metal, so it’s safe to touch even after a hot summer day.
Height and Diameter: Getting the Dimensions Right
Most patio string lights are designed to hang between 7 to 12 feet high. This range is high enough to avoid head bumps but low enough to create an intimate atmosphere. When choosing a pole, aim for:
- Height: 8–12 feet (2.4–3.6 meters). If you’re using a freestanding base (like a weighted stand), the pole itself should be 6–8 feet tall. For in-ground installation, the full height should be 8–12 feet, with 1–2 feet buried underground.
- Diameter: 1.5–3 inches. Thinner poles (1.5–2 inches) work for lighter lights or shorter spans. For longer distances (15+ feet) or heavier commercial-grade lights, go with 2.5–3 inches for added stability.
Pro tip: If you’re hanging lights between two poles, make sure they’re the same height. Nothing ruins the vibe like a lopsided setup!
Style and Design: Matching Your Outdoor Aesthetic
Your pole should complement your patio’s style, not clash with it. Here are a few popular options:
- Classic shepherd’s hook – A curved top that’s perfect for vintage or rustic decor. Great for single strands or small clusters.
- Straight pole with eyelets – Clean and modern. Ideal for minimalist or contemporary spaces. Some even have pre-drilled holes for adjustable hanging points.
- Decorative pole with finial – Adds a touch of elegance with a decorative top (like a ball, fleur-de-lis, or lantern). Perfect for formal gardens or upscale patios.
- Multi-arm pole – Features multiple branches or hooks, allowing you to hang several strands in a starburst or umbrella pattern. Great for large patios or event spaces.
When I upgraded my backyard, I went with a black powder-coated pole with a simple finial. It blends in with the fence but still makes a statement when the lights are on.
Planning Your Installation: Location, Spacing, and Layout
Now that you’ve picked your pole, it’s time to plan the layout. A well-thought-out plan ensures your lights look balanced and stay secure. Here’s how to do it right.
Measuring Your Patio and Determining Pole Placement
Start by measuring the area where you want the lights. Use a measuring tape and note the length, width, and any obstacles (like furniture, planters, or trees). Then, decide:
- Single pole: Best for small patios, balconies, or creating a focal point (e.g., over a dining table).
- Two poles: Ideal for rectangular or square patios. Space them 10–15 feet apart for optimal tension.
- Multiple poles: For large or irregularly shaped spaces. Arrange them in a grid, zigzag, or circular pattern to cover the area evenly.
Example: My patio is 12 feet by 16 feet. I used two poles, placed 12 feet apart (one at each end of the shorter side). This created a cozy “ceiling” of lights without overwhelming the space.
Accounting for Obstacles and Clearance
Always check for overhead obstacles (tree branches, roof overhangs, power lines) and ground-level ones (furniture, planters, pathways). Your lights should hang at least:
- 6 feet above the ground (to avoid head bumps)
- 2 feet below any tree branches or roof lines
- 1 foot away from walls or fences (to prevent moisture damage and allow airflow)
Pro tip: If you’re installing near a pool or hot tub, keep the poles at least 3 feet away for safety.
Creating a Lighting Pattern: Straight, Zigzag, or Starburst?
The way you string the lights affects the ambiance. Here are three popular patterns:
- Straight run: Simple and clean. Hang lights in parallel lines between poles. Best for small patios or modern spaces.
- Zigzag (crisscross): More visual interest. Alternate the angle of each strand for a dynamic look. Great for larger patios or entertaining areas.
- Starburst: Lights radiate from a central point (like a single pole with multiple arms). Perfect for circular seating areas or creating a focal point.
I love the zigzag pattern for parties—it makes the whole space feel more lively and festive!
Installing the Pole: Step-by-Step Guide
Now for the fun part: installing the pole. Whether you’re going for an in-ground or freestanding setup, follow these steps for a secure, long-lasting installation.
Freestanding vs. In-Ground Installation
Choose the method that works best for your space and needs:
- Freestanding (weighted base): Easier to install and move. Use a heavy base (concrete, sandbags, or a weighted stand) to keep the pole upright. Best for patios, decks, or temporary setups.
- In-ground (concrete footing): More permanent and stable. Dig a hole, set the pole, and pour concrete. Ideal for long-term use or high-wind areas.
For my deck, I used a freestanding base filled with sand. It’s heavy enough to stay put but easy to reposition if I want to change the layout.
Tools and Materials You’ll Need
Here’s what you’ll need for a successful install:
- Measuring tape
- Post hole digger or shovel (for in-ground)
- Level (to ensure the pole is straight)
- Concrete mix (for in-ground) or weighted base (for freestanding)
- Drill and screws (if the pole has a mounting plate)
- String or twine (to mark the layout)
- Stakes or markers (to mark pole positions)
Pro tip: Rent a post hole digger from a hardware store if you don’t have one. It’ll save you a lot of back pain!
Step-by-Step Installation Process
For in-ground installation:
- Mark the pole locations using stakes or string.
- Dig a hole 18–24 inches deep and 6–8 inches wide. Make it deeper if you’re in a windy area.
- Place the pole in the hole and use a level to ensure it’s perfectly vertical.
- Mix concrete according to package instructions and pour it into the hole. Leave 2–3 inches at the top to allow for drainage.
- Let the concrete cure for 24–48 hours before hanging lights.
For freestanding installation:
- Assemble the weighted base (fill with sand, water, or concrete).
- Insert the pole into the base and secure it with screws or locking pins.
- Use a level to adjust the pole until it’s straight.
I learned the hard way to double-check the level—my first pole looked fine during the day but leaned noticeably at night when the lights were on. A little extra time with the level saves a lot of frustration later!
Hanging the String Lights: Techniques for a Perfect Glow
Now that your pole is in place, it’s time to hang the lights. This is where your planning pays off. Follow these tips for a flawless finish.
Choosing the Right String Lights for Your Pole
Not all string lights are the same. Consider:
- Bulb type: LED (energy-efficient, long-lasting), incandescent (warmer glow, shorter lifespan), or solar (eco-friendly, but less reliable in cloudy weather).
- Length: Measure your layout and buy lights with 10–15% extra length for slack and connections.
- Weight: Lighter lights (10–20 bulbs) work with most poles. Heavier commercial lights (50+ bulbs) need sturdier poles and hardware.
I use 20-foot LED string lights with Edison bulbs. They’re bright enough to see but soft enough to feel cozy.
Attaching the Lights: Hooks, Clips, or Wire?
There are three main ways to hang lights on a pole:
- Eyelet hooks: Screw or bolt metal hooks into the pole. Best for permanent setups.
- Clips or zip ties: Attach to pre-drilled holes or wrap around the pole. Quick and easy, but less secure for heavy lights.
- Wire or cable: Run a thin wire between poles and clip lights to it. Allows for more tension and a cleaner look.
For my setup, I used eyelet hooks at each end of the pole. They’re sturdy and easy to adjust.
Managing Tension and Avoiding Sagging
Sagging lights ruin the look and can strain your pole. To prevent it:
- Use turnbuckles or tensioners to tighten the wire or string.
- Hang lights in a zigzag pattern to distribute weight evenly.
- Add a support pole in the middle for spans longer than 15 feet.
Pro tip: Hang the lights during the day when you can see the layout clearly. Adjust the tension at night when the lights are on—sometimes they look tighter in the dark!
Maintenance and Safety Tips for Long-Lasting Lights
Your pole and lights will last for years if you take care of them. Here’s how to keep everything in top shape.
Seasonal Maintenance Checklist
Follow this simple routine:
- Spring: Check poles for rust, rot, or looseness. Tighten bolts and reseal wood if needed.
- Summer: Inspect lights for frayed wires or burnt-out bulbs. Replace as needed.
- Fall: Remove lights if you’re in a cold climate. Store them in a dry place to prevent damage.
- Winter: Cover or remove poles if they’re not rated for heavy snow or ice.
I learned to take my lights down in winter after one year when a snowstorm bent my pole. Now I store them in a plastic bin with silica gel packs to prevent moisture damage.
Safety Precautions: Wind, Water, and Electrical Safety
Always prioritize safety:
- Use weatherproof lights (rated for outdoor use).
- Keep electrical connections above ground and covered with waterproof caps.
- Use a ground fault circuit interrupter (GFCI) outlet to prevent shocks.
- Secure poles extra well if you live in a windy area.
One summer, a sudden storm knocked over a neighbor’s pole because they didn’t secure it properly. Don’t let that be you!
Extending the Life of Your Pole and Lights
Simple habits make a big difference:
- Clean metal poles with soapy water to prevent rust.
- Sand and reseal wooden poles every 2–3 years.
- Replace bulbs promptly to avoid overloading the circuit.
Data Table: Recommended Pole and Light Combinations
| Patio Size | Pole Type | Recommended Height | Light Type | Spacing Between Poles | Notes |
|---|---|---|---|---|---|
| Small (up to 10 ft) | Freestanding or shepherd’s hook | 8 ft | LED, 10–20 bulbs | N/A (single pole) | Perfect for balconies or dining nooks |
| Medium (10–15 ft) | In-ground or weighted base | 10 ft | LED or incandescent, 20–30 bulbs | 10–12 ft | Ideal for most patios |
| Large (15+ ft) | In-ground (concrete) | 12 ft | Commercial LED, 40+ bulbs | 15–20 ft (with center support) | Use tensioners to avoid sagging |
| Irregular shape | Multiple poles (grid or starburst) | 8–12 ft | Mixed lengths, LED | Varies | Plan layout carefully before installing |
Final Thoughts: Enjoy Your Perfectly Lit Patio
Installing a pole to hang patio string lights isn’t just about aesthetics—it’s about creating a space where you love to spend time. Whether it’s a quiet evening with a glass of wine or a lively gathering with friends, the right lighting transforms your patio into a magical retreat. By choosing the right pole, planning your layout carefully, and following proper installation and maintenance steps, you’ll enjoy years of beautiful, hassle-free ambiance.
Remember, it’s not about perfection—it’s about what makes you happy. If you want a simple single pole with one strand of lights, go for it. If you’re dreaming of a starburst pattern with 50 bulbs, make it happen. The best setup is the one that feels like home. So grab your pole, string those lights, and get ready to bask in the glow. Your patio is about to become your favorite room in the house.
Frequently Asked Questions
How do I choose the right pole to hang patio string lights?
Select a sturdy, weather-resistant pole (like steel or aluminum) that’s tall enough to keep lights 7–10 feet above the ground. Ensure it can support the weight of your string lights, especially if using heavier LED or vintage-style bulbs.
Can I install a pole for patio string lights on any surface?
Yes, but the installation method varies. For concrete or stone, use anchor bolts; for grass or soil, a ground sleeve or auger-style base works best. Always check for underground utilities first.
How far apart should poles be when hanging patio string lights?
Space poles 10–15 feet apart, depending on the weight of your lights and the tension needed. Heavier lights or longer runs may require closer spacing to prevent sagging.
Do I need special hardware to attach string lights to a pole?
Yes, use eye bolts, hooks, or cable clamps designed for outdoor use. These ensure a secure grip and prevent damage to the pole or lights from wind or weather.
How do I keep my pole stable when hanging patio string lights in windy areas?
Use a wider base (like a concrete footing) or guy wires for extra support. Tighten the lights properly and avoid overloading the pole to minimize swaying.
Can I remove the pole after using my patio string lights seasonally?
Absolutely! Opt for a ground sleeve or portable base for easy removal. Store the pole indoors during off-seasons to extend its lifespan and maintain stability.

