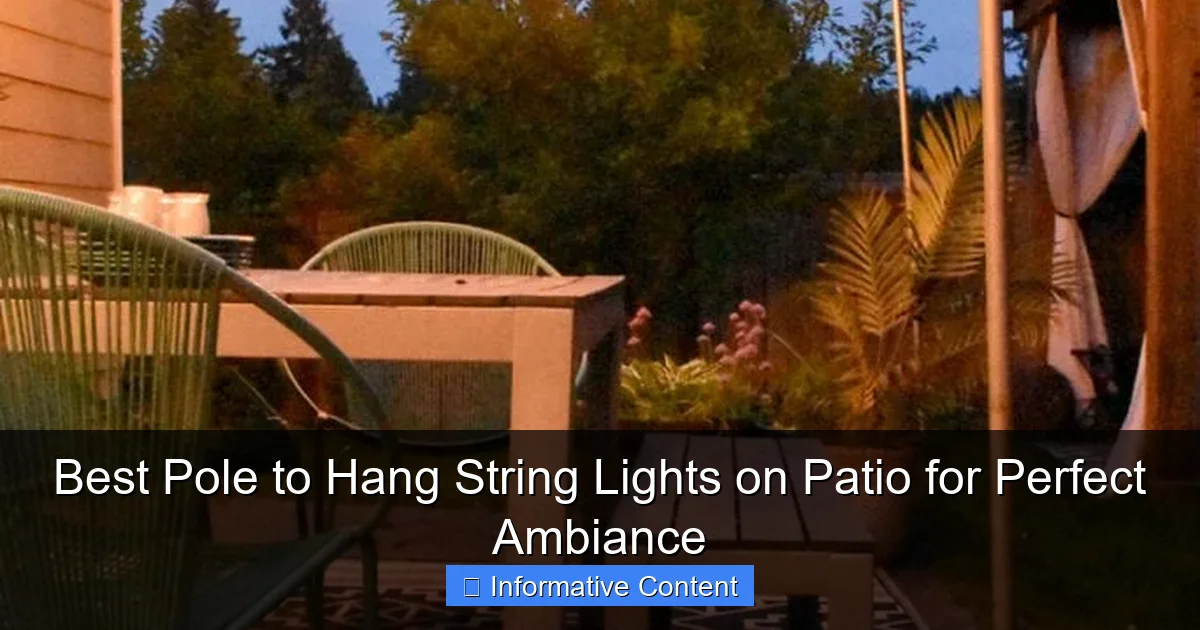
Featured image for pole to hang string lights on patio
Image source: jessicawellinginteriors.com
Choosing the right pole to hang string lights on your patio is essential for creating a safe, stylish, and inviting ambiance. Look for durable, weather-resistant materials like powder-coated steel or aluminum that offer stability and blend seamlessly with your outdoor decor. Whether you opt for a permanent post, a freestanding design, or a versatile shepherd’s hook, the perfect pole enhances both function and atmosphere.
Key Takeaways
- Choose sturdy poles: Ensure poles are durable and weather-resistant for long-term use.
- Opt for adjustable height: Adjustable poles offer flexibility in light placement and ambiance control.
- Prioritize easy installation: Select poles with simple setup to save time and effort.
- Measure your space: Plan pole placement based on patio size and light string length.
- Consider portability: Lightweight poles are ideal for seasonal or temporary setups.
- Match your decor: Pick poles that complement your patio’s style and aesthetic.
📑 Table of Contents
- Why You Need the Right Pole to Hang String Lights on Patio
- What Makes a Great Pole to Hang String Lights on Patio?
- Top 5 Types of Poles to Hang String Lights on Patio
- How to Choose the Right Pole Based on Your Patio Layout
- Installation Tips and Pro Tricks for a Flawless Setup
- Comparison Table: Best Poles to Hang String Lights on Patio
- Final Thoughts: Creating Your Perfect Patio Ambiance
Why You Need the Right Pole to Hang String Lights on Patio
Imagine this: It’s a warm summer evening, the air is soft, and you’re sitting on your patio with friends, sipping iced tea or maybe a glass of wine. Above you, string lights drape gently from one side of the space to the other, casting a warm, golden glow that turns your outdoor area into a cozy retreat. That’s the magic of well-placed string lights. But here’s the thing—no matter how beautiful the lights are, they won’t shine their best without the right pole to hang string lights on patio setup.
Many people skip this step and end up with sagging lights, uneven spacing, or worse—lights that fall down after a few weeks. I’ve been there. A few years ago, I tried using flimsy garden stakes and zip ties to hang my string lights. They looked great for a weekend barbecue, but by the next storm, they were dangling like sad party streamers. That’s when I realized: the pole isn’t just a support—it’s the backbone of your outdoor lighting design. The pole to hang string lights on patio isn’t just about function; it’s about creating a mood, a vibe, a place where memories happen.
What Makes a Great Pole to Hang String Lights on Patio?
Stability and Height: The Foundation of Good Lighting
Let’s talk about the basics: stability and height. A good pole to hang string lights on patio needs to stand firm, no matter the weather. Wind, rain, or even the occasional enthusiastic dog jumping near it shouldn’t knock it over. Height matters too. You want your lights high enough (usually 7 to 10 feet) so people can walk under them without bumping their heads, but low enough to create intimacy.
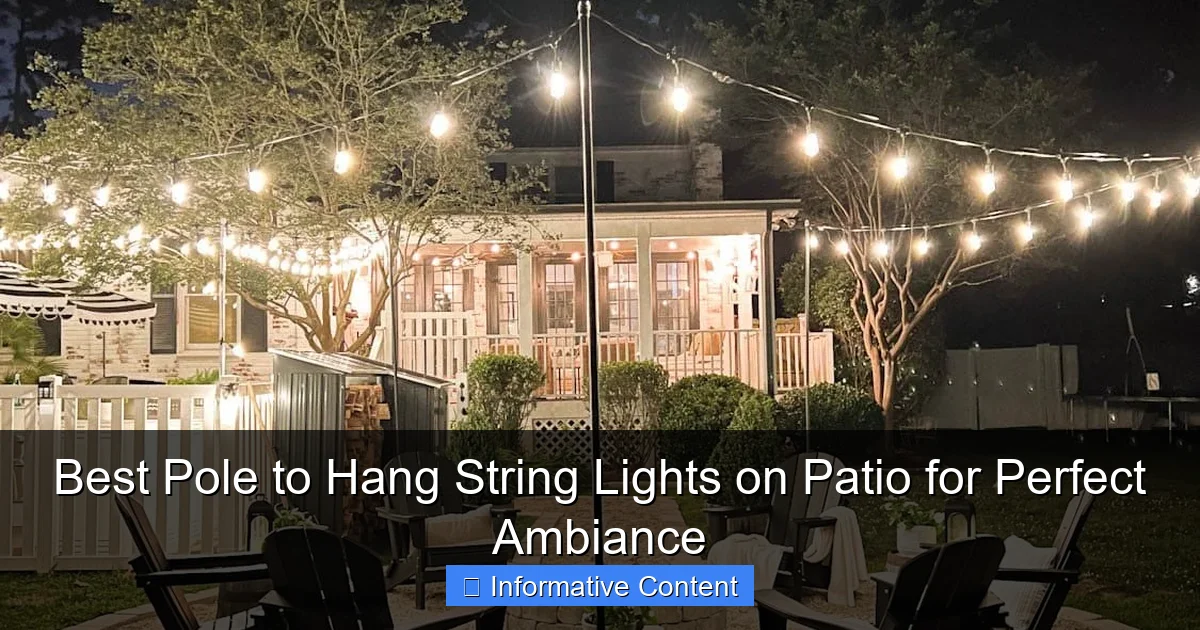
Visual guide about pole to hang string lights on patio
Image source: blesserhouse.com
For example, I once installed lights using a 6-foot pole. They looked great at first, but my tall friend kept ducking every time he walked by. Not ideal. Now, I always go for 8 to 9 feet—perfect for most adults and still cozy. The pole should also have a wide, weighted base or be securely anchored. I’ve seen people use sandbags, concrete footings, or even bury the pole a few inches into the ground. All work, but the key is permanence. You don’t want to adjust it every time the wind picks up.
Material Matters: Durability vs. Aesthetics
The material of your pole affects both how long it lasts and how it looks. Here are the most common options:
- Steel: Super strong and weather-resistant, especially if it’s galvanized or powder-coated. Great for long-term use, but can be heavy and harder to move. I use steel poles for my permanent setup.
- Aluminum: Lighter than steel, rust-resistant, and easier to install. Ideal if you want to reposition your lights seasonally. A little less sturdy in high winds, though.
- Wood: Beautiful and natural-looking, especially cedar or redwood. But it needs sealing and maintenance to avoid warping or rot. Best for dry climates or covered patios.
- PVC or Plastic: Lightweight and cheap, but not very durable. I’ve used these for temporary setups (like parties), but they’re not my go-to for everyday use.
My advice? If you’re going for a rustic, farmhouse look, go wood—but seal it well. For a modern or industrial vibe, steel or aluminum is the way to go. And if you’re on a budget, consider repurposing old fence posts or metal conduit. Just make sure they’re treated for outdoor use.
Adjustability and Mounting Options
Not all patios are the same. Some have walls, others have trees, and some are open spaces with no natural anchors. That’s why adjustability is key. Look for poles with:
- Telescoping sections: Let you change height easily.
- Swivel or rotating heads: Allow you to angle the light string for better coverage.
- Multiple mounting points: So you can hang lights in an “X” or “V” pattern instead of a straight line.
I once had a patio with uneven ground and no nearby trees. I used a telescoping pole with a ground auger base—kind of like a screw that goes into the soil. It held up perfectly during a storm, and I could adjust the height as needed. Another time, I used a wall-mounted pole (with proper anchors) to connect to a freestanding one. That gave me the “X” pattern I wanted without needing a tree.
Top 5 Types of Poles to Hang String Lights on Patio
1. Freestanding Metal Poles with Weighted Bases
These are the workhorses of outdoor lighting. Think of them like heavy-duty umbrella stands—solid, stable, and easy to move if needed. Most come with a flat or round base (often filled with sand or water) and a vertical pole that extends 8–10 feet high.
Pros:
- No drilling or permanent installation
- Portable—great for renters or seasonal setups
- Available in various finishes (black, bronze, silver)
Cons:
- Can tip in strong winds if not weighted enough
- Base takes up floor space
I use a set of two black steel poles with 12-inch weighted bases on my back patio. I fill them with sand, and they’ve survived two hurricanes with no issues. I like that I can move them around if I rearrange the furniture.
2. Ground-Auger or Screw-In Poles
These poles screw into the ground like a giant corkscrew. They’re perfect for grass, dirt, or even gravel. The auger goes deep—usually 12 to 24 inches—so they’re incredibly stable.
Pros:
- Very secure—won’t wobble or tip
- Minimal visual footprint
- Great for long-term installations
Cons:
- Not ideal for concrete or paved patios
- Hard to remove once installed
I installed auger poles in my side yard, where I have a dining area. They’re so stable I’ve hung heavier Edison-style bulbs without sagging. The only downside? If I ever want to move them, I’ll need a tool to unscrew them. But honestly, I don’t plan to.
3. Wall-Mounted or Bracketed Poles
If your patio has a house, garage, or shed nearby, wall-mounted poles are a smart choice. They attach directly to the structure using heavy-duty brackets or J-hooks.
Pros:
- No floor space used
- Extremely stable
- Can support longer light runs
Cons:
- Requires drilling into walls
- Not suitable for renters or temporary setups
I used wall-mounted brackets on my front porch. I attached them to the fascia board with lag screws, and now I can run lights across the entire width. It’s clean, professional, and doesn’t clutter the space.
4. Tree-Mounted or Clamp-On Poles
If you’re lucky enough to have trees near your patio, use them! Tree-mounted poles (or tree straps with hooks) let you hang lights without damaging the bark.
Pros:
- Natural, organic look
- No installation on hard surfaces
- Ideal for creating canopies
Cons:
- Not all trees are suitable (thin trunks or weak branches)
- Seasonal changes (like leaf drop) affect aesthetics
I have a large oak tree in my backyard. I use wide nylon straps with carabiner clips to hang a central pole. It’s like a chandelier in the sky—perfect for summer nights. Just make sure to use wide straps (at least 2 inches) to avoid girdling the tree.
5. DIY or Repurposed Poles
Feeling creative? You can build your own pole using materials you already have.
Examples:
- Old metal conduit or rebar (painted and sealed)
- PVC pipe with concrete footings
- Reclaimed wood posts (treated for outdoor use)
Pros:
- Customizable to your space
- Cost-effective
- Unique, personal touch
Cons:
- More time and effort to build
- May not be as durable as commercial options
I once made a pole from a 10-foot galvanized steel pipe and a cinder block base. I filled the block with sand and painted the pipe black. It looked sleek and held up for years. Total cost? Under $30.
How to Choose the Right Pole Based on Your Patio Layout
Open Patio (No Nearby Walls or Trees)
No walls? No trees? No problem. Use freestanding poles with weighted bases or auger poles. For a large space, go with four poles to create a rectangle or square. This gives you maximum coverage and a balanced look.
Pro tip: Place the poles slightly wider than your seating area. This creates a “frame” for your lights and keeps them from hanging too low over furniture.
Patio with One Adjacent Structure (House, Shed, etc.)
If one side of your patio is against a wall, use a wall-mounted pole on that side and a freestanding or auger pole on the opposite side. Connect them with a single run of lights, or go for an “L” shape if you have a corner.
I did this on my deck. One end is against the house, so I used a wall bracket. The other end has an auger pole in the yard. The lights run straight across, and it looks intentional—not like I ran out of anchors.
Patio with Trees or Natural Features
Use tree-mounted poles or clamp-on hooks to tie into nature. For a canopy effect, hang lights between multiple trees. Or, use a central tree as an anchor and run lights to nearby poles or structures.
Example: I have three trees in my backyard. I hung lights in a triangular pattern using tree straps and freestanding poles. It creates a magical, starry-night effect without needing walls or fences.
Small or Narrow Patio
Don’t overcrowd a small space. Use one or two lightweight poles (like aluminum or PVC) and keep the lights high. Consider a “V” or “Y” pattern to draw the eye upward and create the illusion of more space.
I helped a friend with a tiny balcony. We used a single telescoping pole with a small weighted base. The lights ran from the pole to a corner of the railing. It felt cozy, not cluttered.
Installation Tips and Pro Tricks for a Flawless Setup
Step-by-Step: How to Install a Freestanding Pole
- Choose your location: Make sure it’s level and away from high-traffic areas.
- Fill the base: Use sand, water, or concrete. Sand is easiest to remove later.
- Assemble the pole: Follow the manufacturer’s instructions. Most have telescoping sections.
- Attach hooks or eyelets: These go at the top of the pole. Use stainless steel to prevent rust.
- Hang the lights: Start at one end and work your way across. Use zip ties or S-hooks for extra security.
Pro trick: Hang the lights a few inches higher than you think you need. They’ll stretch slightly over time.
Securing Lights Without Sagging
Sagging lights are a common problem. To avoid it:
- Use light clips or hooks every 12–18 inches.
- For long runs, add a support wire (like thin steel cable) under the lights. It’s invisible but adds strength.
- Don’t over-tighten. Lights should have a gentle “drape,” not be pulled taut.
I learned this the hard way. I once pulled my lights too tight, and the bulbs started popping. Now, I let them hang with a soft curve—like a hammock.
Weatherproofing and Long-Term Care
Outdoor poles need care to last. Here’s how to protect them:
- Seal wood poles with a UV-resistant sealant (reapply every 1–2 years).
- Wipe down metal poles with a damp cloth to remove dirt and salt (especially near the coast).
- Check connections annually. Tighten bolts and replace rusted hooks.
- Store lights in a dry place during winter if you live in a cold climate.
I inspect my poles every spring. It takes 10 minutes, but it saves me from surprises when I want to turn the lights on.
Comparison Table: Best Poles to Hang String Lights on Patio
| Pole Type | Best For | Max Height | Installation | Durability | Price Range |
|---|---|---|---|---|---|
| Freestanding (Weighted) | Open patios, renters | 10 ft | Easy (no tools) | High (with sand/weight) | $40–$120 per pole |
| Ground-Auger | Grass, dirt, long-term | 12 ft | Moderate (screw into ground) | Very High | $50–$150 per pole |
| Wall-Mounted | Nearby structures | Adjustable | Moderate (drilling) | Very High | $30–$100 (brackets only) |
| Tree-Mounted | Natural settings | Depends on tree | Easy (straps) | High (if installed correctly) | $20–$60 per setup |
| DIY/Repurposed | Budget, custom look | Custom | Varies | Medium to High | $10–$50 (materials) |
Final Thoughts: Creating Your Perfect Patio Ambiance
At the end of the day, the pole to hang string lights on patio isn’t just a practical tool—it’s part of your outdoor story. It’s the quiet hero that lets your lights shine, your space breathe, and your guests feel welcome. Whether you go for sleek steel, rustic wood, or a clever DIY solution, the right pole makes all the difference.
Think about how you use your patio. Is it a place for quiet evenings? Big gatherings? Romantic dinners? The pole should support that vision. I’ve seen people spend hundreds on lights but skimp on the poles—and the result is always underwhelming. Don’t let that be you.
Start small. Try one pole first. See how it feels. Adjust the height, the angle, the light pattern. Once you get it right, you’ll wonder how you ever lived without it. And when those lights glow at dusk, casting soft shadows and warm hues across your patio, you’ll know—it was worth every minute.
So go ahead. Pick the pole to hang string lights on patio that fits your space, your style, and your dreams. Because the perfect ambiance isn’t just about the lights. It’s about the foundation that holds them up—and the memories they help create.
Frequently Asked Questions
What is the best pole to hang string lights on patio for a sturdy setup?
The best pole to hang string lights on patio is typically a heavy-duty steel or aluminum pole with a weighted base or ground stake for stability. Look for adjustable height options (6–10 feet) to customize your lighting arrangement.
Can I use a single pole to hang string lights without trees or walls?
Yes! A freestanding pole with a broad base or auger-style ground anchor works perfectly for open patios. Ensure it’s tall enough (at least 8 feet) to drape lights safely above head height.
How do I secure the pole to hang string lights on patio without drilling?
Opt for a freestanding pole with a weighted base (e.g., filled with sand or water) or a clamp-on model for railings. These avoid permanent installation while keeping lights taut and secure.
What height should my pole be to hang patio string lights properly?
Aim for 7–9 feet in height to allow lights to drape elegantly without sagging. Adjust based on your patio size and light string length for optimal spacing and ambiance.
Are there decorative poles to hang string lights on patio that blend with outdoor decor?
Absolutely! Choose powder-coated metal, wooden, or rustic bronze poles with built-in hooks or rings. These add style while supporting your lights seamlessly.
How do I prevent my pole from tipping when hanging heavy string lights?
Use a pole with a wide base, ground stakes, or sandbag weights. For windy areas, cross-brace the pole with guy wires or select a heavier material like cast iron for stability.

