
Featured image for pole to string patio lights
Image source: atcharlotteshouse.com
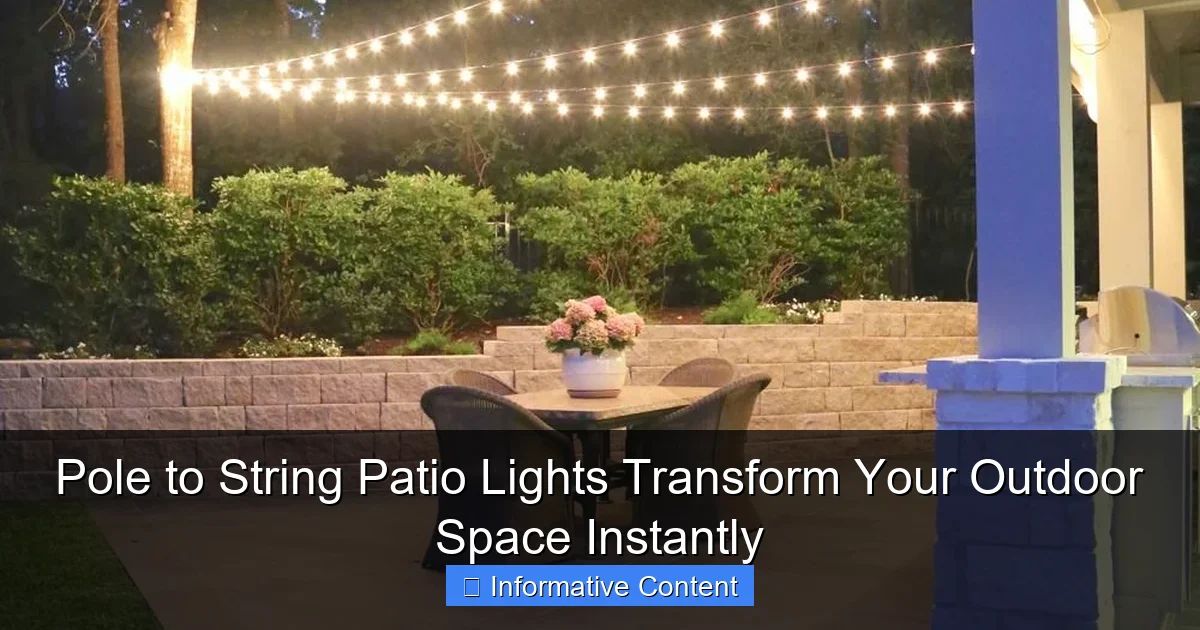
Transform your outdoor space instantly with pole to string patio lights, the hassle-free solution for creating a warm, inviting ambiance in minutes. Easy to install and endlessly versatile, these lights elevate patios, decks, and gardens with durable, weather-resistant designs and customizable brightness—perfect for entertaining or relaxing after dark.
Key Takeaways
- Instant ambiance: Transform any patio with quick, elegant pole-to-string lighting setups.
- Versatile placement: Mount on poles, trees, or walls for custom outdoor designs.
- Weatherproof options: Choose durable, IP-rated lights for year-round outdoor use.
- Energy-efficient: Opt for LED bulbs to save power and reduce replacement costs.
- Easy installation: No wiring needed—plug-in or solar models simplify setup.
- Adjustable brightness: Use dimmers to set the perfect mood for any occasion.
📑 Table of Contents
- Why Pole to String Patio Lights Are a Game-Changer for Your Backyard
- What Are Pole to String Patio Lights? (And Why They Work So Well)
- Choosing the Right Components: Poles, Lights, and Hardware
- Step-by-Step Installation: From Planning to Party-Ready
- Styling Tips: Creating Ambiance for Every Occasion
- Maintenance, Safety, and Longevity: Keeping Your Lights Shining
- Real-World Data: Comparing Pole-to-String Options
- Final Thoughts: Light Up Your Life—One Strand at a Time
Why Pole to String Patio Lights Are a Game-Changer for Your Backyard
Imagine this: You step outside after sunset, and instead of fumbling for the porch light, your entire patio glows with a warm, inviting radiance. The air hums with laughter, music, and the gentle clink of glasses. String lights drape overhead like stars caught in a net, connecting two sturdy poles and transforming your backyard into a cozy, magical retreat. That’s the power of pole to string patio lights—they don’t just add light, they create an experience.
Whether you’re hosting a summer barbecue, enjoying a quiet evening with a book, or throwing a birthday party under the stars, these lights instantly elevate your outdoor space. No need for expensive renovations or permanent installations. With just two poles and a strand (or several) of lights, you can craft an ambiance that feels both intimate and festive. And the best part? They’re surprisingly easy to set up, even if you’re not exactly a DIY pro.
What Are Pole to String Patio Lights? (And Why They Work So Well)
Defining the Setup
At their core, pole to string patio lights are exactly what they sound like: lighting fixtures suspended between two vertical supports—usually poles—to create a canopy of light over a defined area. Unlike traditional string lights that hang from trees, eaves, or fences, this setup gives you total control over placement, height, and spacing. The poles act as anchors, allowing you to stretch lights across patios, decks, pergolas, or even open lawns.
Visual guide about pole to string patio lights
Image source: i.pinimg.com
The beauty of this system is its flexibility. You can use freestanding metal poles, repurpose wooden posts, or install permanent concrete bases depending on your needs. The lights themselves range from classic Edison bulbs to modern LED clusters, solar-powered strands, or even smart bulbs you can control from your phone. It’s a modular, customizable solution that adapts to your space.
Why This Design Wins Over Alternatives
Compared to other outdoor lighting options, pole-to-string systems offer several advantages:
- No reliance on existing structures: No overhanging roof? No problem. You’re not limited by trees or house eaves.
- Adjustable coverage: Want to light a 10-foot dining area? Or stretch across 30 feet for a dance floor? Just move the poles.
- Year-round versatility: Unlike tree-mounted lights (which depend on foliage), these work in any season and won’t harm plants.
- Professional look: The clean lines and symmetrical setup give a polished, intentional feel—like you hired a designer.
Take Sarah, a homeowner in Portland, for example. She had a small backyard with no trees or eaves but dreamed of a bistro-style patio. After installing two black metal poles and running warm-white LED lights between them, she created a romantic nook perfect for date nights. “It felt like we were dining at a sidewalk café,” she told me. “And it cost less than a single restaurant bill.”
Choosing the Right Components: Poles, Lights, and Hardware
Step 1: Picking the Perfect Poles
The poles are the backbone of your setup. Choose wrong, and your lights might sag, sway, or collapse in the first gust of wind. Here’s what to consider:
- Material:
- Metal (steel, aluminum, wrought iron): Durable and wind-resistant. Great for permanent installations. Look for powder-coated finishes to prevent rust.
- Wood: Natural, rustic look. Cedar or pressure-treated pine works best. Seal with outdoor varnish to extend lifespan.
- PVC: Lightweight and rustproof, but less sturdy in high winds. Ideal for temporary setups.
- Height: 7–10 feet is ideal. Too short, and people might bump into lights. Too tall, and the glow feels distant. For dining areas, aim for 8 feet so bulbs hang ~7 feet high.
- Installation type:
- Freestanding: Base-mounted with weighted stands. Easy to move but less stable in wind.
- Surface-mounted: Bolted to concrete, decking, or pavers. Super secure but semi-permanent.
- In-ground: Set in concrete for permanent setups. Most wind-resistant.
Step 2: Selecting Your Lights
Not all string lights are created equal. Match your choice to your needs:
- Bulb type:
- LED: Energy-efficient, long-lasting (20,000+ hours), cool to touch. Best for year-round use.
- Incandescent: Warmer glow but shorter lifespan (2,000 hours) and higher energy use. Great for occasional events.
- Solar-powered: Eco-friendly and wire-free, but brightness varies with sun exposure. Ideal for shaded areas with indirect light.
- Bulb style:
- Edison bulbs: Vintage, exposed filament. Perfect for bistro or industrial aesthetics.
- Globe lights: Uniform, modern look. Great for contemporary spaces.
- Twinkle or color-changing: Festive for parties, but avoid for daily use (can feel gimmicky).
- Length and spacing:
- Measure the distance between poles. Buy lights with 10–20% extra length to allow for sag.
- Spacing: Bulbs every 4–6 inches create a balanced glow. Closer spacing = brighter area.
Step 3: Hardware and Extras
Don’t overlook the small stuff—it’s what keeps your lights secure:
- Hooks or eye bolts: Install at the top of each pole to anchor lights. Use stainless steel to prevent rust.
- Turnbuckles: Tension adjusters that keep lights taut. Essential for spans over 15 feet.
- Zip ties or wire clips: For securing cords to poles (if using multiple strands).
- Extension cords: Use outdoor-rated, weatherproof cords. GFCI-protected outlets are a must for safety.
- Smart plugs/timers: Automate on/off times. A game-changer for energy savings and security.
Pro tip: Test your lights before final installation. Plug them in to check for dead bulbs or faulty strands. Nothing’s worse than hanging a 30-foot light only to find a section isn’t working!
Step-by-Step Installation: From Planning to Party-Ready
1. Map Your Space
Start with a rough sketch. Measure the area you want to light. Mark where poles will go, considering:
- Distance from seating/dining areas (aim for 6–8 feet clearance around poles)
- Proximity to power sources (for electric lights)
- Wind exposure (avoid open areas if using lightweight poles)
- Ground type (grass, pavers, etc.) for installation method
Example: For a 12×12 ft patio, place poles at opposite corners, ~10 feet apart. This creates a diagonal canopy that illuminates the whole space.
2. Install the Poles
Freestanding setup (easiest for beginners):
- Position base plates where poles will go.
- Attach poles with bolts or set screws.
- Add decorative caps (optional).
In-ground setup (most permanent):
- Dig holes 18–24 inches deep, 6–8 inches wide.
- Insert poles, level them, and pour concrete. Let cure 24–48 hours.
- Attach mounting hardware once concrete is set.
Tip: Use a level to ensure poles are perfectly vertical. A 1° tilt won’t matter visually but prevents stress on hardware.
3. Hang the Lights
- Attach eye bolts or hooks to the top of each pole.
- Unspool lights on the ground, plugging them in to test.
- Secure one end to the first pole with a carabiner or zip tie.
- Walk the strand to the second pole, allowing slight sag (1–2 inches per 10 feet).
- Attach the other end. Use turnbuckles to fine-tension.
- For multiple strands, run them parallel, spaced 12–18 inches apart.
Pro tip: If your lights have built-in hooks, use them. If not, loop the cord around the hook and tie a simple knot (like a clove hitch) for security.
4. Manage Cords and Power
- Route extension cords along poles using zip ties or clips.
- Use outdoor-rated cord covers to protect wires from tripping hazards.
- Plug into a GFCI outlet (or use a GFCI adapter).
- For solar lights, ensure panels face sunlight (south in the Northern Hemisphere).
Warning: Never daisy-chain more than 3 strands of incandescent lights. LEDs are safer—check manufacturer guidelines for max strands.
Styling Tips: Creating Ambiance for Every Occasion
Match Lights to Your Aesthetic
- Rustic charm: Use wooden poles with Edison bulbs. Drape with ivy or string lights with amber glass.
- Modern minimalist: Sleek metal poles with globe LEDs. Keep spacing uniform and avoid clutter.
- Tropical vibe: Bamboo poles with colored lights (teal, coral). Add tiki torches for extra flair.
- Romantic bistro: Black wrought iron poles with warm-white Edison bulbs. Pair with a small dining set.
Layer Your Lighting
Don’t rely on string lights alone. Layer with:
- Uplighting: Place LED spotlights at pole bases to cast shadows upward.
- Path lights: Guide guests to your lit area with solar stakes.
- Table lighting: Candles, lanterns, or small LED fixtures.
Example: For a wedding, I once combined pole-to-string lights with floating candles in glass vases and fairy lights on the ground. The result? A dreamy, multi-level glow that photographers loved.
Seasonal Adjustments
- Summer: Use brighter lights for evening gatherings. Add citronella candles to poles for bug control.
- Fall: Warm white or amber lights mimic cozy fires. Drape with garlands for harvest festivals.
- Winter: White or blue LEDs create a frosty, magical effect. Add icicle lights below the canopy.
- Spring: Pastel-colored bulbs or solar flowers for a fresh, blooming feel.
Maintenance, Safety, and Longevity: Keeping Your Lights Shining
Routine Upkeep
- Clean bulbs monthly: Wipe with a damp cloth to remove dust, pollen, and cobwebs.
- Check hardware: Tighten loose hooks or turnbuckles every 3 months.
- Inspect cords: Look for fraying, cracks, or exposed wires. Replace damaged sections immediately.
- Trim nearby plants: Overhanging branches can damage lights or create fire hazards.
Safety First
- Weatherproofing: Use outdoor-rated lights and seal connections with silicone tape.
- Wind protection: In stormy areas, lower lights or use retractable systems.
- Child/pet safety: Keep cords out of reach. Use low-voltage (12V) systems if kids play nearby.
Fire risk: Never cover lights with flammable materials (e.g., fabric, paper).
Maximizing Lifespan
With proper care, pole-to-string lights can last 5–10 years. Extend their life by:
- Storing lights in a dry, cool place during off-seasons (for temporary setups).
- Replacing bulbs individually (LEDs) rather than entire strands.
- Using timers to reduce daily usage (e.g., 4 hours instead of 8).
- Choosing commercial-grade lights for heavy use (they’re built tougher).
Real-World Data: Comparing Pole-to-String Options
| Feature | Metal Poles + LED Lights | Wood Poles + Incandescent | Solar Poles + LED |
|---|---|---|---|
| Cost (Initial) | $150–$400 | $100–$250 | $200–$500 |
| Lifespan | 7–10 years | 3–5 years (lights), 10+ (poles) | 5–7 years |
| Energy Use | Low (5–10W/strand) | High (60–100W/strand) | Zero (solar) |
| Wind Resistance | Excellent | Good (if sealed) | Fair (lightweight) |
| Best For | Year-round, high-wind areas | Rustic, temporary setups | Eco-friendly, shaded spaces |
Note: Costs based on 20 ft spans with 20 bulbs. Prices vary by brand and region.
Final Thoughts: Light Up Your Life—One Strand at a Time
When I first set up my own pole-to-string patio lights, I was skeptical. Could a few poles and some bulbs really transform my drab backyard? The first night I turned them on, my neighbor knocked on my door—not to complain, but to ask where I’d bought the lights. “It’s like you’ve got a secret garden,” she said. That’s when I realized: pole to string patio lights aren’t just about illumination. They’re about invitation. They say, “Come sit. Stay awhile. This space is alive.”
You don’t need a sprawling estate or a designer budget to create that magic. Whether you’re lighting a 100-square-foot patio or a 50-foot deck, this system scales to fit your space—and your life. The key is thoughtful planning, quality components, and a willingness to experiment. Try different bulb colors. Play with spacing. Add a strand of twinkle lights for the holidays. The possibilities are as endless as the stars above.
So go ahead: stake your poles, hang your lights, and press that switch. Watch your outdoor space transform from forgotten to favorite. And when you’re sitting under that glowing canopy, sipping wine or sharing stories with friends, you’ll know—this isn’t just a lighting setup. It’s a memory in the making.
Frequently Asked Questions
How do pole to string patio lights enhance my outdoor space?
Pole to string patio lights instantly create a warm, inviting ambiance by connecting vertical poles with twinkling or decorative string lights. They’re perfect for defining seating areas, illuminating pathways, or adding a magical touch to evening gatherings. Their modular design makes them easy to customize for any patio size or layout.
What are the best locations to install pole to string lights?
Ideal spots include between deck posts, trees, pergolas, or freestanding poles in open patios. For maximum impact, install them around dining areas, poolside, or along garden borders to highlight key features. Ensure the poles are anchored securely for windy conditions.
Are pole to string patio lights weather-resistant?
Most high-quality pole to string patio lights use weather-resistant materials like rust-proof poles and waterproof LED bulbs. Look for UL-rated or IP65-certified products for year-round outdoor use. Always check manufacturer guidelines for extreme weather care.
Can I adjust the height and spacing of pole to string lights?
Yes! Many systems feature telescoping poles or adjustable hooks, allowing you to customize height (typically 6–10 ft) and spacing between poles. This flexibility ensures optimal light coverage and suits unique outdoor layouts. Measure your space first for ideal pole placement.
What power options work for pole to string patio lights?
Options include plug-in (for nearby outlets), solar-powered (eco-friendly and portable), or battery-operated (for remote areas). Solar and battery versions offer easier installation without cords, while plug-in models provide consistent brightness for larger setups.
How do I maintain pole to string patio lights?
Wipe poles and lights with a damp cloth to remove dust or debris, and store them in a dry place during off-seasons. For permanent installations, check wiring and pole stability annually. LED bulbs rarely need replacement, but keep spare bulbs on hand just in case.

