
Featured image for how to fix solar led string lights
Image source: i0.wp.com
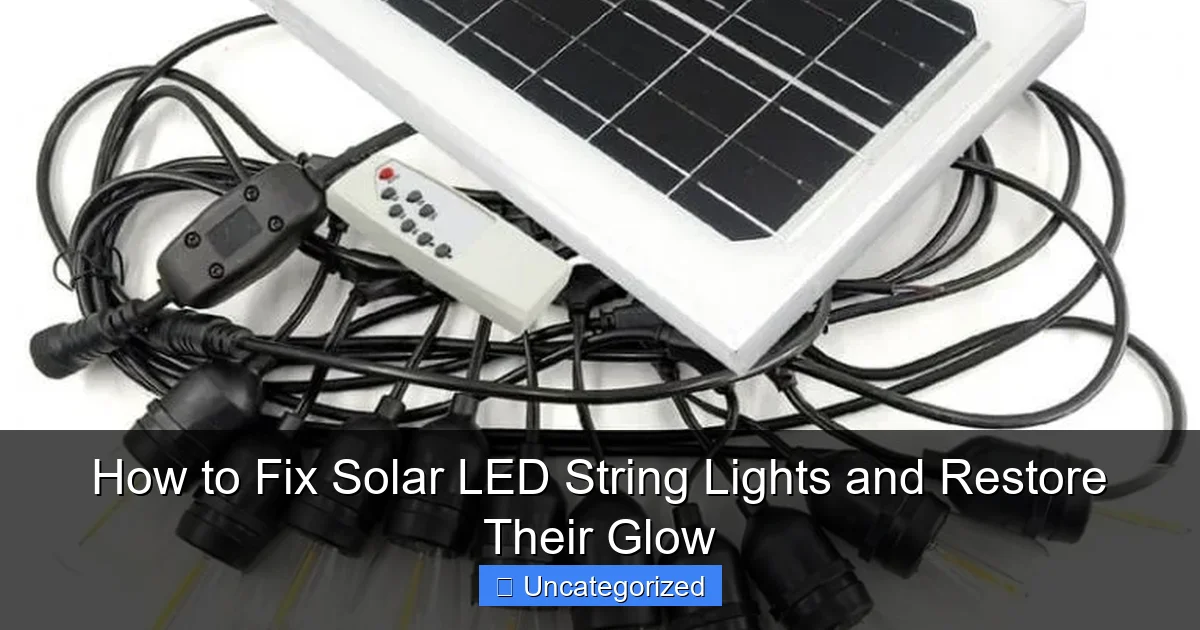
Revive your solar LED string lights by first checking and cleaning the solar panel to ensure maximum sunlight absorption—dirt or shade is often the main culprit behind dim or non-working lights. Replace rechargeable batteries if they no longer hold a charge, and test connections or wiring for corrosion or breaks to restore their glow quickly and affordably.
“`html
How to Fix Solar LED String Lights and Restore Their Glow
Key Takeaways
- Check the solar panel: Clean and reposition it for maximum sunlight exposure.
- Inspect batteries: Replace old or corroded ones to restore power.
- Test connections: Ensure wires and switches are secure and undamaged.
- Reset the system: Turn off and on to troubleshoot minor glitches.
- Shield from shade: Install in full sun to avoid charging issues.
- Store properly: Remove batteries before long-term storage to prevent leaks.
Why This Matters / Understanding the Problem
Solar LED string lights bring warmth and charm to patios, gardens, and balconies. But after a few seasons, many stop working—leaving you with a dark, disappointing space.
Instead of tossing them out, you can often fix solar LED string lights and restore their glow with a little troubleshooting. Whether they flicker, dim, or won’t turn on at all, the issue is usually fixable.
Understanding how these lights work helps you diagnose problems faster. Solar-powered lights rely on a solar panel, rechargeable battery, and LED bulbs. When one part fails, the whole system can go dark. Learning how to fix solar LED string lights and restore their glow saves money, reduces waste, and keeps your outdoor space shining.
Common issues include dead batteries, dirty solar panels, loose wiring, or water damage. The good news? Most of these are DIY-friendly fixes. With the right tools and steps, you’ll have your lights back in action in under an hour.
What You Need
Before diving in, gather these basic tools and materials. Most are already in your toolbox or kitchen drawer.
Visual guide about how to fix solar led string lights
Image source: layvikay.com
- Small screwdriver set (Phillips and flathead)
- Multimeter (to test voltage and continuity)
- Replacement batteries (NiMH or NiCd, usually 1.2V, check your model)
- Soft microfiber cloth (for cleaning solar panels)
- Isopropyl alcohol (70% or higher)
- Electrical tape (for insulating repairs)
- Heat shrink tubing or silicone sealant (to waterproof connections)
- Small pliers or wire cutters
- Small container (to hold screws and small parts)
Optional but helpful: a USB solar battery tester or a portable solar panel for charging the battery off-grid.
Having everything ready makes the process smoother and helps you avoid interruptions while fixing solar LED string lights and restoring their glow.
Step-by-Step Guide to How to Fix Solar LED String Lights and Restore Their Glow
Step 1: Diagnose the Problem with a Simple Test
Start by figuring out what’s not working. Is the light completely dead? Flickering? Or just dim?
First, place the solar panel in direct sunlight for 6–8 hours. This fully charges the battery. Then, cover the solar panel with a towel or your hand to simulate night—this should trigger the lights to turn on.
If the lights turn on, even briefly, the issue is likely battery-related. If they don’t turn on at all, the problem could be the solar panel, wiring, or control circuit.
Pro Tip: Test during a sunny day. Cloudy conditions may not provide enough power for a clear diagnosis.
Use this test as your baseline before moving to deeper fixes. This step is key in how to fix solar LED string lights and restore their glow without unnecessary disassembly.
Step 2: Inspect and Clean the Solar Panel
Dirt, dust, leaves, and bird droppings block sunlight and reduce charging efficiency. A dirty panel can make lights appear broken even when the rest works fine.
Turn the solar panel face up and gently wipe it with a microfiber cloth dampened with isopropyl alcohol. This removes grime without scratching the surface.
Check for cracks, water stains, or warping. If the panel is cracked or the glass is loose, it may need replacement. Look for cloudiness inside the panel—this indicates water damage.
Warning: Never use abrasive cleaners or steel wool. They can scratch the solar cells and permanently reduce efficiency.
After cleaning, let the panel dry in the sun for 15 minutes. Then, repeat the “cover test” from Step 1. If the lights now turn on, you’ve solved the problem! Clean panels are essential for fixing solar LED string lights and restoring their glow long-term.
Step 3: Check the Rechargeable Battery
Most solar lights use NiMH (Nickel-Metal Hydride) or NiCd (Nickel-Cadmium) batteries. These degrade over time and lose their ability to hold a charge.
Locate the battery compartment—usually in the solar panel housing or near the light strand. Use your screwdriver to open it.
Remove the battery and inspect it for:
- Corrosion (white or green crusty residue)
- Swelling or leaking
- Physical damage
If you see corrosion, gently clean the battery terminals with a cotton swab and isopropyl alcohol. Let it dry completely.
Now, use a multimeter to test the battery voltage:
- Set the multimeter to DC voltage (2V or 20V range).
- Touch the red probe to the positive terminal (+) and black to negative (−).
- A fully charged 1.2V battery should read 1.2V or higher.
If the reading is below 1.0V, the battery is likely dead. Even if it shows voltage, a battery that can’t hold a charge for more than a few minutes is failing.
Pro Tip: Replace batteries with the same type and voltage. Mixing battery types can damage the circuit.
Buy a replacement from a hardware store or online. Reinsert it, ensuring correct polarity. This is one of the most common fixes when learning how to fix solar LED string lights and restore their glow.
Step 4: Test the Solar Panel’s Output Voltage
Even if the panel looks clean, it might not be generating power. A faulty panel won’t charge the battery, no matter how sunny it is.
With the battery disconnected, place the solar panel in direct sunlight. Use your multimeter again, but this time test the solar panel’s output.
- Set the multimeter to DC voltage (20V range).
- Touch probes to the panel’s output wires (usually red and black).
- You should see 3–6 volts in full sun. Some panels go up to 10V.
If you see no voltage or very low (under 1V), the solar panel is dead. Replacement panels are available online and are often easy to install.
Warning: Never test the panel under artificial light (like a flashlight). It won’t generate enough power and gives false readings.
If the panel works, reconnect the battery and test the system again. This step helps isolate whether the issue is with the panel or another component when fixing solar LED string lights and restoring their glow.
Step 5: Inspect the Wiring and Connections
Loose, frayed, or corroded wires are common culprits. Over time, weather and movement can damage connections between the panel, battery, and LED strand.
Unplug or disconnect the LED strand from the solar panel (if modular). Look for:
- Frayed or exposed wires
- Corrosion at connectors
- Loose solder joints
- Water damage or mold inside the housing
Use a multimeter to test continuity:
- Set it to continuity mode (beep symbol).
- Touch probes to each end of a wire or connection.
- If you hear a beep, the circuit is intact. No beep = broken wire.
If a wire is broken, cut out the damaged section. Strip the ends, twist them together, and secure with electrical tape or solder. For better durability, use heat shrink tubing and seal with a hairdryer or lighter.
For corroded connectors, clean with alcohol and a soft brush. Reconnect tightly. Waterproof the area with silicone sealant to prevent future damage.
Pro Tip: Label wires with tape before disconnecting—especially if there are multiple strands or switches.
This step is crucial for long-term reliability when you’re learning how to fix solar LED string lights and restore their glow.
Step 6: Test and Replace the Control Circuit (PCB)
The control circuit—also called the PCB (Printed Circuit Board)—regulates charging, powers the LEDs, and controls modes (steady, flash, etc.). If it fails, the lights won’t turn on even with a good battery and panel.
Open the housing and locate the small circuit board. Look for:
- Burnt spots or blackened components
- Swollen capacitors
- Loose solder joints
Use the multimeter to test continuity across key points (e.g., between battery input and LED output). If there’s no continuity, the board may be dead.
Replacement PCBs are available online. Match your model number (check the back of the panel or packaging). Soldering may be required, but many are plug-and-play.
For minor issues like loose solder, reflow with a soldering iron. Clean the board with alcohol before reassembling.
Warning: Avoid touching components with wet hands. Static electricity can damage the circuit.
After replacing or repairing the PCB, reconnect everything and test. This is often the final fix needed to restore full function when fixing solar LED string lights and restoring their glow.
Step 7: Check Individual LED Bulbs and Solder Joints
If only a section of the strand is out, the issue may be a dead LED or broken solder joint.
Inspect each bulb. Look for:
- Darkened or cracked lenses
- Bulbs that are loose or wiggly
- Visible damage to the base
Use the multimeter in continuity mode to test each LED:
- Touch probes to the LED’s metal legs (or solder points).
- If no beep, the LED is dead.
Replace dead LEDs with identical ones. If you can’t find a match, consider replacing the entire strand or using a universal replacement LED.
For loose bulbs, re-solder the connections. Use a small amount of solder and avoid overheating the LED. A cold solder joint (looks grainy) can cause flickering.
After repairs, power on the lights. If the dead section now works, you’ve fixed it!
Pro Tip: If multiple LEDs are out, the issue might be voltage drop due to a bad battery or wire. Always test the system as a whole.
This step ensures every part of the strand contributes when you’re mastering how to fix solar LED string lights and restore their glow.
Step 8: Waterproof and Reassemble the Housing
Moisture is the #1 enemy of solar lights. Even a small crack can let in water, corroding circuits and ruining batteries.
After repairs, inspect the housing for cracks, gaps, or loose seals. Use silicone sealant to fill any openings around wires, screws, or the battery compartment.
For modular lights, ensure all connectors are snug and sealed. Some brands include rubber gaskets—replace them if damaged.
Before closing, double-check that all wires are inside and not pinched. Reattach screws tightly, but don’t over-tighten—this can crack plastic.
Let the sealant cure for 1–2 hours before exposing the light to rain or moisture.
Pro Tip: Store lights indoors during winter or heavy storms to extend lifespan. This simple habit prevents future repairs.
Proper sealing keeps your lights working season after season. It’s a vital part of how to fix solar LED string lights and restore their glow for the long haul.
Pro Tips & Common Mistakes to Avoid
Even with the right tools, small mistakes can undo your hard work. Here’s how to stay on track.
- Don’t skip the sunlight test. A fully charged battery is essential. Many “broken” lights just need a good charge.
- Avoid cheap replacement batteries. Low-quality batteries die fast and may leak, damaging the circuit.
- Never mix battery types. Using lithium with NiMH confuses the charging circuit.
- Don’t ignore polarity. Reversing the battery can fry the PCB. Always check + and − markings.
- Don’t over-solder. Too much heat can destroy LEDs and lift circuit board traces.
- Test as you go. After each repair step, power the light to see if it works. This helps catch issues early.
- Label your lights. If you have multiple strands, mark which one you’re working on to avoid confusion.
Real-Life Example: Sarah thought her lights were dead. But after cleaning the panel and replacing a $2 battery, they worked like new. She saved $40 on a new set!
These tips prevent frustration and help you succeed every time you tackle how to fix solar LED string lights and restore their glow.
FAQs About How to Fix Solar LED String Lights and Restore Their Glow
Can I use regular batteries in solar LED lights?
No. Solar lights are designed for rechargeable batteries (NiMH or NiCd). Regular alkaline or lithium batteries won’t charge and may leak or damage the circuit. Always use the correct type when fixing solar LED string lights and restoring their glow.
Why do my solar lights only work for 1–2 hours?
This usually means the battery can’t hold a full charge. The battery is likely worn out and needs replacement. A clean solar panel and direct sunlight for 6+ hours should charge a good battery for 6–8 hours of light.
Can I leave solar lights in the rain?
Most are weather-resistant, but not fully waterproof. Prolonged exposure to heavy rain or submersion can damage the electronics. If your lights are exposed, ensure the housing is sealed and consider bringing them in during storms.
What if the solar panel is damaged beyond repair?
You can buy a replacement solar panel online. Match the voltage (usually 3V–6V) and connector type. Some panels are universal and plug into existing wires. This is a common fix when learning how to fix solar LED string lights and restore their glow.
Can I use a USB charger to power the lights?
Not directly. But you can charge the battery separately using a USB battery charger (if it’s removable). This is useful if sunlight is limited. Just make sure the charger matches the battery type and voltage.
Why do the lights flicker or pulse?
Flickering often comes from a low battery, loose wire, or failing LED. Test the battery voltage, check connections, and inspect each bulb. A failing PCB can also cause erratic behavior.
How long do solar LED string lights last?
With proper care, 3–5 years. The LEDs last much longer (up to 10 years), but batteries and circuits wear out. Regular cleaning, battery replacement, and waterproofing extend their life significantly.
Final Thoughts
Solar LED string lights don’t have to be throwaway items. With a little patience and the right approach, you can fix them and bring back their magical glow.
Remember: start with the simplest fixes—clean the panel, charge the battery, and check connections. Work your way deeper only if needed. Most issues are solved with a $2 battery or a quick wipe.
By learning how to fix solar LED string lights and restore their glow, you save money, reduce waste, and enjoy beautiful outdoor lighting year after year.
So next time your lights go dark, don’t give up. Grab your tools, follow these steps, and watch your space light up again. Your patio—and the planet—will thank you.
Now go fix those lights and enjoy the glow!
“`

