Featured image for how to install meilo led string lights
Image source: file2.okorder.com
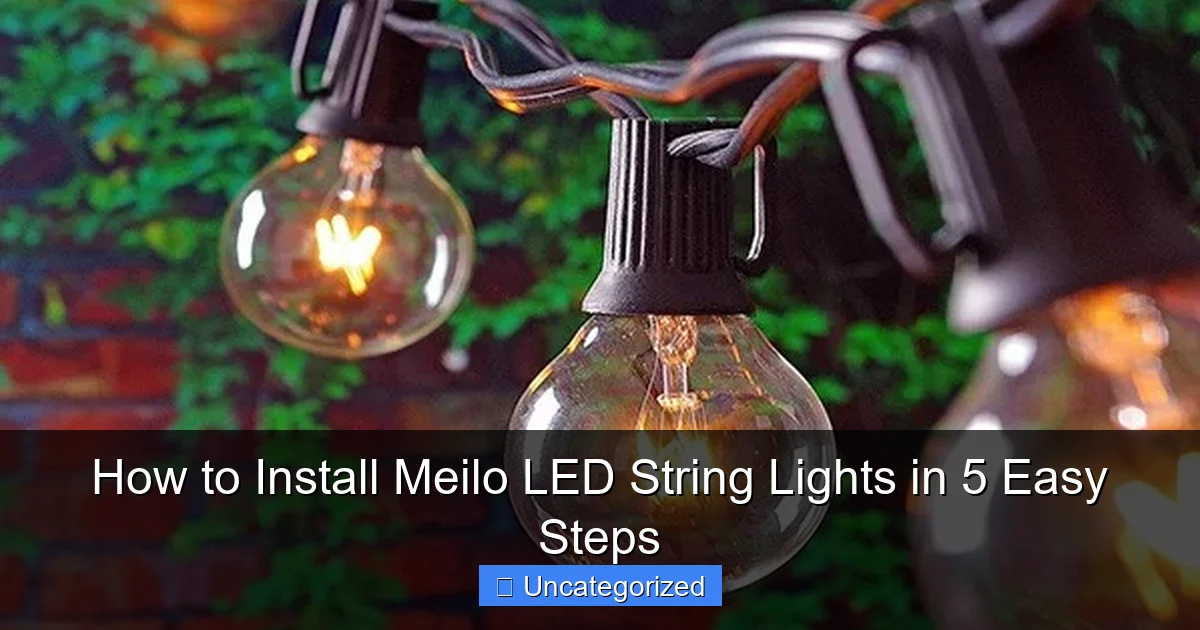
Installing Meilo LED string lights is a quick, hassle-free process that instantly elevates any space with warm, ambient lighting. With just five simple steps—unboxing, planning your layout, securing the adhesive mounts, connecting the power source, and testing the lights—you’ll have a stunning display in minutes. No tools or electrical expertise required, making it perfect for renters and homeowners alike.
How to Install Meilo LED String Lights in 5 Easy Steps
Key Takeaways
- Plan your layout first: Measure the area to ensure proper light placement.
- Use included hardware: Mount clips or hooks for secure, damage-free installation.
- Connect to power safely: Plug in only after full setup to avoid hazards.
- Secure loose wires: Tuck cords neatly to prevent tripping and maintain aesthetics.
- Test before finalizing: Check all bulbs work before completing installation.
- Weatherproof outdoor setups: Use waterproof connectors and avoid direct ground contact.
Why This Matters / Understanding the Problem
Ever tried to set up outdoor lighting only to end up with tangled wires, flickering bulbs, or a setup that barely lasts a week? You’re not alone. Many people want to add warmth and ambiance to their patios, gardens, or indoor spaces, but poor-quality lights or confusing how to install Meilo LED string lights in 5 easy steps guides leave them frustrated.
Meilo LED string lights solve this problem with energy-efficient, durable, and weather-resistant design. Whether you’re decorating for a holiday, hosting a party, or just creating a cozy nook, these lights offer a hassle-free way to elevate any space. The best part? You don’t need to be an electrician or DIY expert to get them shining bright.
With the right approach, you can skip the headaches and enjoy professional-looking results in under an hour. This guide walks you through every detail, from planning to plugging in, so you can master how to install Meilo LED string lights in 5 easy steps—no guesswork, no stress.
What You Need
Before you start, gather these essentials. Having everything ready saves time and prevents mid-installation trips to the hardware store.
Visual guide about how to install meilo led string lights
Image source: i5.walmartimages.com
- Meilo LED string lights (indoor/outdoor rated, check length needed)
- Measuring tape – for accurate spacing and layout
- Zip ties or outdoor-rated adhesive clips – for secure mounting
- Scissors or wire cutters – to trim excess zip ties
- Drill with small drill bit (optional) – for hard surfaces like wood or stucco
- Extension cords or outdoor-rated power strip – if the plug doesn’t reach an outlet
- Ladder (if mounting high) – ensure it’s stable and secure
- Timer or smart plug (recommended) – for automatic on/off scheduling
- Pencil or masking tape – for marking placement spots
Pro Tip: Always check the product manual for voltage, max connectable strands, and IP rating (e.g., IP65 for outdoor use). Meilo lights are typically safe for rain and snow, but avoid submerging them.
Bonus: If you’re installing on a fence or railing, consider using flexible mounting hooks or magnetic clips for quick removal during storms or storage.
Step-by-Step Guide to How to Install Meilo LED String Lights in 5 Easy Steps
Step 1: Plan Your Layout and Measure the Space
Before touching a single light, take a few minutes to plan. A clear layout prevents gaps, overlapping, or running out of lights halfway through.
Start by measuring the area where you want the lights. For example, if you’re lighting a 20-foot patio, use a tape measure to confirm the exact length. Then, decide on your pattern: straight lines, zigzag, crisscross, or canopy-style (hanging from a central point).
Sketch a quick diagram on paper or use a digital tool like Google Drawings. Mark where each strand will go, including corners, pillars, or trees. This helps you calculate how many strands you need and where to place power sources.
Example: For a rectangular deck, run lights along all four sides, connecting them at corners with zip ties. Add a crisscross pattern overhead using two anchor points at opposite corners.
Check the Meilo LED string lights packaging to see how many strands can be safely connected (usually 2–4). Overloading can cause dimming or damage, so plan accordingly. If your space is long, use multiple power sources instead of daisy-chaining too many.
Finally, identify where the plug will go. Try to place it near a GFCI (Ground Fault Circuit Interrupter) outlet—this is crucial for outdoor safety. If no outlet is nearby, use a weatherproof extension cord rated for outdoor use.
Planning is the secret to nailing how to install Meilo LED string lights in 5 easy steps without backtracking or redoing work.
Step 2: Choose the Right Mounting Method for Your Surface
Different surfaces need different mounting techniques. The wrong choice can lead to loose lights, damaged walls, or safety risks.
For wood (fences, decks, pergolas): Use outdoor-rated zip ties or small screws with washers. Drill pilot holes first to avoid splitting the wood. Attach clips every 12–18 inches for even spacing.
For stucco, brick, or concrete: Use adhesive mounting clips (like 3M Command Outdoor Strips) or plastic anchors with screws. Avoid nails or staples—they can crack masonry.
For metal (gutters, railings, awnings): Use magnetic clips or non-abrasive zip ties. Magnetic clips are great for easy removal, while zip ties offer a permanent hold.
For trees or posts: Wrap the strand loosely with tree-friendly zip ties (don’t cinch too tight—trees grow!). Or use garden clips that grip bark without harming the tree.
Warning: Never use nails, screws, or staples on electrical wires. They can pierce insulation and create fire hazards. Meilo lights have protective sleeves—keep them intact!
For overhead installations (like a canopy), use ceiling hooks or eye screws anchored into beams or joists. Test each anchor with a gentle tug before hanging lights.
Choose clips that match your surface and weather conditions. For example, in windy areas, use extra zip ties at corners to prevent swaying.
This step ensures your lights stay put and shine safely—key to mastering how to install Meilo LED string lights in 5 easy steps on any surface.
Step 3: Secure the Lights with Proper Spacing and Tension
Now it’s time to hang! Start at the power source and work outward. This prevents dangling cords and makes troubleshooting easier.
Begin by attaching the first mounting clip near the plug. Loop the light strand’s wire through the clip’s slot, then snap it closed. Don’t pull too tight—leave a slight sag (about 2–3 inches) between clips. This prevents stress on connectors and looks more natural.
For straight lines (e.g., along a fence), use a laser level or string line to keep everything aligned. For curves or trees, follow the shape loosely—don’t force the strand into sharp bends.
When connecting multiple strands, plug them in before mounting. Test each connection by turning on the lights. If a section doesn’t light up, unplug and check the male/female connectors. They should click in securely.
Pro Tip: Use color-coded zip ties (e.g., red for power side, blue for end) to track which strand is which. This helps if you need to remove one later.
For corners, wrap the strand around the edge using two clips—one on each side. For overhead crisscross patterns, use a central hub clip to tie all strands together, then fan them out.
If using adhesive clips, clean the surface with rubbing alcohol first. Press each clip firmly for 30 seconds, then wait 24 hours before hanging lights (for maximum bond).
Keep wires tucked and hidden. For example, on a deck, run the cord under the railing or use cable raceways to conceal it.
Proper spacing and tension make your setup look polished and last longer—essential for how to install Meilo LED string lights in 5 easy steps done right.
Step 4: Power Up and Test the Setup
Before you celebrate, test the lights. A quick check now saves time later.
Plug the first strand into a GFCI outlet or outdoor-rated power strip. Turn it on. If all lights glow evenly, great! If not, unplug and check:
- Are connectors fully inserted?
- Is there a loose bulb or damaged wire?
- Are you exceeding the max number of connected strands?
If one bulb is out, try replacing it (Meilo lights often have replaceable bulbs). If a whole section is dark, check the fuse in the plug (some models have a small reset button).
Once the first strand works, connect the next one. Plug it in and test again. Repeat until all strands are lit.
Warning: Never leave lights on unattended for the first 24 hours. Watch for overheating, flickering, or sparks. If you notice any, unplug and contact Meilo support.
For outdoor setups, test during rain or wind if possible. Make sure clips hold and wires don’t dangle where they can be pulled.
Use a timer or smart plug to automate on/off times. For example, set it to turn on at sunset and off at 11 PM. This saves energy and keeps the ambiance consistent.
Take photos of your setup from different angles. You’ll appreciate this later when sharing with friends or troubleshooting.
Testing is the final safety check—don’t skip it when learning how to install Meilo LED string lights in 5 easy steps.
Step 5: Maintain and Adjust for Longevity
Great lighting isn’t a one-and-done deal. A little maintenance keeps your Meilo lights shining for years.
After the first week, recheck all clips and connectors. Tighten any loose zip ties or reapply adhesive clips if they’re peeling.
Every month, inspect for:
- Frayed wires or cracked insulation
- Corroded connectors (wipe with a dry cloth if needed)
- Overgrown vines or branches touching the lights
Clean bulbs with a dry microfiber cloth. For outdoor lights, rinse with water (unplugged!) to remove dust or pollen.
If you live in a snowy area, gently brush off snow after storms. Don’t pull on the wires—lift the strand carefully.
Store lights properly during off-seasons. Wrap them loosely around a cardboard tube or use a light reel to prevent tangles. Keep them in a dry, cool place.
Pro Tip: Label storage bins with the strand length and location (e.g., “Patio North, 25 ft”). This saves time next season.
Adjust the layout annually. Trees grow, decks get painted, and your style might change. Re-measure and reposition as needed.
Maintenance is the key to enjoying your lights for 5+ years—making how to install Meilo LED string lights in 5 easy steps a long-term win.
Pro Tips & Common Mistakes to Avoid
Even with a perfect plan, small errors can ruin the effect. Here’s what to watch for:
- Ignoring voltage drop: Long runs or too many connected strands cause lights to dim at the end. Use shorter strands or add a second power source.
- Over-tightening zip ties: This stresses the wire and can break insulation. Leave a finger’s width of slack.
- Using indoor lights outdoors: Meilo has both types—always check the label. Indoor lights can short-circuit in rain.
- Skipping GFCI outlets: Outdoor circuits must have ground fault protection. Never plug into an unprotected outlet.
- Hanging lights too low: If people can touch them, use higher clips or add a barrier (e.g., a railing).
- Forgetting to test before finalizing: Always power up before securing the last clips. It’s easier to fix issues early.
Real-Life Fix: Sarah in Colorado had flickering lights after a windstorm. She discovered a loose connector hidden behind a bush. Now she checks all connections after heavy weather.
Bonus Tips:
- Use warm white lights for cozy vibes; cool white for modern looks.
- For parties, add remote-controlled color-changing Meilo lights for instant mood shifts.
- Install a motion sensor to turn lights on when someone approaches.
Avoiding these mistakes ensures your how to install Meilo LED string lights in 5 easy steps project looks pro and lasts.
FAQs About How to Install Meilo LED String Lights in 5 Easy Steps
1. Can I install Meilo lights on a sloped roof or uneven surface?
Yes, but use flexible mounting clips or zip ties. Follow the roof’s contour, and add extra clips at dips or peaks. For steep slopes, use a ladder with a stabilizer.
2. How many strands can I connect together?
Most Meilo models allow 2–4 strands. Check the packaging for the “Max Connected Strands” number. Exceeding it can cause overheating or failure.
3. Are these lights safe in heavy rain or snow?
Yes, if labeled “outdoor” and “IP65” or higher. The bulbs and wires are sealed against moisture. Just ensure the plug stays dry—use a weatherproof outlet cover.
4. What if a bulb burns out? Do all lights go dark?
No. Meilo uses parallel wiring, so one dead bulb won’t kill the strand. Replace the bulb or contact support for a replacement.
5. Can I cut the lights to fit a shorter space?
No. Meilo lights aren’t designed to be cut. Cutting voids the warranty and risks electrical hazards. Buy the correct length or use multiple shorter strands.
6. How do I remove the lights without damaging the surface?
For zip ties, cut them with scissors (don’t pull). For adhesive clips, use a hair dryer to warm the adhesive, then peel slowly. Clean residue with rubbing alcohol.
7. What’s the best way to store them for next year?
Wrap each strand loosely around a cardboard tube or use a light storage reel. Store in a dry, temperature-stable area. Avoid attics or garages with extreme heat/cold.
Final Thoughts
You now have everything you need to master how to install Meilo LED string lights in 5 easy steps—from planning to long-term care. These lights aren’t just decorations; they’re tools to transform spaces, create memories, and boost your home’s appeal.
Remember: measure twice, mount once. A little planning prevents big headaches. Use the right clips, test every connection, and maintain your setup seasonally.
Whether you’re lighting a tiny balcony or a sprawling backyard, Meilo lights make it simple, safe, and stunning. So grab your tools, follow these steps, and let the glow begin.
And when friends ask, “How’d you do that?”—you can smile and say, “It’s easy. Just follow the how to install Meilo LED string lights in 5 easy steps rule.”
Now go shine—literally.

