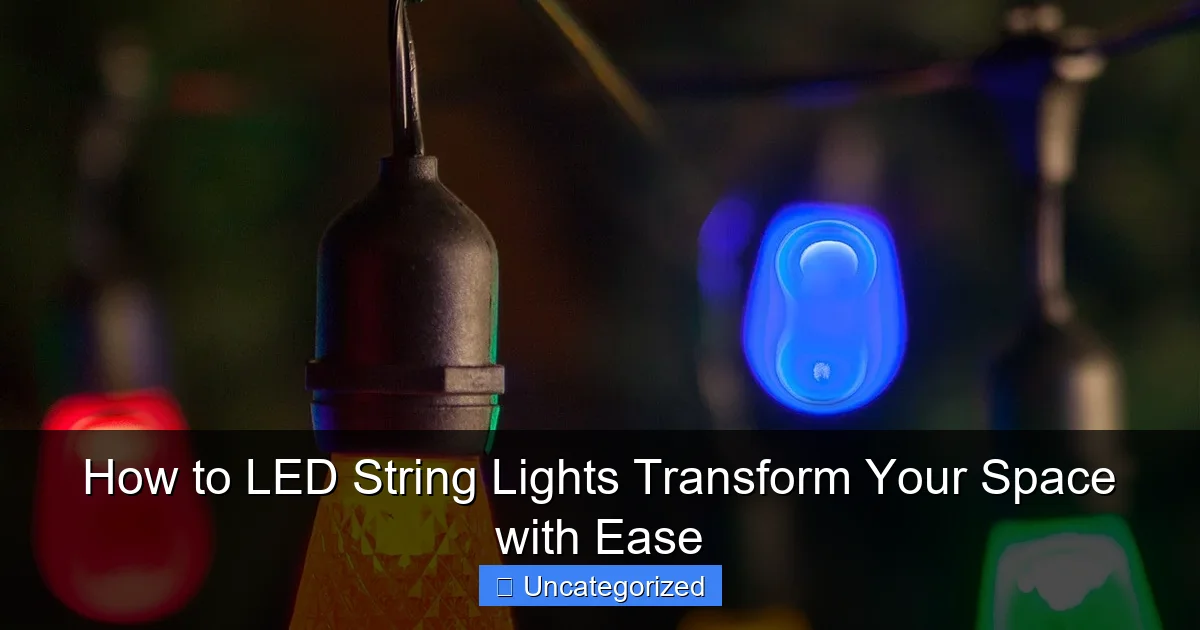
Featured image for how to led string lights
Image source: yardenvy.com
LED string lights instantly elevate any space with minimal effort, offering a versatile and energy-efficient way to add ambiance, highlight decor, or create a cozy atmosphere. With easy installation options like adhesive clips, hooks, or built-in timers, you can transform bedrooms, patios, or event spaces in minutes. Available in various colors, lengths, and smart features, these lights adapt effortlessly to your style—making them a must-have for effortless home transformation.
How to LED String Lights Transform Your Space with Ease
Key Takeaways
- Choose warm white LEDs for cozy, inviting ambiance in living spaces.
- Install with adhesive clips to avoid damage and ensure easy adjustments.
- Layer lights creatively on walls, ceilings, or furniture for depth.
- Opt for battery-powered for flexible, cord-free placement anywhere.
- Use timers or dimmers to save energy and control brightness effortlessly.
- Mix with decor elements like plants or frames for personalized style.
Why This Matters / Understanding the Problem
Let’s face it: lighting can make or break the mood of a room. Harsh overhead lights? Not ideal for a cozy movie night. Dark corners? They just feel… unfinished. If you’ve ever walked into a space that felt warm, inviting, and alive, chances are LED string lights played a big role. These tiny, twinkling wonders are more than just holiday decor—they’re a simple, affordable, and stylish way to upgrade any space, whether it’s your bedroom, backyard, or home office.
But here’s the catch: not everyone knows how to LED string lights transform your space with ease without ending up with a tangled mess, uneven lighting, or lights that fall down after a week. You don’t need to be an electrician or a design pro. With the right approach, you can create a magical atmosphere in minutes. This guide will walk you through every step, from picking the right lights to placing them like a pro—so you get that Instagram-worthy glow without the stress.
Whether you’re setting the mood for a romantic dinner, brightening up a dorm room, or adding ambiance to a patio party, LED string lights are your secret weapon. And the best part? They’re energy-efficient, long-lasting, and come in so many styles, colors, and sizes that there’s something for every taste and need.
Real-life example: Sarah, a college student in a tiny dorm, used warm white globe string lights to line her headboard and window. In under 10 minutes, her room went from “blah” to “cozy sanctuary.” No tools, no damage—just instant mood upgrade.
What You Need
Before you dive in, let’s make sure you have everything to make how to LED string lights transform your space with ease a breeze. The good news? Most of these items are either lying around your house or easy to find online or at your local hardware or home goods store.
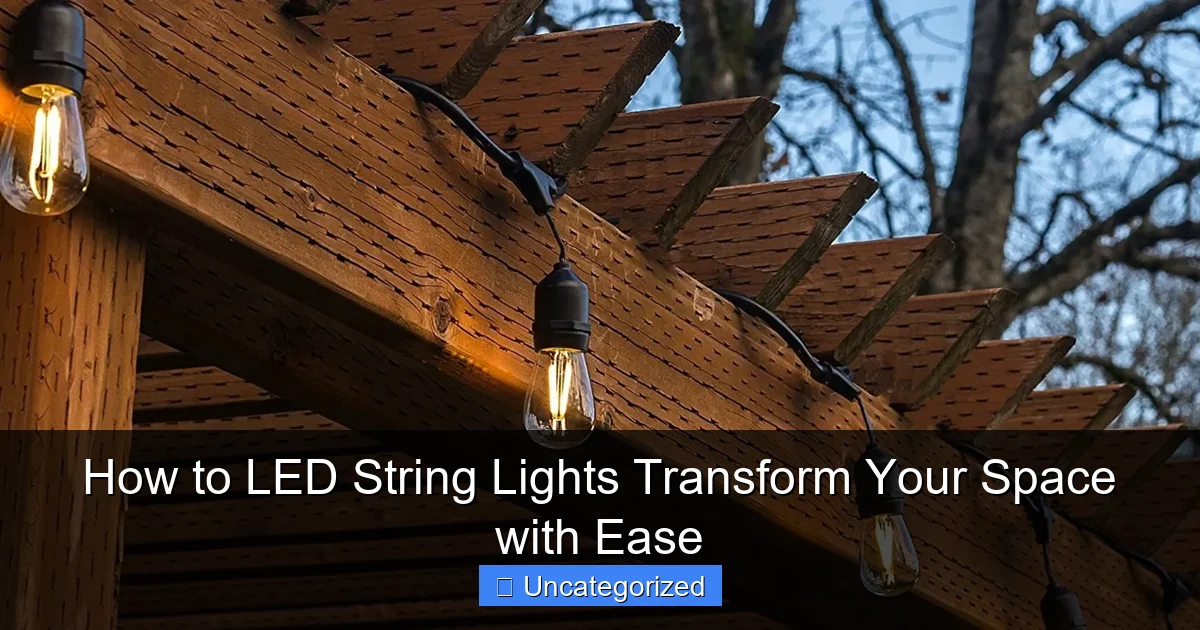
Visual guide about how to led string lights
Image source: 9to5toys.com
- LED string lights – Choose based on your space: fairy lights for delicate charm, globe lights for a vintage feel, or rope lights for durability.
- Power source – Battery-operated (great for rentals, no outlet needed) or plug-in (better for permanent setups).
- Mounting hardware – Command™ strips, adhesive hooks, clips, or small nails. No drilling required!
- Measuring tape – Helps you plan spacing and avoid overbuying.
- Scissors or wire cutters – For trimming zip ties or adjusting light strands.
- Extension cord (optional) – If your outlet is far from your display area.
- Timer or smart plug (optional but helpful) – Automate when your lights turn on/off.
- Zip ties or twist ties – For bundling excess wire or securing lights in tricky spots.
- Level (optional) – For perfectly straight installations (especially on walls or railings).
Pro tip: Always check the length of your string lights. Measure your space first—don’t buy 20 feet of lights for a 5-foot wall! And if you’re using battery-powered lights, keep extra batteries on hand. Nothing ruins a mood like dimming lights mid-dinner.
Now that you’re prepped, let’s get into the fun part: actually making your space shine.
Step-by-Step Guide to How to LED String Lights Transform Your Space with Ease
Step 1: Choose the Right LED String Lights for Your Space
Not all LED string lights are created equal. The type you pick depends on your space, purpose, and style. Picking the wrong kind can lead to frustration—like buying bright white lights for a bedroom (ouch, too harsh!) or flimsy fairy lights for an outdoor patio (hello, wind damage).
Here’s how to pick the perfect match:
- For bedrooms or cozy nooks: Go for warm white or soft yellow fairy lights or globe lights. They mimic candlelight and are easy on the eyes at night. Look for dimmable options if you want mood control.
- For outdoor patios or decks: Choose weatherproof or IP65-rated lights. Rope lights or Edison-style bulbs are durable and stylish. Avoid cheap, non-sealed fairy lights—they won’t survive rain or wind.
- For parties or events: Colored or RGB (color-changing) lights add fun. Look for remote-controlled or app-enabled models so you can switch colors without getting up.
- For dorms or rentals: Battery-powered fairy lights with adhesive hooks are your best friend. No outlets? No problem. Just swap batteries every few weeks.
- For large spaces (like a living room or backyard): Use multiple strands and connect them with connectable ends (check the product label). This avoids overloading circuits and gives even coverage.
Warning: Don’t mix different brands or types of lights on the same circuit. Voltage differences can cause flickering or damage. Stick with one type for a seamless look.
Once you’ve picked your lights, test them before installing! Plug them in or turn on batteries to make sure all bulbs work. It’s way easier to fix a dead strand before it’s hanging on your wall.
Step 2: Measure and Plan Your Layout
Here’s where most people skip a step and regret it later. Measuring and planning saves time, money, and frustration. You don’t want to hang 10 feet of lights only to realize they’re too short or too long.
Here’s how to plan like a pro:
- Measure the area where you want the lights. Use a measuring tape. Write it down—don’t trust your memory!
- Sketch a quick layout on paper or use a phone app. For example: “Window: 6 feet, Headboard: 4 feet, Ceiling: 10 feet.”
- Decide the pattern:
- Straight lines (along a headboard or railing)
- Zigzag or crisscross (on a wall or ceiling)
- Clustered or cascading (in a corner or from a hook)
- Outdoor draping (from a tree or pergola)
- Calculate how many strands you need. Example: If your wall is 12 feet long and each light strand is 10 feet, you’ll need two strands (with 2 feet to spare for overlap or slack).
- Plan the power source. Where’s the nearest outlet or battery pack? Make sure the cord or battery pack is hidden or accessible.
Pro tip: Use painter’s tape to mark the layout on the wall or floor. This lets you “see” the design before committing. Move it around until it feels right!
For outdoor setups, consider wind and weather. Avoid draping lights across open spaces where wind can snap wires. Instead, run them along railings, fences, or under eaves.
Step 3: Install Mounting Hardware (No Drilling Required!)
You don’t need to be handy or risk damage to your walls or rental agreement. Adhesive hooks, clips, and Command™ strips are your new best friends. They hold strong, remove cleanly, and work on almost any surface—paint, wood, metal, even glass.
Here’s how to install them the right way:
- Clean the surface. Wipe down the area with rubbing alcohol or soapy water. Dust and oil reduce adhesive strength.
- Let it dry. Wait 1–2 minutes after cleaning. Moisture weakens the bond.
- Apply the hardware.
- For Command™ strips: Press firmly for 30 seconds. Wait 1 hour before hanging lights (this lets the adhesive set).
- For adhesive hooks: Stick them every 12–18 inches for even support. Use more for heavier lights (like Edison bulbs).
- For zip ties or clips: Use on railings, fences, or trees. Wrap tightly but not so much that it damages the surface.
- Use a level (optional). If you want perfectly straight lines, place a small level on top of the hook or strip. Adjust until it’s flat.
Warning: Don’t hang lights on surfaces that get hot (like near a fireplace or radiator). Heat can melt adhesive or damage wires. Also, avoid hanging lights near water sources (sinks, showers) unless they’re rated for wet areas.
For ceilings or high walls, use a step stool or ladder. Have a friend hold the other end of the string light to avoid tangling.
Step 4: Hang the LED String Lights
Now for the fun part—hanging the lights! This is where your space starts to come alive. But don’t rush. Take your time to avoid tangles and uneven spacing.
Here’s how to hang them like a pro:
- Start at the power source. Plug in the lights or turn on the battery pack. This helps you see the glow as you go.
- Work from one end to the other. Don’t wrap the whole strand around your arm—it’s a tangle trap! Instead, lay it out loosely on a table or the floor.
- Attach the first bulb or socket to the first hook. Gently drape the strand, not pull it tight. A little slack prevents strain on the wires.
- Space bulbs evenly. For straight lines: 6–12 inches between bulbs. For zigzags: 12–18 inches between anchor points.
- For zigzag or crisscross patterns:
- Attach one end to a hook.
- Run the strand diagonally to the next hook, then back in a “V” shape.
- Repeat across the wall. This adds depth and visual interest.
- For outdoor setups:
- Use zip ties to secure lights to railings, trees, or pergolas.
- Loop the strand around a branch, then tie it off. Don’t knot the wires—it can damage insulation.
- Hide the cord or battery pack. Tuck it behind furniture, under a rug, or in a planter. For wall-mounted battery packs, use a small hook or adhesive strip.
Pro tip: If you’re using multiple strands, connect them before hanging. This ensures even spacing and avoids gaps. Most connectable lights have male/female plugs—just snap them together!
For a “floating” effect on a wall, hang lights 1–2 inches from the surface using small clips. This creates a soft glow on the wall behind them.
Step 5: Adjust and Refine the Look
Step back and take a look. Does it feel balanced? Are there dark spots or overly bright areas? Now’s the time to tweak your setup for that perfect glow.
Here’s how to refine:
- Adjust spacing. If bulbs are too far apart, move hooks closer. If too close, spread them out.
- Add layers. Combine string lights with other lighting—like a floor lamp or candles—for depth. Example: Hang fairy lights over a bookshelf, then add a small table lamp nearby.
- Use dimmers or timers. If your lights are too bright, use a dimmer switch or smart plug. Set a timer to turn them on at sunset and off at bedtime.
- Hide excess wire. Wrap extra cord around a hook, tuck it behind furniture, or use a cord cover.
- Test different patterns. Try a new layout—like a spiral on a tree or a heart shape on a wall. Take photos to compare!
Real-life example: Mark wanted to light up his patio for a summer party. He hung globe lights in a zigzag pattern, then added a second strand along the fence. The result? A warm, inviting space that felt like a café—no expensive lighting required.
For indoor spaces, consider the time of day. Warm lights at night feel cozy, but too many can make a room feel like a Christmas display in July. Balance with natural light during the day.
Step 6: Maintain and Enjoy
LED string lights are low-maintenance, but a little care keeps them shining for years. Here’s how to keep your setup looking fresh:
- Turn off when not in use. Saves energy and extends bulb life. Use a timer or smart plug.
- Clean bulbs gently. Wipe with a dry cloth. For outdoor lights, rinse with water (if weatherproof) and dry thoroughly.
- Check for damage. Look for frayed wires, loose bulbs, or flickering. Replace damaged strands.
- Store properly. For seasonal lights, coil them around a cardboard circle or use a storage reel. Label the box (e.g., “Patio Lights”).
- Replace batteries regularly. For battery-powered lights, swap them every 2–3 months or when they dim.
With proper care, LED lights can last 10+ years. That’s a lot of cozy nights, parties, and Instagram-worthy moments!
Pro Tips & Common Mistakes to Avoid
Even the pros make mistakes. Here are the top tips and pitfalls to help you nail how to LED string lights transform your space with ease—without the headaches.
Pro Tip #1: Use warm white lights for bedrooms and living areas. They’re calming and flattering. Cool white or blue lights work better in kitchens or garages.
Pro Tip #2: For outdoor use, buy lights with a UL wet rating or IP65 (or higher). These can handle rain, snow, and humidity.
Pro Tip #3: Use smart LED lights with app control. You can change colors, set schedules, or sync with music—perfect for parties!
Pro Tip #4: Hang lights before decorating. It’s easier to place them around furniture and decor than to work around it.
Common Mistake #1: Overloading circuits. Don’t plug too many strands into one outlet. Check the wattage—most outlets handle 1,500–1,800 watts.
Common Mistake #2: Hanging lights too tight. Pulling wires can damage insulation and cause shorts. Leave a little slack.
Common Mistake #3: Ignoring the battery pack. A bulky pack can ruin the look. Hide it in a planter, behind a curtain, or use a small box.
Common Mistake #4: Forgetting to test. Always turn on the lights before hanging. A dead strand is a waste of time.
Bonus: For renters, use tension rods or removable hooks. No damage, no security deposit worries.
FAQs About How to LED String Lights Transform Your Space with Ease
Got questions? We’ve got answers. Here are the most common ones we hear—straight from real users.
Q: Can I leave LED string lights on all night?
A: Yes! LEDs use very little energy (about 80% less than incandescent bulbs) and don’t get hot. But for safety, use a timer to turn them off after bedtime. Never leave them on if you’re leaving the house for long periods.
Q: Are LED string lights safe for kids’ rooms?
A: Absolutely. Choose battery-powered or low-voltage (12V) lights. Avoid hot bulbs or exposed wires. Keep cords out of reach to prevent tripping.
Q: How do I fix a broken bulb on my string lights?
A: First, check if it’s a shunted or unshunted circuit. Most LED strings are shunted—meaning one dead bulb won’t kill the whole strand. If it’s dead, replace it with the same type. Or, use a bulb tester to find the culprit.
Q: Can I cut LED string lights to size?
A: Only if the package says “cuttable.” Some rope lights have marked cut points. Never cut fairy lights or standard strings—it can damage the circuit.
Q: What’s the best way to hang lights on a ceiling without nails?
A: Use adhesive ceiling hooks, tension rods (between walls), or Command™ ceiling strips. For a “floating” look, hang from the center with a hook and let the lights cascade down.
Q: How many string lights do I need for a 10×10 room?
A: For ambient lighting, 2–3 strands (10–20 feet total). For accent lighting (like above a bed), 1 strand (10 feet) is enough. Measure your specific areas for accuracy.
Q: Can I use LED string lights outdoors in winter?
A: Yes, but choose cold-rated lights. Avoid plastic bulbs in freezing temps—they can crack. Store them indoors when not in use.
Final Thoughts
You now know how to LED string lights transform your space with ease—from picking the right lights to hanging them like a pro. Whether you’re creating a cozy bedroom, a party-ready patio, or a calming study nook, these little lights pack a big punch. And the best part? It’s easy, affordable, and damage-free.
Remember: measure first, plan your layout, and take your time. A little patience now means a space you’ll love for months (or years) to come. And don’t forget to experiment! Try new patterns, colors, or combinations. Your space is your canvas—light it up!
So grab your lights, clear your schedule for an hour, and get started. Your dream ambiance is just a few hooks away. And when your friends ask, “How did you do that?”—you’ll have the answer ready: It’s easier than you think.
Actionable advice: This weekend, pick one area (like your bedroom or balcony) and hang a strand of warm white fairy lights. Use adhesive hooks, step back, and enjoy the glow. Then, snap a photo and share it—you’ve just transformed your space with ease!

