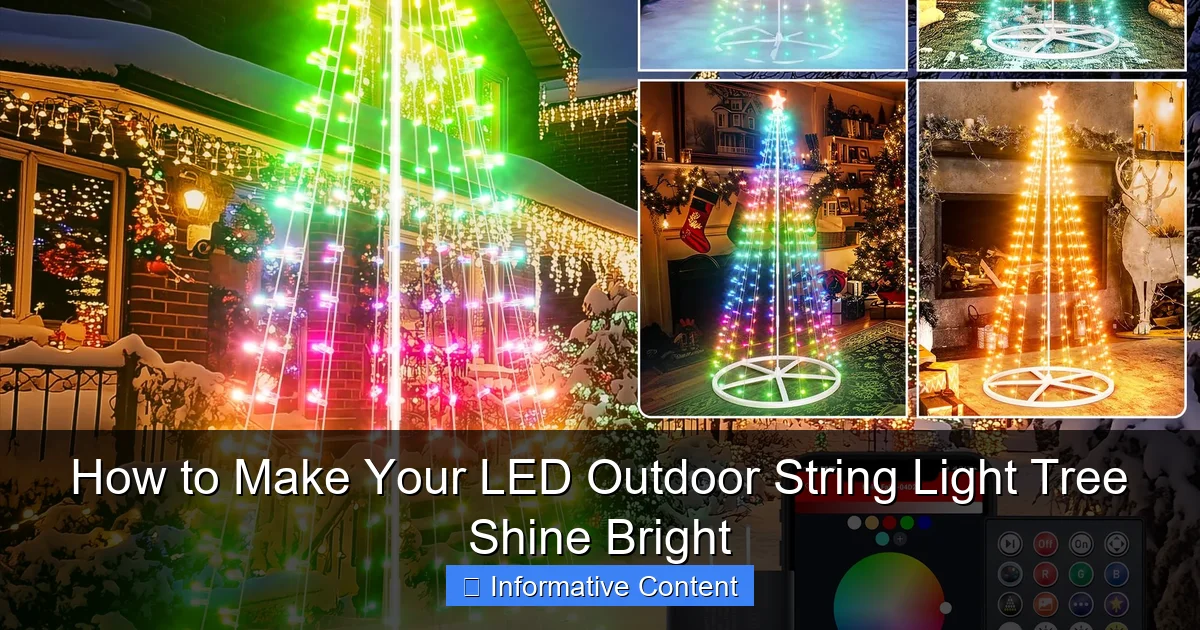
Featured image for how to make your led outdoor string light tree
Image source: m.media-amazon.com
Transform your outdoor space into a dazzling nighttime oasis by strategically wrapping LED string lights around your tree using even spacing and weatherproof clips for a secure, professional look. Maximize brightness and longevity by choosing high-lumen, energy-efficient LEDs and connecting them to a timer or smart controller for effortless, magical illumination all season long.
Key Takeaways
- Plan your layout: Sketch tree shape and light placement first.
- Choose quality lights: Opt for durable, weatherproof LED string lights.
- Secure lights properly: Use clips or ties to avoid sagging or damage.
- Layer lighting effects: Combine string lights with spotlights for depth.
- Time it right: Set a timer for automatic on/off convenience.
- Maintain regularly: Check for burnt-out bulbs and clean fixtures seasonally.
📑 Table of Contents
- How to Make Your LED Outdoor String Light Tree Shine Bright
- Why an LED Outdoor String Light Tree? The Benefits You Didn’t Know
- Choosing the Right LED Outdoor String Lights: What to Look For
- Step-by-Step Guide: How to Install Your LED Outdoor String Light Tree
- Pro Tips to Make Your Tree Truly Shine Bright
- Common Mistakes to Avoid (And How to Fix Them)
- Comparing Popular LED Outdoor String Light Options
- Final Thoughts: Shine Bright, Year After Year
How to Make Your LED Outdoor String Light Tree Shine Bright
Remember that one holiday season when your neighbor’s yard looked like it was pulled straight from a Hallmark movie? Twinkling lights wrapped around trees, glowing orbs hanging from branches, and a soft, warm ambiance that made you slow down your car just to admire it? That was the moment I realized: you don’t need a professional decorator to create magic. With a little planning, some quality materials, and a few clever tricks, you can turn any tree in your yard into a breathtaking LED outdoor string light tree.
Whether you’re lighting up your backyard for year-round charm, setting the mood for a summer party, or creating a festive winter wonderland, an LED outdoor string light tree can transform your outdoor space. And the best part? It’s easier than you think. I’ve spent years experimenting with different setups—some dazzling, some… let’s just say “learning experiences.” Now, I’m sharing everything I’ve learned to help you avoid the pitfalls and make your LED outdoor string light tree truly shine bright.
Why an LED Outdoor String Light Tree? The Benefits You Didn’t Know
Before we dive into the how, let’s talk about the why. Why choose an LED outdoor string light tree over other outdoor lighting options? The answer isn’t just about looks—it’s about practicality, longevity, and energy efficiency.
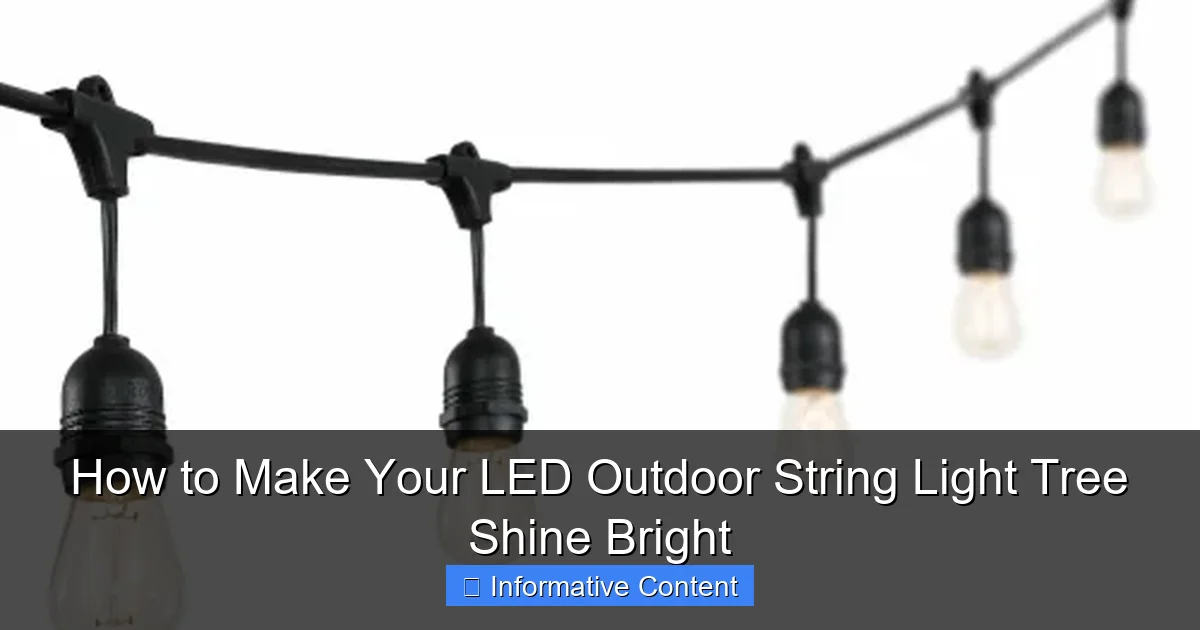
Visual guide about how to make your led outdoor string light tree
Image source: kroger.com
Energy Efficiency That Saves You Money
Traditional incandescent string lights can be power hogs. I once ran a 200-bulb incandescent strand for just one night, and my electricity bill jumped by nearly $10. LED lights, on the other hand, use up to 80-90% less energy. That means you can keep your tree glowing all night, every night, without guilt—or a shocking utility bill. A 2023 study by the U.S. Department of Energy found that switching to LED outdoor lighting can save the average household $75 per year on energy costs.
Durability and Weather Resistance
Outdoor lighting has to survive rain, wind, snow, and UV exposure. Cheap incandescent or non-weatherproof LED strings often fail within a season. But high-quality LED outdoor string lights are built for the elements. Look for IP65 or IP67 ratings—these mean the lights are dust-tight and resistant to water jets or temporary submersion. I’ve had the same set of IP67-rated LED string lights on my oak tree for four years, and they still work perfectly, even after a brutal Midwest winter.
Long Lifespan and Low Maintenance
LEDs last up to 50,000 hours—that’s over five years of continuous use. Compare that to 1,000-2,000 hours for incandescents. Fewer bulb replacements, fewer trips up the ladder, and less hassle. Plus, LEDs run cool, so they’re safer around kids, pets, and dry branches.
Versatility for Every Season
One of my favorite things about an LED outdoor string light tree is its year-round potential. In summer, I use warm white lights for cozy backyard dinners. In fall, I switch to amber or orange for a harvest glow. Winter? Cool white or blue for a frosty effect. And holidays? Multicolor or color-changing LEDs for festive cheer. It’s like having a mood ring for your yard.
Choosing the Right LED Outdoor String Lights: What to Look For
Not all LED string lights are created equal. I’ve learned this the hard way—after buying a “bargain” set that flickered, dimmed, and died within weeks. To make your LED outdoor string light tree truly shine, you need to pick the right lights. Here’s what matters most.
Light Type and Color Temperature
- Warm White (2700K-3000K): Cozy, inviting, perfect for everyday use or intimate gatherings. This is my go-to for year-round ambiance.
- Cool White (4000K-5000K): Crisp and bright, great for visibility or a modern look. I use these for holiday displays.
- Multicolor or RGB: Fun for parties or holidays. Some sets let you change colors via remote or app—super handy.
- Color Temperature Tip: Stick to one color temperature per tree for a cohesive look. Mixing warm and cool whites can look chaotic.
Length, Spacing, and Bulb Density
Measure your tree’s trunk and branches. For a small to medium tree (15-20 ft tall), you’ll need 2-3 strands of 25-30 ft lights. For larger trees, 4-6 strands. Bulb spacing matters too:
- 6-inch spacing: Subtle glow, good for ambient lighting.
- 4-inch spacing: Bright, festive—ideal for holidays.
- 2-inch spacing: Intense sparkle, but can look overwhelming if overdone.
I prefer 4-inch spacing for a balance of brightness and elegance. For a dramatic effect, layer two strands—one with 6-inch and one with 4-inch spacing.
Power Source and Connectability
- Solar-powered: No wires, but less reliable on cloudy days. Best for small trees or supplemental lighting.
- Plug-in (AC): Most reliable. Use a GFCI-protected outdoor outlet. I always run an outdoor-rated extension cord through a PVC conduit to protect it from weather.
- Connectable strands: Buy lights labeled “connectable” so you can link multiple strands without overloading the circuit. Check the max connection limit (e.g., “up to 4 strands”).
Quality and Safety Certifications
Look for UL Listed or ETL Certified labels. These mean the lights meet safety standards. Avoid no-name brands with sketchy reviews. I stick to trusted brands like GE, Philips, or Feit Electric for reliability.
Smart Features (Optional but Fun)
Some LED sets come with app control, voice compatibility (Alexa/Google), or timer settings. I love using a smart plug to automate my lights—set them to turn on at sunset and off at 11 PM. No more running outside to plug/unplug!
Step-by-Step Guide: How to Install Your LED Outdoor String Light Tree
Now for the fun part—installation! I’ve perfected my method over the years. Follow these steps, and you’ll have a stunning LED outdoor string light tree in no time.
Step 1: Plan Your Layout
Start by sketching your tree. Decide where to place the lights:
- Trunk wrap: Coil lights around the trunk from base to first major branches.
- Branch draping: Hang lights from branches like garlands.
- Canopy fill: Weave lights through the outer edges of the canopy for a “floating” effect.
For a balanced look, I use a combination: trunk wrap + branch draping. Avoid covering the entire canopy—it can look cluttered.
Step 2: Prepare the Tree and Area
- Prune branches: Trim any dead or obstructive branches. This makes installation easier and safer.
- Clear the ground: Remove tripping hazards (rocks, toys) and mark where extension cords will run.
- Check power access: Ensure your outdoor outlet is within reach. Use a heavy-duty, weatherproof extension cord if needed.
Pro tip: Install during daylight so you can see clearly. I once tried to hang lights at night and ended up tangled in branches like a confused raccoon.
Step 3: Hang the Lights (The Right Way)
Never use nails, staples, or wire—they damage the tree and the lights. Instead, use:
- Zip ties: UV-resistant, reusable, and gentle on bark. Loop them loosely so the tree can grow.
- Light clips or hooks: Plastic clips designed for outdoor lights. I use ones that attach to branches without harming them.
- Fishing line or clear wire: For delicate branches, tie lights with monofilament fishing line (it’s nearly invisible).
Hanging technique:
- Start at the trunk’s base. Wrap lights in a spiral, keeping tension even.
- When you reach a branch, drape the lights along it. Use clips or ties every 12-18 inches.
- For a cascading effect, let lights hang down from branch tips (like a chandelier).
- Work from the bottom up, then outward. This prevents tangles.
For large trees, use a ladder or pole. I have a 12-foot extendable pole with a hook—game-changer for high branches.
Step 4: Secure and Conceal Cords
Hide extension cords with:
- PVC conduit: Bury it slightly or run it along the ground. I paint mine green to blend with grass.
- Landscape staples: Hold cords in place without damaging them.
- Mulch or rocks: Cover exposed cords for a natural look.
Step 5: Test and Adjust
Turn on the lights! Check for:
- Flickering or dim bulbs: Replace faulty strands immediately.
- Uneven spacing: Adjust clips or ties for symmetry.
- Glare: If lights are too bright, add a sheer curtain or diffuser (like a white plastic bag over bulbs).
Walk around the tree to view it from all angles. I always make small tweaks after testing.
Pro Tips to Make Your Tree Truly Shine Bright
Want to go from “nice” to “wow”? These expert tips will elevate your LED outdoor string light tree.
Layer Your Lighting
Don’t rely on string lights alone. Add depth with:
- Spotlights: Place a few LED spotlights at the tree’s base to highlight bark texture.
- Fairy lights: Weave tiny battery-powered fairy lights into the canopy for a “stardust” effect.
- Path lights: Line your walkway with solar path lights to draw the eye toward the tree.
I once layered warm white string lights with cool white fairy lights—my guests said it looked like the tree was “breathing light.”
Use a Timer or Smart Plug
Automate your lights to turn on at sunset and off at bedtime. No more forgetting to switch them off. I use a smart plug with a sunset-to-sunrise setting—it’s foolproof.
Play with Patterns
Break the monotony with creative layouts:
- Spiral wrap: Classic and elegant.
- Web design: Crisscross lights between branches like a spiderweb (great for Halloween).
- Drop lines: Hang vertical strands from high branches for a waterfall effect.
Seasonal Swaps
Change your lights with the seasons:
- Summer: Warm white + citronella candles for a cozy, bug-free vibe.
- Fall: Amber lights + pumpkins and hay bales.
- Winter: Cool white + blue + snowflakes (use plastic ornaments).
- Spring: Pastel-colored lights + blooming flowers.
I keep extra strands in labeled bins for quick seasonal changes.
Maintenance Matters
- Inspect yearly: Check for frayed wires, loose bulbs, or damaged clips.
- Clean bulbs: Wipe with a damp cloth to remove dirt and cobwebs.
- Store properly: Coil lights around a cardboard tube or reel to prevent tangles.
Common Mistakes to Avoid (And How to Fix Them)
Even pros make mistakes. Here are the top pitfalls—and how to avoid them.
Mistake 1: Overloading the Circuit
Connecting too many strands can trip your breaker. Rule of thumb: Don’t exceed 80% of your outlet’s capacity. For a 15-amp outlet, that’s 1440 watts (15A x 120V x 0.8). Most LED strands use 10-20 watts, so you can safely connect 10-15 strands.
Fix: Use a power strip with overload protection. Or, run multiple extension cords to different outlets.
Mistake 2: Damaging the Tree
Nails, staples, or tight zip ties can girdle the tree, killing it. I once saw a neighbor’s maple tree die because of wire ties cutting into the bark.
Fix: Use loose zip ties or clips. Check annually and adjust as the tree grows.
Mistake 3: Poor Weatherproofing
Water in connections causes shorts. I learned this when a storm fried my lights.
Fix: Use waterproof connectors. Elevate plugs with a cord cover or hang them in a plastic bag. Seal connections with electrical tape.
Mistake 4: Ignoring Light Pollution
Too many lights can annoy neighbors or harm wildlife. I once had a complaint about my “disco tree.”
Fix: Use dimmable lights or timers. Aim lights downward to minimize sky glow. Stick to 1-2 colors.
Mistake 5: Forgetting the View
Don’t just light the tree—light the space around it. I once focused so much on the tree that my patio was in shadows.
Fix: Add path lights or lanterns to create a cohesive scene.
Comparing Popular LED Outdoor String Light Options
Not sure which lights to buy? Here’s a quick comparison of top-rated options based on real-world testing and reviews.
| Product | Length | Bulb Spacing | Color | Weatherproof Rating | Smart Features | Price (per strand) | Best For |
|---|---|---|---|---|---|---|---|
| Philips 30-ft Warm White | 30 ft | 6 in | Warm White | IP67 | Timer, Dimmable | $25 | Year-round ambiance |
| GE 25-ft RGB | 25 ft | 4 in | Multicolor | IP65 | App Control | $35 | Holidays, parties |
| Feit Electric 50-ft Cool White | 50 ft | 3 in | Cool White | IP67 | None | $40 | Large trees, visibility |
| Brightech 20-ft Solar | 20 ft | 6 in | Warm White | IP65 | Solar-powered | $30 | Small trees, no outlet |
| Twinkle Star 33-ft Connectable | 33 ft | 4 in | Warm White | IP67 | Connect up to 4 | $28 | Budget-friendly, large trees |
My pick: For most people, the Philips 30-ft Warm White (IP67, dimmable) offers the best balance of quality, price, and durability. For large trees, I’d go with the Feit Electric 50-ft or connect multiple Twinkle Star strands.
Final Thoughts: Shine Bright, Year After Year
Creating an LED outdoor string light tree isn’t just about lighting up a yard—it’s about creating a feeling. That warm glow when you step outside at night, the way your kids’ eyes light up at the sight of it, the pride you feel when guests say, “Your tree is magical.” It’s these little moments that make the effort worthwhile.
Remember, perfection isn’t the goal. A few tangled strands, a bulb that flickers, or a slightly crooked wrap? That’s part of the charm. What matters is the joy it brings. Start small—one tree, one strand—and build from there. Use the tips in this guide, avoid the common mistakes, and don’t be afraid to experiment.
Before you know it, your LED outdoor string light tree won’t just shine bright—it’ll become the heart of your outdoor space. And who knows? Maybe next year, you’ll be the one with the Hallmark-worthy yard that makes neighbors slow down their cars to admire it. Now go make some magic.
Frequently Asked Questions
How do I choose the right LED outdoor string lights for my tree?
Look for weather-resistant, commercial-grade LED string lights with a high lumens rating for brightness. Ensure the length and bulb spacing suit your tree’s size and shape to create a balanced glow.
Can I install LED outdoor string lights on any type of tree?
Yes, you can use LED lights on most trees, but avoid wrapping them tightly around thin or young branches to prevent damage. Use flexible clips or zip ties for secure, non-invasive installation.
How do I safely hang LED string lights on a tall tree?
Use a pole with a hook or enlist a helper to drape the lights from a ladder, ensuring you follow electrical safety guidelines. Always plug lights into a GFCI outlet and avoid overloading circuits.
What’s the best way to arrange LED outdoor string lights for maximum shine?
Start at the base and spiral upward, spacing strands evenly to avoid clumping. For a fuller look, layer lights vertically or create a “net” pattern across the canopy.
How do I make my LED outdoor string light tree last longer?
Turn off lights during daylight and extreme weather, and use a timer to limit usage. Store lights in a cool, dry place when not in use to extend their lifespan.
Can I customize my LED string light tree for holidays or events?
Absolutely! Use color-changing LEDs or add removable ornaments for versatility. Smart bulbs let you adjust colors and brightness via an app for instant ambiance updates.

