Featured image for how to put up string lights outdoors
Image source: media.angi.com
Transform your outdoor space into a glowing retreat by securely mounting string lights along sturdy anchor points like eaves, trees, or railings using hooks, zip ties, or specialized clips. For a magical, professional-looking glow, maintain even spacing, avoid overstretching the cord, and use weatherproof, outdoor-rated lights to ensure safety and durability through the seasons.
Key Takeaways
- Plan your layout first: Sketch light placement to avoid mid-installation changes.
- Use weatherproof lights: Choose UL-listed outdoor lights for safety and durability.
- Secure with proper hardware: Use hooks, clips, or screws rated for outdoor use.
- Test before installing: Check lights work fully before mounting to save time.
- Hide cords creatively: Tuck wires along edges or under fixtures for a clean look.
- Space evenly: Maintain consistent gaps for a balanced, professional glow.
📑 Table of Contents
How to Put Up String Lights Outdoors for a Magical Glow
There’s something undeniably enchanting about the soft, warm glow of string lights twinkling under a starry sky. Whether you’re hosting a backyard barbecue, enjoying a quiet evening on the porch, or simply transforming your outdoor space into a cozy retreat, string lights have the power to elevate any moment. I remember the first time I draped lights across my patio—suddenly, my drab concrete slab felt like a secret garden. The neighbors even stopped by to compliment the transformation. It’s amazing how such a simple addition can create such a magical atmosphere.
But let’s be honest: putting up outdoor string lights isn’t always as easy as it looks. Between weather challenges, uneven terrain, and figuring out the best way to secure them without damaging your home, it can quickly turn into a frustrating project. That’s why I’m sharing everything I’ve learned—from planning and placement to installation and safety—so you can create that dreamy ambiance without the stress. Whether you’re a DIY newbie or a seasoned pro, this guide will help you hang string lights that last, look great, and bring joy all year round.
Planning Your Outdoor String Light Layout
Before you even buy your first bulb, take a moment to plan your layout. A little foresight can save you from costly mistakes, tangled wires, and disappointing results. Think of this step as designing the blueprint for your outdoor oasis.
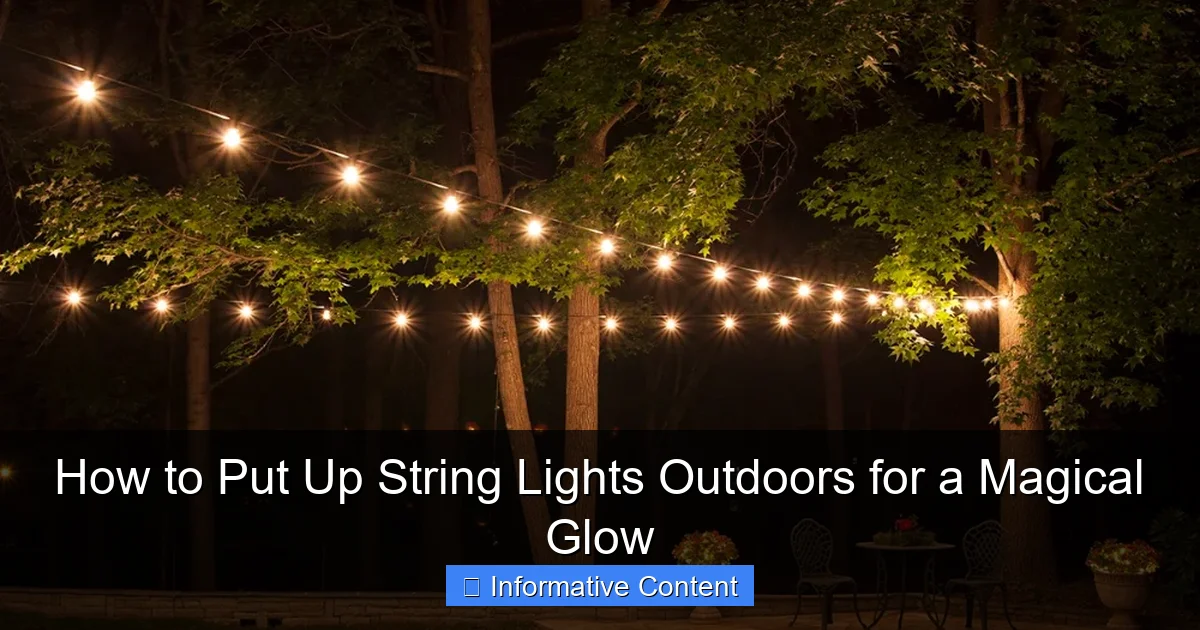
Visual guide about how to put up string lights outdoors
Image source: i.pinimg.com
Assess Your Space and Purpose
Start by asking yourself: *What do I want these lights to do?* Are you lighting a dining area? Creating a romantic corner? Highlighting a garden path? Each purpose calls for a different approach.
- Dining or entertaining areas: Focus on overhead or perimeter lighting to define the space. A grid or canopy pattern works well.
- Pathways or walkways: Use low-hanging or ground-level lights for visibility and charm. Solar-powered options are ideal here.
- Accent lighting: Drape lights around trees, railings, or pergolas to highlight architectural or natural features.
Walk around your yard at night with a flashlight. Note where shadows fall, where people gather, and which areas feel too dark or too exposed. This “night walk” is a game-changer for spotting opportunities.
Measure and Sketch
Grab a measuring tape and jot down the distances between potential anchor points—like posts, eaves, or trees. Sketch a rough layout on paper or use a free app like SketchUp or RoomSketcher. Include:
- Length of each run (distance between anchor points)
- Height of mounting points (e.g., 8 feet for a patio, 12 feet for a pergola)
- Obstacles (fences, windows, doors)
- Power source locations (outlets, GFCI-protected areas)
Pro tip: Add 10–15% extra to your measurements. It’s better to have a little slack than to come up short mid-install.
Choose the Right Type of String Lights
Not all string lights are created equal. Here’s a quick breakdown of common types and their best uses:
| Type | Best For | Pros | Cons |
|---|---|---|---|
| LED Edison bulbs | Patios, pergolas, dining areas | Energy-efficient, warm glow, durable | Higher upfront cost |
| Mini fairy lights | Foliage, railings, small spaces | Flexible, low profile, easy to shape | Less ambient light |
| Solar-powered | Paths, gardens, remote areas | No wiring, eco-friendly | Dimmer in winter, shorter lifespan |
| Commercial-grade | Large spaces, permanent setups | Weatherproof, heavy-duty, long-lasting | Expensive, may require professional install |
| Plug-in with timer | Anywhere with outdoor outlet | Consistent brightness, easy to automate | Extension cords needed if outlet is far |
For most homeowners, LED Edison bulbs with a timer strike the perfect balance between beauty, durability, and convenience. They’re bright enough to illuminate a space but still feel cozy.
Choosing the Best Mounting Method for Your Space
Once you’ve planned your layout, it’s time to decide *how* to hang the lights. The mounting method depends on your surface type, desired look, and how permanent you want the setup to be.
For Wooden Surfaces (Deck Posts, Fences, Pergolas)
Wood is one of the easiest surfaces to work with. You have several options:
- Cup hooks or eye screws: Screw these into the wood at regular intervals (every 2–3 feet). They’re sturdy and blend in well. Use stainless steel or brass to prevent rust.
- Zip ties (cable ties): Wrap them around posts or beams. Great for temporary setups. Choose UV-resistant ties to avoid brittleness from sun exposure.
- Picture hangers: Small metal hooks designed for walls—but they work great on thick wooden posts too.
Example: On my cedar pergola, I used brass eye screws spaced 2.5 feet apart. I threaded the lights through the hooks, creating a gentle sag for a relaxed, “floating” effect.
For Brick, Concrete, or Stucco Walls
Hard surfaces require a bit more finesse. Avoid drilling unless necessary—especially if you rent or plan to remove the lights later.
- Adhesive hooks (3M Command™ Outdoor Strips): These are my go-to for stucco or brick. They hold up to 5 lbs, are weather-resistant, and remove cleanly. Just clean the surface first with rubbing alcohol.
- Masonry screws with anchors: If you’re going permanent, use a masonry bit to drill holes, insert plastic anchors, then screw in hooks. This is overkill for most string lights but ideal for heavy commercial-grade strands.
- Clips with adhesive backing: Brands like LightKeeper Pro make clips designed for string lights. They stick to smooth surfaces and have a small groove to hold the wire.
Caution: Never use nails or staples on stucco—they can crack the surface and cause water damage.
For Trees and Natural Features
Want to wrap lights around a tree? Do it right to protect the bark and avoid girdling.
- Use soft, flexible wire or zip ties: Loosely wrap the lights around the trunk or branches. Leave at least 1–2 inches of slack to allow for tree growth.
- Anchor to the ground: If draping from a tree to a post, use a ground stake or a small tent peg to keep the line taut without straining the tree.
- Skip the trunk: For young or thin-barked trees, hang lights from branches instead of wrapping the trunk.
Tip: I once made the mistake of wrapping a young maple too tightly. A year later, the bark was damaged. Now I use wide, soft fabric straps for extra protection.
For Open Spaces (No Natural Anchors)
No posts, no trees, no problem! Create your own anchors:
- Metal or wooden poles: Sink 6-foot poles into concrete-filled buckets or use ground stakes. Attach hooks to the top.
- Furniture as anchors: Use sturdy patio tables, benches, or even a fire pit as temporary support points.
- Freestanding light poles: Buy adjustable outdoor light poles (like those used for string light kits). They’re portable and can be moved seasonally.
My friend Sarah lives in a modern home with a minimalist backyard—no trees, no pergola. She bought two 8-foot metal poles, buried them 18 inches in the ground, and now has a stunning overhead canopy. Total cost: under $100.
Step-by-Step Installation Guide
Now for the fun part: actually hanging the lights! Follow these steps for a smooth, stress-free installation.
Step 1: Gather Your Tools and Materials
Here’s what you’ll need:
- String lights (with bulbs installed)
- Mounting hardware (hooks, clips, zip ties, etc.)
- Measuring tape
- Pencil or chalk (for marking)
- Screwdriver or drill (if using screws)
- Extension ladder (for high points)
- Work gloves (to protect your hands)
- Extension cords (outdoor-rated, GFCI-protected)
- Timer or smart plug (optional but recommended)
Step 2: Install Mounting Points
Start at the highest or farthest point and work toward the power source. This prevents tangling and makes it easier to adjust tension.
- Mark where each hook or clip will go using your sketch.
- Pre-drill holes if using screws (especially in hardwood or masonry).
- Install hooks, clips, or stakes. Double-check they’re secure.
- For adhesive hooks, press firmly for 30 seconds and wait 1 hour before hanging lights.
Pro tip: Use a level to ensure hooks are aligned—especially for straight runs across a patio.
Step 3: Hang the Lights
Unpack your lights and lay them out on the ground. Plug them in to test before hanging (you don’t want to find out a bulb is out halfway up a ladder).
- Start at the power source end.
- Hang the first bulb or socket at the first anchor point.
- Work your way along the line, securing every 2–3 feet.
- For a “sag,” leave 6–12 inches of slack between hooks. This adds visual interest and reduces tension on the wire.
- For a “tight line,” pull gently as you go—but don’t overstretch!
Example: For my 20-foot patio run, I hung lights with a 6-inch sag between hooks. It looked relaxed and elegant, not stiff or artificial.
Step 4: Connect Multiple Strands
If your run is longer than one strand, use end-to-end connectors. Most LED lights are designed to connect up to 3–5 strands (check the packaging). Never exceed the max load—it can blow a fuse or create a fire hazard.
- Use waterproof wire nuts or silicone-filled connectors for outdoor splices.
- Secure connections with zip ties or clips to prevent pulling.
Step 5: Run Extension Cords Safely
Extension cords are unavoidable for most setups. Do it right:
- Use outdoor-rated cords (look for “SJTW” or “SJTO” on the jacket).
- Keep cords off the ground—run them along walls, under railings, or through cord covers.
- Never daisy-chain extension cords (plug one into the outlet, then lights into that).
- Use a GFCI outlet (or a GFCI adapter) for safety—this shuts off power if there’s a short circuit.
Step 6: Add a Timer or Smart Plug
Automate your lights so you never have to fumble in the dark again. A simple mechanical timer costs $10. A smart plug (like Kasa or TP-Link) lets you control lights from your phone or set schedules.
Bonus: Some smart plugs work with Alexa or Google Home—say “Hey Google, turn on the patio lights” and voilà!
Weatherproofing and Safety Tips
Outdoor lights face sun, rain, wind, and temperature swings. A little prep keeps them shining for years.
Seal All Connections
Water is the enemy. Even “weatherproof” lights can fail if connections get wet.
- Use silicone sealant on plug connections.
- Store plugs in waterproof boxes or bags when not in use.
- Angle sockets downward so water doesn’t pool in the bulbs.
Protect Cords from Damage
Animals, lawnmowers, and foot traffic can chew through cords.
- Run cords through PVC conduit (paint it to match your fence or deck).
- Use cord covers or tape them to railings.
- For ground-level runs, bury cords in a shallow trench (1–2 inches deep) with mulch on top.
Check for Overheating
Even LED lights get warm. Avoid:
- Overloading circuits (max 80% of outlet capacity).
- Covering lights with flammable materials (curtains, fabric).
- Using incandescent bulbs outdoors—they’re less efficient and hotter.
Inspect Seasonally
Every spring, check for:
- Frayed wires or cracked insulation
- Corroded hooks or connectors
- Loose bulbs
- Adhesive hooks that need replacing
I do this during my annual spring cleanup. Last year, I found a squirrel had chewed through a cord—good thing I caught it early!
Creative Ideas to Elevate Your Outdoor Lighting
Now that you’ve mastered the basics, let’s get creative. These ideas will make your space truly unforgettable.
Create a Canopy or Grid
For a romantic, restaurant-style vibe, crisscross lights overhead. Use a grid pattern (like a tic-tac-toe board) or a diamond lattice. This works best on patios, pergolas, or between two poles.
Example: I used 4 poles and 300 feet of lights to create a 12×12 foot canopy. My guests felt like they were dining under the stars—even in the suburbs.
Highlight Architectural Features
Use lights to draw attention to what makes your yard special:
- Drape lights along a stone wall or water feature.
- Outline a gazebo or fire pit.
- Wrap lights around a trellis or arbor.
Mix and Match Styles
Don’t be afraid to combine different types of lights:
- Edison bulbs overhead, fairy lights in the shrubs.
- Path lights leading to a string-light-lit dining area.
- Color-changing LEDs for parties, warm white for everyday.
Add Decorative Elements
Enhance the glow with:
- Frosted glass or fabric covers (for softer light).
- Hanging lanterns or mason jars (suspended from the lights).
- Reflective surfaces (mirrors, glass, or metal) to amplify the glow.
Seasonal Themes
Switch up your lights with the seasons:
- White lights in winter (snowy, crisp).
- Warm amber in fall (cozy, inviting).
- Colorful LEDs for summer parties.
My favorite? A “twinkling” effect—I leave some strands on steady, others on a slow flicker. It mimics fireflies and feels magical.
Conclusion
Putting up outdoor string lights isn’t just about adding light—it’s about creating moments. The laughter around a fire pit lit by golden bulbs. The quiet joy of reading under a canopy of stars. The way your yard transforms from ordinary to extraordinary with the flip of a switch.
By planning carefully, choosing the right mounting method, and prioritizing safety, you can install lights that last for years. Whether you’re going for a minimalist glow or a full-on fairy-tale wonderland, the key is to start small, experiment, and have fun. I still tweak my setup every season—adding a new strand here, adjusting the sag there. It’s a living, breathing part of my outdoor space.
So grab your lights, gather your tools, and let the magic begin. With a little effort, your backyard can become the place where memories are made—all under the soft, shimmering glow of string lights. And when you step back to see your handiwork, I guarantee you’ll smile. Because that’s the real magic: the pride of creating something beautiful with your own hands.
Frequently Asked Questions
How do I hang outdoor string lights without damaging my house?
Use removable adhesive hooks, gutter clips, or tension rods to avoid nails or screws. These options secure the lights while protecting siding, shingles, or paint. Always check the weight limit of your chosen hardware.
What’s the best way to put up string lights outdoors on a patio or deck?
Anchor lights to sturdy structures like posts, railings, or pergolas using zip ties or S-hooks. For open spaces, install temporary poles or use shepherd’s hooks to create support points. Plan your layout to minimize cord tension.
Can I leave outdoor string lights up year-round?
Only if they’re rated for permanent outdoor installation (look for “wet-rated” labels). Otherwise, remove them during harsh weather to prevent damage. Store them coiled in a dry place to extend their lifespan.
How do I power outdoor string lights without an outlet nearby?
Use solar-powered string lights for off-grid areas or a heavy-duty outdoor extension cord routed safely along edges. For permanent setups, consider hiring an electrician to install a weatherproof outlet.
How far apart should I space hooks when putting up string lights?
Space hooks 12–18 inches apart for a taut, professional look, adjusting for light bulb size and wire thickness. Over-tensioning can damage sockets, so test sag with a small section first.
What tools do I need to hang string lights outdoors?
Basic tools include a ladder, measuring tape, and clips/hooks suited to your surface (e.g., gutters, wood, stucco). For complex layouts, a drill, zip ties, and a level help ensure even spacing and stability.

