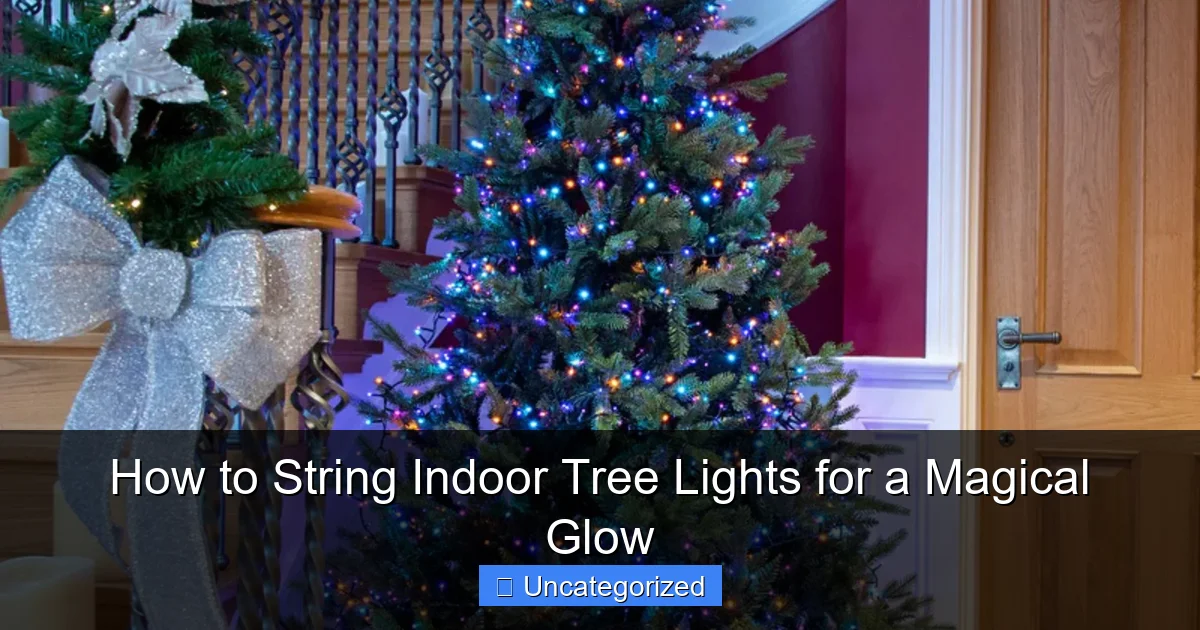
Featured image for how to string indoor tree lights
Image source: cdn.shopify.com
Transform your indoor space into a glowing oasis by strategically wrapping tree lights from the trunk outward, ensuring even spacing for a balanced, magical effect. Use UL-listed indoor lights and secure them with insulated clips or twist ties to protect branches and maintain a clean look. Finish by tucking excess cords behind foliage for a seamless, professional glow.
Key Takeaways
- Plan your layout: Sketch light placement before starting for balanced coverage.
- Use the right lights: Choose LED or battery-operated for safety and flexibility.
- Start from the base: Wrap lights upward in spiral motion for even glow.
- Secure with clips: Use removable hooks or tape to avoid damaging branches.
- Layer for depth: Combine string lights with spotlights for a magical effect.
- Test before finalizing: Check brightness and spacing before completing installation.
📑 Table of Contents
- The Magic of Indoor Tree Lights
- Choosing the Right Lights for Your Indoor Tree
- Planning and Measuring: The Key to Even Coverage
- Step-by-Step: Stringing Lights Like a Pro
- Troubleshooting Common Lighting Issues
- Enhancing the Glow: Creative Tips and Finishing Touches
- Data Table: Recommended Lights by Tree Size and Style
- Conclusion: Light Up Your Life
The Magic of Indoor Tree Lights
Few things evoke the warmth and wonder of the holiday season—or any special occasion—quite like the soft, twinkling glow of string lights. When draped around an indoor tree, whether a traditional evergreen, a decorative artificial tree, or even a large potted houseplant, these lights transform a simple room into a magical sanctuary. The gentle shimmer of bulbs nestled among branches creates a cozy ambiance, perfect for family gatherings, quiet evenings, or festive celebrations. But achieving that perfect glow isn’t always as simple as wrapping lights haphazardly around a tree. To create a truly captivating display, you need a thoughtful, methodical approach that balances aesthetics, safety, and longevity.
Stringing indoor tree lights is both an art and a science. Done right, it enhances the natural beauty of your tree, highlights its shape, and casts a warm, inviting light throughout the room. Done poorly, it can result in tangled wires, dim or flickering bulbs, and an uneven distribution of light that distracts rather than delights. Whether you’re decorating for Christmas, a birthday, a wedding, or simply adding year-round charm, this guide will walk you through every step of the process—from choosing the right lights to troubleshooting common issues. By the end, you’ll be equipped with the knowledge and confidence to string indoor tree lights like a pro, ensuring a breathtaking glow that lasts all season (and beyond).
Choosing the Right Lights for Your Indoor Tree
The foundation of a stunning indoor light display begins with selecting the appropriate lights. With countless options on the market—LED, incandescent, color, warm white, cool white, battery-powered, plug-in—it’s easy to feel overwhelmed. The key is to match your lights to your tree’s size, your room’s ambiance, and your practical needs.
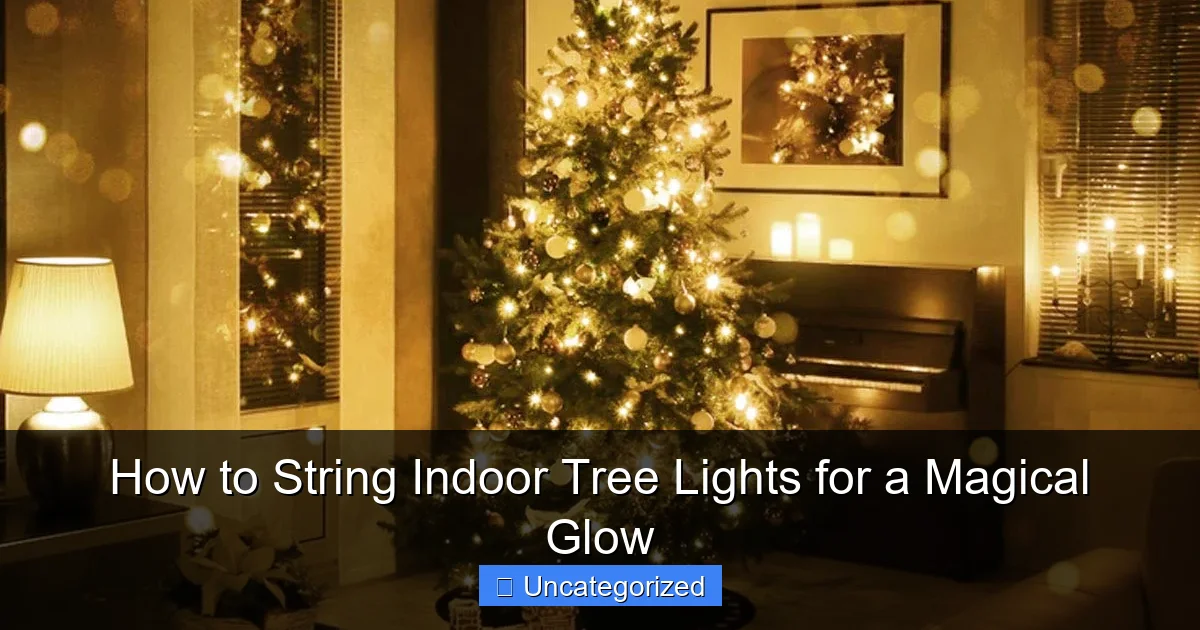
Visual guide about how to string indoor tree lights
Image source: images-na.ssl-images-amazon.com
Types of String Lights: Pros and Cons
- LED Lights: Energy-efficient, long-lasting, and cool to the touch. Ideal for indoor use due to low heat output. Available in a wide range of colors and styles, including twinkling, steady-on, and color-changing. While slightly more expensive upfront, they save money over time due to lower electricity use and longer lifespan (up to 25,000–50,000 hours).
- Incandescent Lights: Emit a warm, traditional glow and are often cheaper. However, they use more energy, generate more heat (a potential fire hazard indoors), and burn out faster (typically 1,000–2,000 hours). Best used sparingly or for short-term displays.
- Mini Lights: Small bulbs (5–10mm) that create a delicate, subtle sparkle. Great for smaller trees or adding a soft layer of light.
- C7/C9 Bulbs: Larger, more visible bulbs (C7: ~2 inches, C9: ~3 inches). Best for larger trees or when you want a bold, vintage look. Not ideal for small spaces due to their size and heat output.
Color and Temperature: Setting the Mood
The color of your lights dramatically affects the atmosphere. Warm white (2700K–3000K) mimics candlelight, creating a cozy, inviting feel—perfect for living rooms and bedrooms. Cool white (4000K–5000K) offers a crisp, modern look, ideal for minimalist or Scandinavian decor. For festive occasions, multicolor lights bring cheer and energy, while single-color LEDs (red, blue, gold, etc.) allow for themed decor. Consider your room’s existing color palette: warm white pairs well with wood tones and earthy hues, while cool white complements grays and metallics.
Power Source and Safety
Indoor safety is paramount. Battery-powered lights eliminate cords, making them ideal for trees near furniture or where outlets are scarce. However, batteries need frequent replacement. Plug-in lights are more reliable but require careful cord management. Always check for UL or ETL certification to ensure electrical safety. Avoid overloading outlets—use a power strip with surge protection if connecting multiple strands.
Pro Tip: For tall trees (6+ feet), use light strands with a “plug-to-end” design, where the plug is at the end of the strand, not the middle. This makes it easier to plug in without dangling cords.
Planning and Measuring: The Key to Even Coverage
Before you start wrapping, take time to plan and measure. Rushing this step leads to uneven lighting, tangled wires, and frustration. A well-planned approach ensures every branch sparkles without overcrowding or dark spots.
Calculate the Number of Light Strands Needed
Use this rule of thumb: 100 lights per 1 foot of tree height. For example, a 6-foot tree needs approximately 600 lights. To determine the number of strands:
- Divide total lights needed by bulbs per strand. (e.g., 600 lights ÷ 50 bulbs/strand = 12 strands).
- Add 1–2 extra strands for overlap and backup.
Example: For a 7-foot artificial tree with a full canopy, you’d need 700 lights. If using 100-light strands, buy 7–8 strands. For a sparse, natural-looking fir, 500–600 lights (5–6 strands) may suffice.
Map Your Tree’s Structure
Stand back and study your tree’s shape. Identify:
- Primary branches: The main limbs extending from the trunk. These are your lighting “highways.”
- Secondary branches: Smaller limbs that fill out the tree. Lights here add depth.
- Top and bottom zones: Ensure the tree topper and base are well-lit, as these areas draw the eye.
Use a ladder or step stool to access high branches safely. For tall trees, consider working in sections (bottom, middle, top).
Test Your Lights First
Before stringing, plug in each strand to check for dead bulbs, flickering, or damaged wires. Replace faulty strands immediately. This prevents mid-decorating surprises. Keep spare bulbs and fuses handy.
Create a Lighting “Blueprint”
Sketch a simple diagram of your tree, noting where each strand will go. Plan for:
- Vertical runs: Lights spiraling from trunk to branch tips.
- Horizontal loops: Strands wrapped around each tier.
- Cluster points: Extra lights at the base or top for emphasis.
Pro Tip: For a “snowy” effect, drape lights over branches instead of wrapping. For a “halo” look, place strands under branches to cast upward glow.
Step-by-Step: Stringing Lights Like a Pro
Now that you’ve chosen your lights and planned your layout, it’s time to string them. Follow this methodical process for a flawless finish.
Start at the Bottom
Begin at the base of the tree, working upward. This prevents stepping on already-placed lights. Plug your first strand into an outlet or extension cord near the tree’s base. Use a cord cover or tape to secure the plug to the floor, preventing tripping.
Wrap Vertically, Not Horizontally
Instead of wrapping lights in tight horizontal loops (which creates a “barber pole” effect), run strands vertically from the trunk to the tips of primary branches. This technique:
- Follows the tree’s natural shape.
- Prevents overcrowding at the center.
- Allows light to cascade evenly.
To do this:
- Anchor the plug end at the base with a twist tie or small clip.
- Run the strand up the trunk to a primary branch.
- Gently drape it along the branch to the tip, letting excess light hang loosely.
- Loop back down to the trunk, leaving 3–5 inches between vertical runs.
- Repeat for each primary branch.
Fill in with Secondary Branches
After covering the primary branches, add strands to secondary limbs. Use shorter strands or cut longer ones (if allowed) to avoid excess wire. Tuck lights under branches for a “glow from within” effect, or drape them over for a “sparkling frost” look.
Work in Sections
Divide the tree into quadrants (front, back, left, right). String one section at a time, stepping back frequently to assess coverage. This prevents over-lighting one area and ensures symmetry.
Secure Lights Without Damaging Branches
Use light clips, twist ties, or zip ties (for artificial trees) to secure strands. Avoid nails, staples, or tape, which can damage real trees or branches. For live trees, use biodegradable twine to avoid harming bark.
Manage Cords and Plugs
As you connect multiple strands:
- Use extension cords with built-in sockets to daisy-chain strands.
- Keep cords behind the tree, running them down the back trunk.
- Coil excess cord and tuck it behind branches or use a cord organizer.
Pro Tip: For a “floating” effect, use clear fishing line to suspend lights between branches, eliminating visible wires.
Troubleshooting Common Lighting Issues
Even the best-laid plans can go awry. Here’s how to fix common problems without starting over.
Uneven or Patchy Lighting
Problem: Some areas glow brightly; others are dark.
Solution: Reassess your vertical runs. Ensure strands are spaced 3–5 inches apart. Add short “filler” strands to sparse zones. For artificial trees, fluff branches to expose hidden areas.
Flickering or Dead Bulbs
Problem: A strand flickers or has dark sections.
Solution:
- Replace faulty bulbs or fuses (found in the plug).
- Check connections: Loose plugs or corroded sockets can cause flickering.
- Test with a light tester to pinpoint dead sections.
For LED strands, flickering may indicate a failing power supply. Replace the entire strand.
Tangled or Overlapping Strands
Problem: Lights are tangled, creating a messy look.
Solution: Remove all strands and start fresh. As you re-string, hold each strand taut and use clips to secure it in place before moving to the next.
Excessive Heat or Fire Risk
Problem: Incandescent lights feel hot, especially near curtains or dry branches.
Solution:
- Switch to LED lights (they emit negligible heat).
- Keep lights away from flammable materials.
- Never leave lights unattended or on overnight.
Too Bright or Harsh
Problem: Lights are overwhelming, creating glare.
Solution:
- Use warm white or amber LEDs for a softer glow.
- Add a dimmer switch (if your lights are compatible).
- Layer lights with sheer fabric or tinsel to diffuse the light.
Enhancing the Glow: Creative Tips and Finishing Touches
With the lights in place, elevate your display with these pro techniques.
Layer Multiple Light Types
Combine different lights for depth:
- Base layer: Steady warm white mini lights (vertical runs).
- Mid-layer: Twinkling or color-changing LEDs (on secondary branches).
- Top layer: C7 bulbs for a vintage accent (near the tree topper).
This creates a “3D” effect, with light appearing to move and shimmer.
Add a Tree Topper with Lights
A lighted star, angel, or bow draws attention to the crown. Choose a topper with battery-powered LEDs to avoid cord clutter. For extra sparkle, add a strand of lights around the topper’s base.
Use Reflective Ornaments and Tinsel
Place shiny ornaments, mirrors, or tinsel on branches to reflect and amplify light. Avoid matte or dark decorations, which absorb light.
Create a Lighted Tree Skirt
Place a lighted tree skirt (with embedded LEDs) around the base. This adds a warm glow to the floor and hides cords.
Control Lights with Timers or Smart Plugs
Set a timer to automatically turn lights on at dusk and off at bedtime. For high-tech control, use a smart plug (e.g., Alexa or Google Home compatible) to manage lights via voice command or app.
Capture the Magic in Photos
To photograph your tree, use a tripod and low ISO settings. Shoot in manual mode with a slow shutter speed (1–2 seconds) to capture the glow without overexposure.
Data Table: Recommended Lights by Tree Size and Style
| Tree Height | Tree Style | Recommended Lights (Total) | Bulb Type | Color | Strands Needed (100 bulbs/strand) |
|---|---|---|---|---|---|
| 3–4 feet | Tabletop or small potted tree | 300–400 lights | LED mini lights | Warm white or multicolor | 3–4 strands |
| 5–6 feet | Full artificial tree | 500–600 lights | LED mini or C7 bulbs | Warm white, cool white, or single color | 5–6 strands |
| 7–8 feet | Large live or artificial tree | 700–800 lights | LED mini + C7 accents | Warm white (base), color-changing (accents) | 7–8 strands |
| 9+ feet | Commercial or statement tree | 900+ lights | LED mini, C7, and twinkling strands | Layered warm white, gold, and twinkling white | 9–10+ strands |
| Year-round houseplant | Large potted tree (e.g., ficus, palm) | 200–300 lights | LED battery-powered mini lights | Warm white or soft amber | 2–3 strands |
Conclusion: Light Up Your Life
Stringing indoor tree lights is more than a holiday chore—it’s a creative act that transforms your space into a sanctuary of light and joy. By choosing the right lights, planning your layout, and following a step-by-step approach, you can achieve a professional-quality display that dazzles guests and delights your family. Remember, the key to a magical glow lies in even coverage, thoughtful placement, and a touch of creativity. Whether you’re wrapping a towering evergreen or a humble houseplant, let your lights tell a story: one of warmth, wonder, and the enduring magic of home.
As you step back to admire your work, take a moment to appreciate the craftsmanship. The soft shimmer of bulbs, the way light dances through leaves, the quiet hum of a room bathed in gentle radiance—these are the moments that make the effort worthwhile. And with proper care, your lights will continue to shine, season after season. So go ahead: string indoor tree lights with confidence, knowing you’ve mastered the art of creating a truly magical glow.
Frequently Asked Questions
How do I choose the right lights for my indoor tree?
Opt for LED string lights with a warm or cool white glow, depending on your décor. Make sure the length matches your tree’s size—measure the height and circumference to calculate how many strands you’ll need for even coverage.
How to string indoor tree lights without damaging the branches?
Use soft, flexible clips or twist ties designed for holiday lights to secure strands without harming the bark. Gently drape the lights in a spiral pattern, starting from the base and working upward to avoid tangling.
Can I leave indoor tree lights on overnight?
Yes, but only use UL-listed LED lights with a timer or low-heat design for safety. Always turn them off when you leave the house to minimize fire risks and energy waste.
How do I hide the wires when stringing indoor tree lights?
Route the power cord behind the tree’s trunk or along its stand, using clear cord clips to blend with the bark. For a seamless look, tuck excess wires under rugs or behind furniture near the outlet.
What’s the best way to evenly space lights on a large indoor tree?
Divide the tree into sections and zigzag the lights horizontally between branches, then add vertical drops for depth. For a balanced glow, aim for 10–15 bulbs per linear foot of tree height.
How to string indoor tree lights with multiple strands safely?
Connect no more than 3 compatible LED strands end-to-end to avoid overloading the circuit. Use a surge protector and stagger plug-in points to reduce visible wire clutter.

