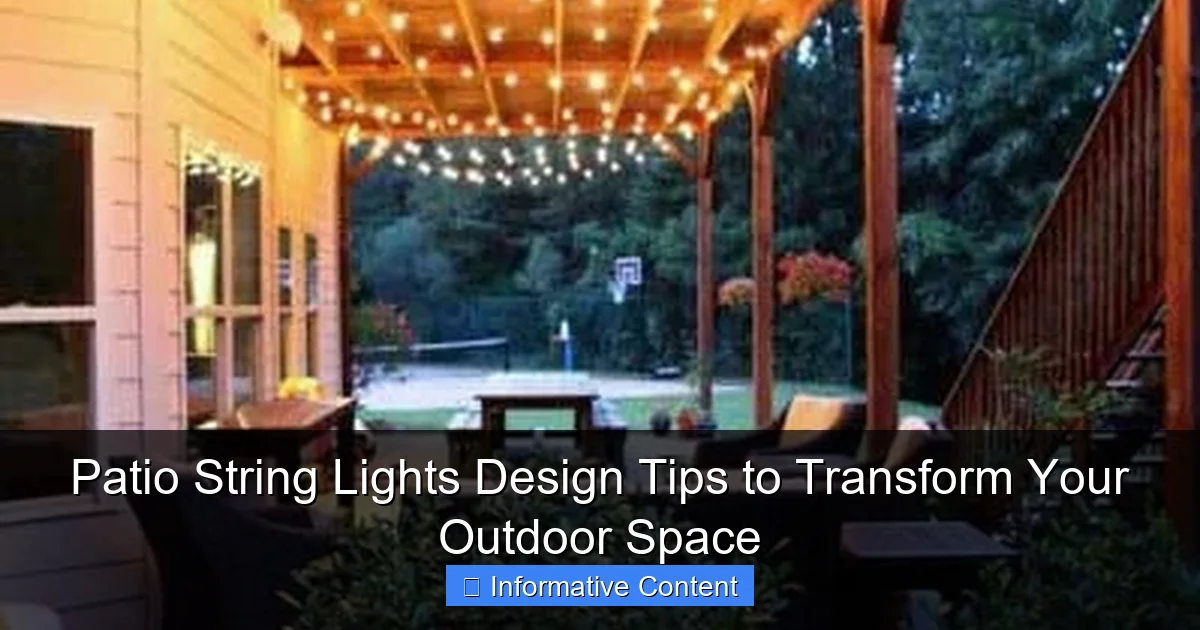
Featured image for patio string lights design tips
Image source: nextluxury.com
Transform your outdoor space into a magical retreat with strategic patio string lights placement and design. Choose warm white or color-tuned LEDs and layer lighting across overhead lines, railings, and trees to enhance ambiance and functionality. Mix bulb styles and spacing for visual interest while ensuring even illumination—perfect for entertaining or cozy nights al fresco.
Key Takeaways
- Plan your layout first: Sketch light placement to avoid over- or under-lighting key areas.
- Mix bulb styles: Combine globe, Edison, and fairy lights for visual interest.
- Use dimmers: Adjust brightness to set the perfect mood for any occasion.
- Anchor securely: Install hooks, poles, or tension wires to prevent sagging.
- Layer with other lights: Pair string lights with lanterns or spotlights for depth.
- Choose weatherproof options: Ensure lights are rated for outdoor use and durability.
📑 Table of Contents
Choosing the Right Style and Aesthetic
Match Your Home’s Exterior
Your patio is an extension of your home, so the string lights you pick should feel like a natural fit. Think of it like picking an outfit for a party—you want something that complements the occasion, not clashes with it. For example, if your house has a modern, minimalist design, sleek Edison bulbs on black rubber cables will look sharp and intentional. But if you’re rocking a rustic farmhouse vibe, warm white fairy lights wrapped around wooden beams or vintage-style lanterns might feel more at home.
I learned this the hard way when I bought industrial-looking LED strips for my shabby-chic cottage patio. It looked like a tech lab had invaded a garden party. After swapping them out for soft, warm-glowing bulbs with a copper finish, the whole space felt cozier and more inviting. Lesson learned: harmony is key.
Consider the Mood You Want to Create
Are you aiming for a romantic dinner spot? A lively gathering area? Or a peaceful retreat for reading under the stars? The style of your lights can set the tone. For romance, go for soft, warm white bulbs—they’re flattering and create a gentle glow. For a festive vibe, try color-changing LEDs or multicolored bulbs (think boho chic or tropical luau).
One couple I know uses dimmable Edison bulbs over their dining area. They can go from bright for family BBQs to a soft, candle-like glow for date nights. Talk about versatility! And if you’re into whimsy, consider novelty shapes like stars, moons, or even flamingos (yes, they exist).
Pro tip: Test different styles with temporary clips before committing. Tape a few bulbs to your patio ceiling or railings for a weekend. See how they look at dusk, midnight, and under different weather conditions. You might be surprised by what works—and what doesn’t.
Balance Size and Scale
It’s easy to go overboard with lights, but less is often more. Bulbs that are too large or too close together can feel overwhelming. For a standard 10×12 ft patio, 50-100 bulbs usually do the trick. But if you have a sprawling backyard, you’ll want more coverage—just avoid creating a “disco effect” unless that’s your goal.
One mistake I see often? People string lights too low, so guests keep bumping into them. Aim for at least 7 feet off the ground, or higher if you have tall visitors (or ceilings). And if you’re using globe or lantern-style lights, make sure they don’t block views or conversation areas.
Strategic Placement and Layout
Frame Your Space
String lights work magic when they define your patio’s boundaries. Think of them as the “walls” of your outdoor room. A classic technique is the “canopy” layout: run lights from the house to a tree, fence, or pergola, creating a tent-like effect. This works especially well for intimate seating areas.
For larger patios, try the “grid” method. String lights horizontally and vertically to form a grid over the space. It’s like building a glowing roof. One friend used this for a wedding reception, and the photos looked like something out of a fairy tale. Just make sure your anchors (trees, posts, etc.) are sturdy enough to handle the tension.
Highlight Focal Points
Use lights to draw attention to key features. Wrap them around a tree trunk to make it a centerpiece, or line them along a staircase to guide guests safely. I once saw a patio where the homeowner strung lights along the edge of a koi pond—the reflection in the water doubled the effect. Genius!
Another favorite trick? “Layering” lights. Combine overhead strings with smaller, ground-level lights (like solar-powered path markers). This adds depth and makes the space feel bigger. For example, you could hang Edison bulbs over your dining table while using fairy lights along the base of a planter or railing.
Work Around Obstacles
No patio is perfect. Maybe you have a grill blocking the ideal spot, or a tree branch in the way. Get creative! Use hooks, zip ties, or even repurposed items (like old bike wheels or garden trellises) as mounting points. One couple I know attached lights to a vintage ladder leaning against their pergola—it became a quirky art installation.
And don’t forget about power sources. If your outlet is far away, consider battery-powered or solar lights for hard-to-reach spots. Just be sure to check their brightness and battery life. Nothing ruins a mood like dim or dead lights halfway through a party.
Choosing the Right Bulbs and Technology
Warm vs. Cool Light
This is a game-changer. Warm white (2700-3000K) bulbs mimic candlelight—perfect for cozy gatherings. Cool white (4000K+) feels more clinical, like a hospital hallway. (Not exactly the vibe we’re going for here.) I once made the mistake of using cool white LEDs for a backyard movie night, and everyone complained it felt “sterile.” Swapping to warm white bulbs fixed the issue instantly.
For a modern twist, some LEDs let you switch between temperatures. But if you’re keeping it simple, warm white is almost always the safe bet.
LED vs. Incandescent
LEDs are the clear winner for most people. They’re energy-efficient, last 25,000+ hours (vs. 1,000 for incandescent), and run cooler. But incandescent bulbs have a nostalgic charm—they flicker like real flames. If you’re going for a vintage or rustic look, they’re worth considering. Just keep in mind they’ll raise your energy bill and need replacing more often.
One compromise? Hybrid sets with LED bulbs that have an “incandescent-like” glow. They give you the best of both worlds.
Smart Features and Controls
If you love tech, smart string lights are a blast. You can control them with an app, voice commands, or even set timers. Want lights to turn on at sunset? Done. Sync them to music for a dance party? Easy. But they do come with a learning curve—and a higher price tag.
For most people, a simple dimmer switch or remote control is enough. I’ve seen patios with 10 different light zones, each with its own remote. It’s impressive, but also a headache. Start simple, then add complexity as you get more comfortable.
Weather Resistance
Outdoor lights need to survive rain, wind, and UV rays. Look for IP44 or IP65 ratings (the higher, the better). And avoid cheap plastic bulbs—they’ll crack in extreme temperatures. One winter, my neighbor’s bargain-basement lights turned into a sad, melted mess after a snowstorm. Not a good look.
For coastal areas, salt air is brutal. Stainless steel or aluminum hardware is a must. And if you live somewhere with frequent storms, consider quick-disconnect plugs so you can easily take lights down in bad weather.
Power Sources and Safety
Outdoor Outlets and Extensions
The golden rule: never use indoor extension cords outside. They’re not rated for moisture and can be a fire hazard. Instead, use outdoor-rated cords with GFCI (ground fault circuit interrupter) protection. These shut off automatically if they detect a short circuit—a lifesaver in wet conditions.
I once saw a patio where someone daisy-chained five indoor cords to reach an outlet. The result? A tripped breaker and a very embarrassed host. Don’t be that person. Plan your layout so you only need 1-2 outdoor cords max.
Solar and Battery Options
For off-grid areas, solar lights are a game-changer. They charge during the day and turn on automatically at dusk. Just make sure they’re in a sunny spot—shaded solar panels won’t hold a charge. And if you’re using battery-powered lights, keep spare batteries on hand. There’s nothing worse than a party where the lights die at 9 PM.
One cool trick? Use solar-powered fairy lights inside glass jars or mason jars. They look magical and don’t need any wiring. Perfect for renters or temporary setups.
Electrical Safety Checks
Before installing, check for frayed wires, loose connections, or damaged sockets. If you’re not confident with electrical work, hire a pro. I once helped a friend hang lights, and we discovered a frayed cord halfway through. We stopped immediately—better safe than sorry.
And always turn off the power before making adjustments. Even “low-voltage” systems can shock you if you’re not careful.
Maintenance and Longevity
Cleaning and Storage
Outdoor lights get dirty. Wipe bulbs with a damp cloth every few months to keep them bright. For hard-to-reach spots, a long-handled duster works wonders. And when winter comes, store lights in a cool, dry place—not a damp garage or shed. Moisture is the enemy.
One friend wraps her lights around cardboard tubes before storing them. It keeps them tangle-free and makes next year’s setup a breeze. Genius!
Bulb Replacement and Repairs
Even LEDs eventually burn out. Keep spare bulbs handy, and learn how to replace them. Most sets have easy-swap sockets, but some require soldering. If you’re not into DIY, look for sets with replaceable bulbs.
For minor repairs, electrical tape and heat-shrink tubing are your friends. But if a cord is severely damaged, replace it. Don’t risk a fire.
Seasonal Adjustments
Your lighting needs change with the seasons. In summer, you might want brighter lights for late-night parties. In winter, softer, warmer lights create a cozy vibe. One couple I know swaps their bulbs seasonally—multicolored for summer, warm white for winter. It keeps things fresh.
Data Table: Popular Patio String Light Options
| Type | Best For | Lifespan (Hours) | Energy Use | Weather Resistance | Cost Range |
|---|---|---|---|---|---|
| LED Edison Bulbs | Modern, vintage, dining areas | 25,000+ | Low | IP44/IP65 | $20-$50 |
| Fairy Lights (Micro LEDs) | Romantic, whimsical, small spaces | 10,000-25,000 | Very Low | IP44 | $15-$40 |
| Incandescent String Lights | Rustic, nostalgic, short-term use | 1,000 | High | IP44 | $10-$30 |
| Solar-Powered | Off-grid, eco-friendly, rentals | 5,000-10,000 | Zero | IP65 | $25-$60 |
| Smart RGB LEDs | Tech lovers, parties, customization | 20,000+ | Low | IP65 | $50-$150+ |
Putting It All Together: Real-World Examples
Let’s look at how these tips work in practice. A friend with a small urban balcony used warm white Edison bulbs in a zigzag pattern across the ceiling. She added a dimmer switch so she could adjust the brightness for different occasions. Result? A cozy nook that feels twice as big.
Another example: a family with a large backyard strung grid-style lights between their house and pergola, then added fairy lights along the fence for extra sparkle. They used solar-powered path lights for safety. The space went from “meh” to “magical” overnight.
And then there’s my own patio. I went for a canopy layout with vintage-style bulbs, anchored to a tree and the house. I added a few smart bulbs for fun (they change color with the music). It’s not perfect—the tree branch sags a bit in heavy rain—but it’s uniquely mine.
The key? Start small, experiment, and don’t be afraid to tweak things. Your patio is a living space, not a museum exhibit. Let it evolve with your tastes and needs.
Final Thoughts
Patio string lights are more than just decor—they’re a way to transform your outdoor space into a place where memories happen. Whether you’re sipping coffee at sunrise or sharing stories under the stars, the right lights make all the difference.
Remember: there’s no “perfect” setup. What matters is what feels right for you. Maybe that’s a minimalist grid of LEDs, or a wild tangle of colored bulbs. Maybe it’s something in between. The beauty is in the experimentation.
So grab some lights, get creative, and don’t stress the small stuff. A few wonky strands or a bulb that flickers? That’s part of the charm. After all, the best patios are the ones that feel lived-in, not staged.
Now go make your outdoor space shine—literally.
Frequently Asked Questions
What are the best patio string lights design tips for creating a cozy ambiance?
Layer lights at varying heights (e.g., overhead canopies and table-level strands) and mix bulb styles like globe and fairy lights for depth. Warm white or amber tones enhance coziness, especially when paired with dimmers.
How do I choose the right spacing for string lights above my patio?
Space strands 2–3 feet apart for even illumination, adjusting based on bulb brightness and patio size. For dining areas, aim for 10–12 feet of overhead coverage to avoid shadows.
Can I use patio string lights design tips to highlight outdoor features like trees or pergolas?
Yes! Wrap lights around tree trunks in a spiral pattern or drape them along pergola beams to draw attention. Use weatherproof clips or zip ties for secure, damage-free installation.
What bulb type works best for long-term patio lighting?
LED bulbs are energy-efficient, durable, and emit minimal heat, making them ideal for year-round use. Opt for shatterproof or silicone-coated designs to withstand outdoor conditions.
How can I avoid a cluttered look when arranging string lights?
Stick to a cohesive color scheme and limit strands to 2–3 focal points (e.g., a dining area and a lounge). Use subtle mounting hardware like clear hooks or wire to keep lines clean.
Are there creative ways to power string lights without nearby outlets?
Solar-powered strings or battery-operated LEDs eliminate cord clutter. For larger setups, use a weatherproof outdoor extension cord with a timer for convenience and safety.

