Featured image for stringing cafe lights
Image source: images.nightcafe.studio
Stringing cafe lights is simple and transformative when you plan your layout and use the right hardware for a secure, droop-free setup. Anchor points, tension control, and weather-resistant bulbs ensure a professional look and long-lasting ambiance, whether indoors or out. With these tips, your space will glow with effortless charm.
Key Takeaways
- Plan your layout first: Measure space and sketch light placement for even coverage.
- Use sturdy anchors: Install hooks or eye bolts securely for safe, lasting support.
- Test lights before hanging: Check bulbs and connections to avoid mid-installation issues.
- Keep spacing consistent: Maintain even gaps between bulbs for a professional look.
- Protect from weather: Use outdoor-rated lights and seal connections to prolong lifespan.
- Secure loose cords: Tuck wires with clips to prevent sagging and tripping hazards.
📑 Table of Contents
- Why Stringing Cafe Lights Can Transform Any Space
- Choosing the Right Cafe Lights for Your Space
- Planning Your Layout for Maximum Impact
- Step-by-Step Guide to Stringing Cafe Lights
- Enhancing Ambiance: Creative Ideas and Pro Tips
- Maintaining and Storing Your Cafe Lights
- Data Table: Cafe Lights Comparison
- Final Thoughts: Your Perfect Ambiance Awaits
Why Stringing Cafe Lights Can Transform Any Space
There’s something magical about the soft glow of cafe lights. Whether strung across a backyard patio, draped over a wedding arch, or lining a cozy balcony, these twinkling bulbs instantly transform any space into a warm, inviting haven. I remember my first attempt at stringing cafe lights—it seemed simple enough, but within minutes, I was tangled in cords, frustrated by uneven spacing, and wondering why my setup looked more like a DIY disaster than a Pinterest-worthy scene. Sound familiar? If so, you’re not alone. Stringing cafe lights might seem straightforward, but doing it right takes planning, patience, and a few clever tricks.
The good news? With the right approach, anyone can create a stunning ambiance that feels professional without spending a fortune. Whether you’re decorating for an event, upgrading your outdoor living area, or just craving a little everyday magic, this guide will walk you through everything you need to know. From choosing the right lights to avoiding common pitfalls, we’ll cover it all. By the end, you’ll feel confident and ready to tackle your own stringing cafe lights project—no prior experience required.
Choosing the Right Cafe Lights for Your Space
Understanding the Different Types of Cafe Lights
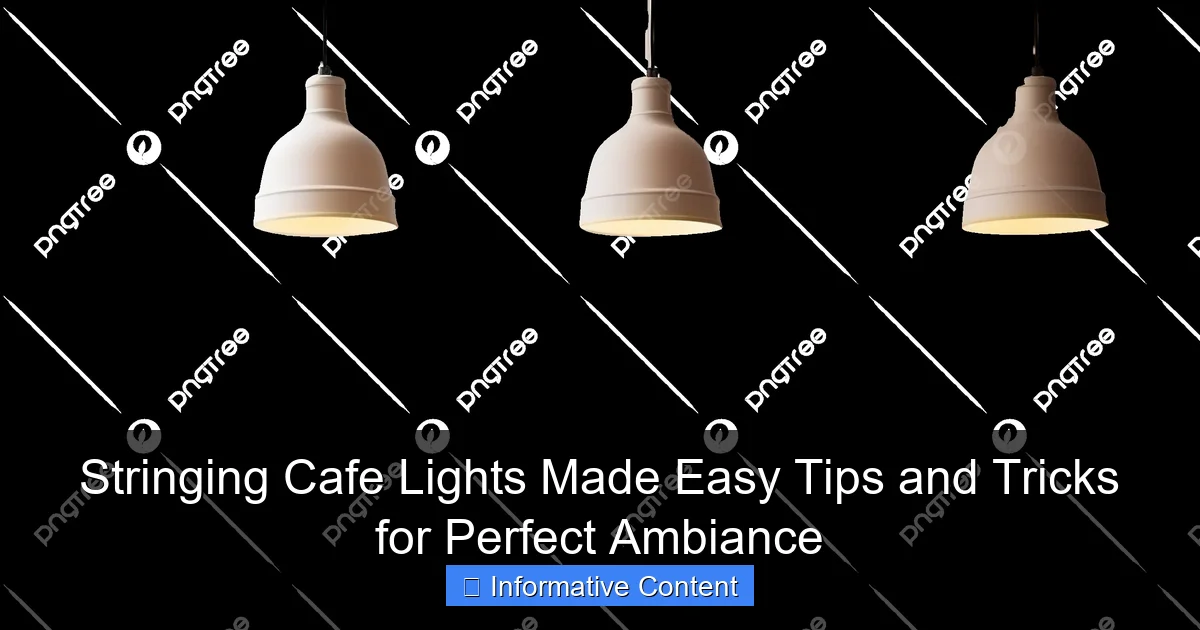
Before you start stringing cafe lights, it’s essential to pick the right type for your needs. Not all cafe lights are created equal, and choosing wisely can save you time, money, and headaches down the line. Let’s break down the most common options:
Visual guide about stringing cafe lights
Image source: png.pngtree.com
- LED vs. Incandescent: LED lights are energy-efficient, last longer, and stay cool to the touch—perfect for year-round use. Incandescent bulbs give off a warmer, nostalgic glow but use more electricity and can get hot. For outdoor spaces, LEDs are almost always the better choice.
- Plug-in vs. Solar: Plug-in lights offer consistent brightness and are ideal for permanent installations. Solar-powered lights are eco-friendly and great for remote areas without outlets, but their performance depends on sunlight exposure.
- Bulb Shape and Size: Classic Edison-style bulbs with visible filaments create a vintage vibe. Smaller globe or teardrop bulbs offer a softer, more modern look. Consider the aesthetic you’re going for.
- Color Temperature: Warm white (2700K–3000K) mimics candlelight and works best for cozy, romantic settings. Cool white (4000K+) feels brighter and more modern—better for functional spaces like patios or workshops.
For example, I once used cool white LEDs for a backyard dinner party and realized too late that the harsh light made everyone look tired. Switching to warm white bulbs instantly made the space feel more welcoming. Lesson learned: match the light tone to your mood.
Assessing Your Space and Needs
Now that you know the types, ask yourself: Where am I stringing cafe lights? This question shapes everything from bulb choice to mounting strategy.
- Indoor vs. Outdoor: Outdoor lights must be rated for weather resistance (look for IP65 or higher). Indoor lights can be more delicate but still need to handle occasional bumps or dust.
- Length and Coverage: Measure your space carefully. A 25-foot strand might seem long, but if you’re spanning a 30-foot patio, you’ll need an extension or two. Always buy 10–20% extra to account for curves or overlaps.
- Power Source: Do you have access to outlets? If not, solar or battery-operated options become critical. For large installations, consider a power strip or extension cord with surge protection.
- Event vs. Permanent: Temporary setups (like weddings or holidays) can use lighter-duty lights. Permanent installations benefit from heavy-duty, commercial-grade strands with thicker wires and weatherproof connectors.
Pro tip: Take photos of your space from different angles. This helps visualize how the lights will look and where shadows might form. I once skipped this step and ended up with dark corners—easily fixed by adding a second strand, but avoidable with better planning.
Planning Your Layout for Maximum Impact
Mapping Out Your Design
Here’s where most people go wrong: they start stringing cafe lights without a plan, leading to uneven spacing, sagging strands, or lights that don’t reach where they’re needed. A little prep goes a long way.
- Sketch a Rough Diagram: Grab paper or use a free tool like Google Drawings. Mark anchor points (trees, posts, walls, etc.) and measure distances between them. Note obstacles like gutters, windows, or furniture.
- Decide on a Pattern: The classic “zigzag” or “crisscross” works well for large spaces, creating depth and coverage. For smaller areas, try a simple “parallel” layout (two or more straight lines) or a “canopy” effect (lights draped overhead like a tent).
- Consider Height: Aim for 7–8 feet above ground for walkways, 10–12 feet for seating areas. Too low, and people bump their heads; too high, and the lights feel disconnected from the space.
- Account for Slope: If your yard or roof has a grade, adjust your anchor points to keep the lights level. Use a laser level or string line with a bubble level to check.
Example: For my 15×20-foot patio, I used a parallel layout with three strands, each 25 feet long, anchored to the house and two posts. I spaced them 5 feet apart to avoid overcrowding. The result? Even, balanced light that felt intentional, not chaotic.
Choosing the Right Anchors and Hardware
The lights are only as good as their supports. Weak anchors lead to sagging, falling, or—worst case—damaged walls or gutters. Here’s what to use:
- For Wooden Structures: Use screw-in cup hooks or eye screws. They’re strong, easy to install, and blend in when painted. Pre-drill holes to prevent splitting.
- For Brick or Concrete: Masonry anchors (like Tapcon screws) or adhesive hooks designed for heavy loads. Avoid cheap plastic hooks—they’ll snap in wind or cold.
- For Trees: Wrap tree-friendly straps or use removable hooks (never nails!). Trees grow, so allow slack for movement. I once used a nail on a young maple—regretted it when the bark healed around it.
- For Gutters: Gutter hooks or clamps designed for holiday lights. They grip securely without damaging the metal.
Bonus tip: Use turnbuckles (small metal tensioners) at anchor points. They let you tighten the lights later to prevent sagging, especially on long runs. I add them to every project now—they’re game-changers.
Step-by-Step Guide to Stringing Cafe Lights
Preparing Your Tools and Materials
Before you start, gather everything you’ll need. Nothing’s worse than halfway through a project when you realize you’re missing a screwdriver or extension cord. Here’s my checklist:
- Essential Tools: Measuring tape, ladder, drill/driver, pliers, gloves (for handling wires), and a level.
- Hardware: Anchors (hooks, screws, straps), zip ties, turnbuckles, and a power strip with surge protection.
- Lights: Your chosen strands, plus 10–20% extra for mistakes or future repairs.
- Extras: Extension cords (rated for outdoor use), a timer or smart plug for automatic control, and a friend (optional but helpful).
Pro tip: Test your lights before installing. Plug them in and check for dead bulbs or faulty connections. Replacing a bulb in your hand is easier than 8 feet off the ground.
Installing the Lights: A Practical Walkthrough
Now, the fun part: stringing cafe lights! Follow these steps for a smooth, professional-looking result:
- Install Anchors First: Attach all hooks, screws, or straps to your anchor points. Use your diagram as a guide. Double-check heights and distances.
- Start at the Power Source: Plug in the first strand and work outward. This minimizes cord clutter and ensures even power distribution.
- Attach Lights to Anchors: Hook or tie the lights to each anchor point. Don’t stretch them tight yet—leave slack for adjustments.
- Create Your Pattern: For a zigzag, run the lights diagonally between anchor points. For parallel lines, connect them in straight rows. Use zip ties to secure wires to anchors or poles.
- Add Turnbuckles (if using): Attach them to the end of each run. Tighten gradually until the lights are taut but not stretched.
- Connect Additional Strands: Use end-to-end connectors or extension cords. Avoid overloading circuits—check your lights’ wattage and your outlet’s capacity.
- Test and Adjust: Turn on the lights. Fix any sags, gaps, or tangles. Use a ladder to step back and view from different angles.
Example: For my patio, I started at the house, ran the first strand to a post, then crisscrossed to the opposite side. I used turnbuckles to tighten each diagonal line, creating a clean, grid-like effect. Total time: about 90 minutes (with breaks).
Troubleshooting Common Issues
Even with planning, things can go sideways. Here’s how to handle the most common problems:
- Sagging Lights: Tighten turnbuckles or add a central support (like a pole or tree strap). For long runs, use a “catenary” design—let the lights dip slightly in the middle, then pull tight at the ends.
- Uneven Spacing: Use a measuring tape as you go, or mark anchor points at consistent intervals (e.g., every 2 feet).
- Dead Bulbs: Keep spare bulbs and a bulb tester handy. Replace them immediately—one dead bulb can break the chain in some strands.
- Power Issues: If lights flicker or dim, check connections and avoid daisy-chaining too many strands. Use a dedicated circuit if possible.
Personal story: I once had a strand that wouldn’t light up. After 20 minutes of frustration, I realized the connector was loose—just needed a gentle push. Always double-check the simple stuff first.
Enhancing Ambiance: Creative Ideas and Pro Tips
Layering Lights for Depth
One strand is nice, but multiple layers? That’s next-level magic. Try these combinations:
- Overhead + Ground: Hang cafe lights overhead and add fairy lights in planters or along pathways. The mix of heights creates a 3D glow.
- Warm White + Color: Use warm white for general lighting and add colored lights for accents (e.g., blue in a water feature, red for holiday vibes).
- String + Rope: Combine cafe lights with rope lights for a nautical or rustic feel. Wrap them around beams or railings.
For my sister’s wedding, we strung cafe lights over the dance floor and added fairy lights in the trees. The effect was ethereal—guests said it felt like a fairy tale.
Using Dimmers and Timers
Not all nights need full brightness. Smart controls let you set the mood:
- Dimmer Switches: Install a dimmer-compatible plug to adjust light levels. Perfect for transitioning from dinner to dancing.
- Timers: Automate your lights to turn on at dusk and off at bedtime. No more forgetting to switch them off.
- Smart Plugs: Control lights from your phone or voice assistant (e.g., “Hey Google, turn on the patio lights”).
Pro tip: I use a dusk-to-dawn timer. The lights come on automatically when it gets dark—no fumbling for switches after sunset.
Seasonal and Thematic Ideas
Cafe lights aren’t just for summer. Get creative year-round:
- Winter: Wrap them around bare trees or line a snow-covered porch. The contrast is stunning.
- Holidays: Add colored bulbs (red/green, blue/white) or pair with wreaths and garlands.
- Events: Use them for birthdays, anniversaries, or even as a romantic backdrop for proposals.
One of my favorite tricks? For a fall party, I draped cafe lights over a wooden arbor and added pumpkins and mums. The warm light made the whole scene feel cozy and festive.
Maintaining and Storing Your Cafe Lights
Seasonal Maintenance
To keep your lights looking great year after year, a little TLC goes a long way:
- Clean Bulbs: Wipe them with a dry cloth to remove dust or pollen. For stubborn grime, use a damp cloth (unplugged, of course).
- Check Connections: Inspect wires and plugs for fraying, corrosion, or loose parts. Replace damaged strands.
- Trim Obstructions: If trees or shrubs grow near the lights, trim them back to prevent tangling or damage.
Example: After a rainy season, I noticed some bulbs were foggy. A quick wipe with a microfiber cloth restored their brightness—easy fix!
Safe Storage Tips
When the party’s over, store your lights properly to avoid tangles and damage:
- Use a Reel or Box: Wrap strands around a cardboard tube, plastic reel, or in a dedicated storage box. Label them for easy identification.
- Avoid Crushing: Don’t store lights under heavy items. Pressure can break bulbs or crack wires.
- Keep Dry: Store in a cool, dry place. Moisture causes corrosion and mold.
Pro tip: I use old wine boxes for storage. They’re sturdy, stackable, and have handles for easy transport. Plus, they look cute in my garage!
Data Table: Cafe Lights Comparison
| Type | Best For | Lifespan (hrs) | Energy Use | Weather Resistance | Price Range (per 25 ft) |
|---|---|---|---|---|---|
| LED Plug-in | Permanent outdoor, year-round | 25,000–50,000 | Low | IP65 or higher | $20–$50 |
| LED Solar | Remote areas, eco-friendly | 10,000–20,000 | Zero (sun-powered) | IP65 | $30–$80 |
| Incandescent | Indoor, temporary events | 1,000–3,000 | High | IP44 (limited) | $10–$25 |
| Commercial Grade | High-traffic, permanent | 50,000+ | Low | IP67 | $50–$150 |
This table helps you weigh trade-offs. For example, solar lights cost more upfront but save on electricity, while incandescent bulbs are cheap but burn out quickly.
Final Thoughts: Your Perfect Ambiance Awaits
Stringing cafe lights isn’t just about hanging bulbs—it’s about creating moments. Whether you’re hosting friends, celebrating a milestone, or just enjoying a quiet evening, the right lighting sets the tone. I’ve learned that the best projects start with a plan, use the right tools, and leave room for creativity. Don’t stress over perfection; even a slightly crooked strand can look charming. What matters most is the warmth and joy your lights bring.
So grab your measuring tape, pick your favorite bulbs, and get started. With these tips and tricks, you’ll create an ambiance that feels effortless—even if you spent hours perfecting it. And when you flip the switch and see that soft glow spread across your space, you’ll know: it was worth every minute. Happy stringing!
Frequently Asked Questions
How do I hang cafe lights without damaging my walls or roof?
Use removable hooks, adhesive clips, or tension rods to string cafe lights without nails or screws. These options work well for renters or delicate surfaces while still providing a secure hold.
What’s the best way to plan spacing for stringing cafe lights?
Measure your area and space hooks or anchor points 2–4 feet apart, depending on the bulb size and desired drape. Slight slack between bulbs creates a professional, inviting look without sagging.
Can I connect multiple strands of cafe lights together?
Yes, but check the manufacturer’s maximum wattage or strand limit. Most plug-in LED cafe lights allow 20–30 connected strands, but always test with one set first to avoid overloading.
How do I keep cafe lights taut and tangle-free?
Use a guide wire (like aircraft cable) or zip ties to secure the stringing path before hanging bulbs. This prevents drooping and makes installation faster, especially for large areas.
Are there solar-powered options for stringing cafe lights outdoors?
Absolutely! Solar cafe lights are ideal for yards or patios without outlets. Just ensure the solar panel gets 6–8 hours of sunlight daily for optimal nighttime brightness.
What tools do I need to install cafe lights like a pro?
Basic tools include a ladder, measuring tape, hooks/clips, and a drill (for permanent setups). For hassle-free stringing, use a light-hanging kit with pre-measured lines and hardware.