
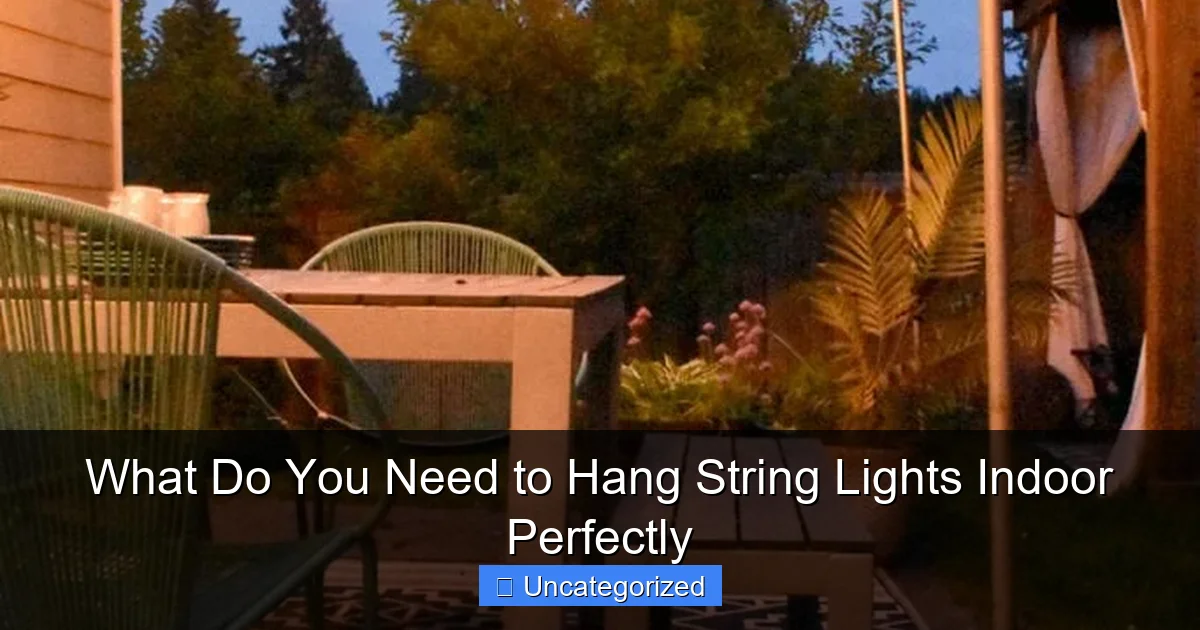
Featured image for what do you need to hang string lights indoor
Image source: dianaelizabethblog.com
To hang string lights indoors perfectly, start with a clear plan and the right hardware—use adhesive hooks, nails, or tension rods based on your wall type and desired layout. Measure your space, check bulb spacing, and always prioritize safety by avoiding overloaded circuits and keeping cords away from high-traffic areas.
Key Takeaways
- Measure your space: Determine the exact length needed for seamless string light coverage.
- Choose the right hardware: Use adhesive hooks, nails, or tension rods based on your wall type.
- Prioritize safety: Opt for indoor-rated lights and avoid overloading electrical circuits.
- Plan the layout first: Sketch a design to ensure even spacing and avoid gaps.
- Use dimmers or timers: Enhance ambiance and energy efficiency with smart controls.
- Test lights beforehand: Check bulbs and connections to avoid installation mishaps.
📑 Table of Contents
- The Magic of Indoor String Lights
- Choosing the Right String Lights for Indoor Use
- Essential Tools and Hardware for Installation
- Step-by-Step Guide to Hanging String Lights Indoors
- Power, Safety, and Maintenance Tips
- Data: Comparing Indoor String Light Options
- Final Thoughts: Creating Your Perfect Indoor Glow
The Magic of Indoor String Lights
There’s something undeniably enchanting about the soft, warm glow of string lights. Whether draped across a bedroom wall, strung above a dining table, or wrapped around a bookshelf, these tiny bulbs have the power to transform any indoor space into a cozy, inviting haven. From romantic evenings to festive gatherings, string lights add a touch of whimsy and charm that few other decor items can match. But while the end result might look effortlessly magical, achieving that perfect indoor lighting setup often requires a bit more than just plugging in and hanging.
Hanging string lights indoors isn’t just about aesthetics—it’s about safety, functionality, and longevity. Without the right tools, techniques, and considerations, your dreamy lighting display could quickly turn into a tangled mess, a fire hazard, or a frustrating chore every time you want to turn them on. Whether you’re a DIY enthusiast or someone simply looking to elevate their home decor, understanding what do you need to hang string lights indoor is essential. In this comprehensive guide, we’ll walk you through every step, from choosing the right lights to installing them securely and stylishly in any room of your home.
Choosing the Right String Lights for Indoor Use
Types of Indoor String Lights
Before you start hanging, it’s crucial to select the appropriate type of string lights. Not all lights are created equal, and indoor-specific models are designed with safety, heat management, and aesthetics in mind. Here are the most common types suitable for indoor use:
Visual guide about what do you need to hang string lights indoor
Image source: jessicawellinginteriors.com
- LED String Lights: Energy-efficient, cool to the touch, and long-lasting. Ideal for bedrooms, living rooms, and nurseries. Available in warm white, cool white, multicolor, and color-changing options.
- Incandescent String Lights: Offer a classic, warm glow but generate more heat. Best used sparingly and in well-ventilated areas due to fire risk.
- Fairy Lights (Micro LED): Tiny bulbs on ultra-thin wires. Perfect for delicate decor—think wrapped around picture frames, mirrors, or inside glass jars.
- Edison Bulb String Lights: Vintage-style exposed filament bulbs. Great for industrial or rustic interiors, especially over dining areas or patios with indoor-outdoor flow.
- Smart String Lights: Wi-Fi or Bluetooth-enabled, allowing color, brightness, and scheduling control via smartphone apps. Excellent for tech-savvy users who want customizable ambiance.
When shopping, look for labels like “indoor use only” or “UL-listed for indoor use.” These certifications ensure the product meets safety standards for enclosed spaces.
Lighting Features to Consider
Beyond bulb type, consider these functional and aesthetic features:
- Bulb Spacing: Closer spacing (e.g., 4 inches) creates a denser glow, while wider spacing (e.g., 12 inches) offers a more subtle effect.
- Color Temperature: Warm white (2700K–3000K) is cozy and inviting; cool white (4000K–5000K) is bright and modern; multicolor adds festive flair.
- Length and Number of Strands: Measure your space before buying. For example, a 20-foot strand is ideal for a standard bedroom wall, while a 50-foot strand may be needed for a large living room or ceiling perimeter.
- Connectable vs. Non-Connectable: Connectable strands let you link multiple sets end-to-end, reducing the number of outlets needed. Check maximum connectable length (often 3–5 strands) to avoid overloading.
- Dimmable Options: Dimmable lights offer mood flexibility—bright for reading, soft for relaxing.
- Timer and Remote Control: Built-in timers or remotes make it easy to automate your lights without manual switches.
Pro Tip: Always buy a spare strand. If one bulb burns out or a section stops working, having a backup ensures you can maintain the look without replacing the entire set.
Smart Shopping Checklist
To make the best purchase, use this quick checklist:
- ✅ Indoor-rated (not outdoor-only)
- ✅ UL, ETL, or CSA safety certification
- ✅ LED bulbs (preferred for safety and efficiency)
- ✅ Desired color temperature and bulb style
- ✅ Adequate length for your space
- ✅ Connectable if using multiple strands
- ✅ Optional: timer, remote, dimmer, smart features
For example, if you’re lighting a 10×12 ft bedroom, a 30-foot connectable LED strand in warm white with a timer would be ideal. Avoid incandescent bulbs in children’s rooms or near bedding due to heat.
Essential Tools and Hardware for Installation
Basic Tools for Every Installation
Even the most beautiful string lights won’t last if installed poorly. Having the right tools ensures a secure, professional-looking setup. Here’s what you’ll need:
- Measuring Tape: Essential for calculating light strand length and planning placement.
- Pencil or Painter’s Tape: For marking drill points or temporary layout guides.
- Level (optional but helpful): Ensures straight, even lines, especially for ceiling or wall runs.
- Scissors or Wire Cutters: For trimming zip ties or cutting adhesive strips (if reusing).
- Drill and Drill Bits: For installing permanent hardware like hooks or anchors in drywall, wood, or plaster.
- Screwdriver or Allen Wrench: For tightening screws or bolts on mounting hardware.
For renters or those avoiding wall damage, adhesive-based solutions are key. More on that below.
Mounting Hardware Options
The hardware you choose depends on your wall/ceiling material and desired permanence:
- Adhesive Hooks (Command Strips): Removable, damage-free. Best for drywall, painted surfaces, and lightweight lights. Use 3M Command™ Clear or White Hooks for a discreet look.
- Push Pins or Thumbtacks: Quick and easy for temporary setups. Ideal for lightweight fairy lights on drywall or wood. Not suitable for heavy strands.
- Picture Hangers or Screw-in Hooks: More permanent. Use with anchors for drywall. Perfect for heavier Edison bulb strands or long runs.
- Ceiling Hooks or Eye Screws: For hanging lights from ceilings or rafters. Use toggle bolts for hollow walls or ceilings.
- Adhesive Cable Clips or Zip Ties: For securing loose wires along baseboards or furniture edges.
- Curtain Rods or Tension Rods: Install a rod between two walls and hang lights from it—great for creating a canopy effect in bedrooms.
- Velcro Strips (Heavy Duty): Reusable and removable. Attach one side to the wall, the other to a light strand’s mounting wire.
Example: For a bedroom with drywall, use 12 Command™ Clear Hooks spaced every 12 inches along the ceiling line. For a wooden bookshelf, screw-in cup hooks provide a rustic, secure hold.
Specialty Tools for Advanced Installations
If you’re going for a more complex design (e.g., zigzag patterns, canopy, or geometric shapes), consider:
- Stud Finder: To locate wall studs for secure anchoring.
- Plumb Bob or Laser Level: For perfectly straight, vertical, or diagonal lines.
- Extension Cord or Power Strip: To reach distant outlets without overextending the lights.
- Surge Protector: Protects lights from voltage spikes, especially important for smart or long strands.
- Wire Organizers (Cable Sleeves or Clips): Keeps excess cord neat and hidden.
For renters or minimalist decorators, focus on adhesive-based solutions and avoid drilling. Always test adhesive strength with a small piece first to prevent wall damage.
Step-by-Step Guide to Hanging String Lights Indoors
Planning Your Layout
Before hanging a single hook, plan your design. Sketch a rough diagram or use painter’s tape to outline the path on your walls or ceiling. Consider:
- Room Function: Bedrooms benefit from soft, ambient lighting (e.g., draped over a headboard). Dining rooms may use linear runs above a table.
- Focal Points: Highlight architectural features (e.g., crown molding, bookshelves, windows).
- Power Source Access: Ensure the first bulb is within 6–8 feet of an outlet. Use extension cords if needed, but avoid daisy-chaining too many.
- Pattern Ideas: Try zigzag, crisscross, canopy (ceiling grid), or “U” shapes for visual interest.
Pro Tip: Use a ladder or step stool to visualize the layout from different angles. Adjust the tape until you’re satisfied.
Installation Process
Follow these steps for a flawless installation:
- Measure and Mark: Use your tape to mark hook positions. For even spacing, divide the total length by the number of hooks (e.g., 30 ft / 10 hooks = 3 ft apart).
- Install Mounting Hardware:
- For adhesive hooks: Clean the surface with rubbing alcohol, wait to dry, then press firmly for 30 seconds.
- For screw-in hooks: Drill pilot holes, insert anchors (if needed), then screw in hooks.
- For ceiling: Use eye screws with toggle bolts for hollow ceilings.
- Hang the Lights: Start at the power source. Drape the strand over each hook, ensuring bulbs face outward for maximum visibility. For heavier strands, use two hooks per bulb cluster.
- Secure Excess Cord: Use cable clips or zip ties to hide cords along baseboards or furniture. Never leave cords dangling where they can be tripped over.
- Test the Lights: Plug in and check each bulb. Replace any faulty bulbs immediately.
- Adjust and Refine: Gently tweak the strand’s position for a balanced look. Use a level if needed.
Example: For a canopy over a bed: Install 8 ceiling hooks in a rectangular grid (4×2). Hang the lights in a crisscross pattern, starting from the center.
Creative Hanging Ideas
Go beyond the basics with these stylish setups:
- Bedroom Canopy: Hang lights from a ceiling-mounted rod or hooks in a grid. Drape over a bed for a dreamy effect.
- Wall Accent: Create a “light frame” around a mirror or artwork using hooks and zigzag patterns.
- Staircase Runner: Line the banister with lights using adhesive clips or cup hooks.
- Bookshelf Backlight: Wrap lights around the back edge of shelves for a floating glow.
- Window Curtain: Hang lights vertically from a curtain rod to mimic a starry sky.
- Indoor “Fence”: Use tension rods between two walls to create a light partition in open-concept spaces.
For a cohesive look, match the light color to your room’s palette (e.g., warm white for cozy spaces, cool white for modern rooms).
Power, Safety, and Maintenance Tips
Electrical Safety First
Safety is paramount when dealing with electricity indoors. Follow these guidelines:
- Never Overload Circuits: Avoid plugging too many lights into one outlet. Use a power strip with surge protection.
- Check for Damage: Inspect cords for fraying, exposed wires, or loose bulbs before installation.
- Use Indoor-Rated Lights: Outdoor lights may have higher voltage and generate more heat—unsafe for enclosed spaces.
- Keep Away from Flammable Materials: Don’t drape lights over curtains, bedding, or paper decor.
- Unplug When Not in Use: Especially overnight or when leaving the house.
- Child and Pet Safety: Keep cords out of reach. Use cord covers or clips to prevent chewing or tripping.
Warning: If lights feel hot to the touch (especially incandescent), turn them off immediately. LED lights should remain cool.
Power Solutions for Hard-to-Reach Areas
Not all rooms have outlets near the ideal hanging spot. Here’s how to solve it:
- Extension Cords: Use indoor-rated, low-profile cords. Hide them with baseboard clips or under rugs (tuck securely).
- Power Strips with Long Cords: Place the strip near an outlet and run the cord to the lights.
- Wireless Smart Lights: Battery-powered smart LEDs (e.g., Philips Hue) eliminate cords entirely.
- Outlet Extenders: Install a new outlet (hire an electrician) if needed.
Pro Tip: Use a smart plug to control lights via voice or app—no manual plugging/unplugging.
Maintenance and Longevity
Keep your lights looking great for years:
- Replace Burned-Out Bulbs Promptly: A single dead bulb can cause others to dim or fail.
- Clean Bulbs Gently: Use a microfiber cloth. Avoid water on non-waterproof strands.
- Store Properly: Wrap lights around a cardboard template or storage reel. Keep in a cool, dry place.
- Inspect Annually: Before rehanging, check for corrosion, loose wires, or damaged plugs.
LED lights typically last 25,000–50,000 hours. With proper care, your indoor setup can last a decade or more.
Data: Comparing Indoor String Light Options
| Feature | LED Fairy Lights | LED Edison Bulbs | Incandescent String Lights | Smart String Lights |
|---|---|---|---|---|
| Bulb Type | Micro LED | Exposed Filament LED | Traditional Filament | RGB or White LED |
| Energy Use | 0.5–2W/strand | 3–10W/strand | 20–60W/strand | 2–8W/strand |
| Lifespan | 25,000+ hours | 25,000+ hours | 1,000–2,000 hours | 25,000+ hours |
| Heat Output | Very Low | Low | High | Low |
| Best For | Delicate decor, bedrooms | Dining rooms, patios | Occasional use, vintage look | Customizable ambiance |
| Price Range (per 20 ft) | $8–$15 | $15–$30 | $10–$20 | $25–$60 |
| Indoor Safety | Excellent | Excellent | Good (with caution) | Excellent |
This table helps you compare key factors when deciding what do you need to hang string lights indoor based on your priorities—energy efficiency, safety, style, or tech features.
Final Thoughts: Creating Your Perfect Indoor Glow
Hanging string lights indoors is more than a decor choice—it’s an art form that blends creativity, safety, and practicality. By selecting the right lights, gathering the proper tools, and following a thoughtful installation process, you can create a space that feels warm, inviting, and uniquely yours. Whether you’re aiming for a romantic bedroom canopy, a festive dining room ambiance, or a whimsical bookshelf accent, the key is preparation and attention to detail.
Remember, the best indoor lighting setups are those that enhance the room’s function while reflecting your personal style. Use this guide to avoid common pitfalls—overloaded circuits, unsafe hardware, or poorly planned layouts—and focus on what matters: the joy that a simple string of lights can bring. From the soft flicker of fairy lights to the bold glow of Edison bulbs, your indoor oasis is just a few hooks away. So gather your supplies, sketch your design, and let the magic begin. With the right approach, your indoor string lights will shine bright for years to come.
Frequently Asked Questions
What do you need to hang string lights indoor safely?
To hang string lights indoors safely, you’ll need adhesive hooks, nails, or tension rods depending on your surface. Always check the weight of your lights and use anchors for heavier fixtures to avoid wall damage.
Can I hang string lights without damaging my walls?
Yes! Use removable adhesive hooks, painter’s tape, or ceiling-mounted tension rods to avoid holes or residue. These options are ideal for renters or delicate surfaces like drywall and plaster.
What tools make hanging string lights indoor projects easier?
Essential tools include a measuring tape, level, step ladder, and a pencil for marking spots. For longer installations, a staple gun or twist clips can secure lights neatly along edges.
Do I need special hooks for string lights on different surfaces?
Yes—wooden surfaces work well with nails or screws, while glass or tile requires suction cups or adhesive clips. For textured walls, opt for wide-grip hooks or removable putty to ensure stability.
How do I power indoor string lights without visible cords?
Use cord covers, raceways, or tuck wires behind furniture or baseboards for a clean look. Battery-powered or rechargeable string lights are great alternatives to hide cords entirely.
What’s the best way to plan a layout before hanging string lights indoor?
Measure your space and sketch a layout to determine light placement and power source proximity. Test the lights first, then use temporary tape or pins to adjust spacing before final installation.

