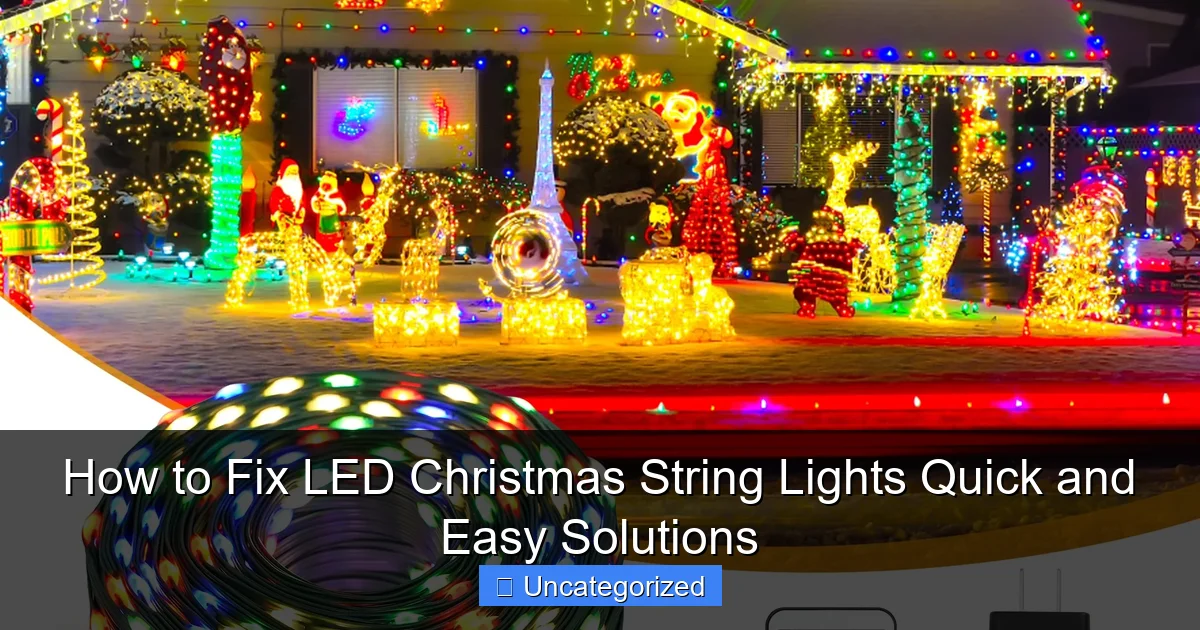
Featured image for how to fix led christmas string lights
Image source: m.media-amazon.com
Most LED Christmas string light issues stem from loose bulbs, faulty connections, or damaged wires—fix them fast by unplugging the strand and inspecting each component carefully. Replace burnt-out bulbs with compatible LEDs, secure loose sockets, and use electrical tape or a soldering iron for exposed or frayed wiring. For quick troubleshooting, test the strand after each fix to pinpoint hidden faults and restore festive sparkle in minutes.
How to Fix LED Christmas String Lights Quick and Easy Solutions
Key Takeaways
- Check power sources first: Ensure plugs and outlets are functional before troubleshooting further.
- Inspect for damaged bulbs: Replace or reseat any loose or burnt-out LED bulbs.
- Test the fuse: Replace blown fuses in the plug for instant restoration.
- Look for wire damage: Repair or replace frayed or broken wires safely.
- Use a light tester: Quickly pinpoint faults without disassembling the entire strand.
- Store properly: Prevent future issues by coiling lights loosely and avoiding moisture.
Why This Matters / Understanding the Problem
It’s the holiday season, and you’re ready to dazzle the neighborhood with your festive display—only to find half your LED Christmas lights are dark. You’re not alone. Every year, thousands of families face flickering strands, unresponsive sections, or lights that won’t turn on at all. The good news? Most issues are fixable with how to fix LED Christmas string lights quick and easy solutions that don’t require a degree in electrical engineering.
Unlike older incandescent bulbs, LED lights are more energy-efficient and long-lasting, but they can still fail due to loose connections, faulty drivers, or damaged wiring. The key is knowing where to look and what to test. With the right approach, you can restore your holiday glow in under an hour—saving time, money, and holiday stress.
Whether you’re dealing with a single dead section or an entire string that won’t light up, this guide walks you through how to fix LED Christmas string lights quick and easy solutions that actually work. No guesswork, no wasted trips to the store. Just simple, practical fixes anyone can do.
What You Need
Before diving in, gather these tools and materials. Most are already in your garage, kitchen drawer, or toolbox. Having everything ready keeps the process smooth and frustration-free.
Visual guide about how to fix led christmas string lights
Image source: cdn.shopify.com
- Needle-nose pliers – for gripping small connectors and wires
- Wire cutters/strippers – for trimming damaged sections or preparing wires
- Multimeter (digital or analog) – to test voltage and continuity (a $10 model works fine)
- Replacement LED bulbs – match the wattage and base type (usually wedge or E12)
- Electrical tape or heat-shrink tubing – for insulating exposed wires
- Small screwdriver (flathead or Phillips) – for opening light sockets or control boxes
- Rubbing alcohol and cotton swab – for cleaning contacts
- Extra fuses – check your light strand’s manual for the correct type (usually 3A or 5A)
- Zip ties or electrical tape – for securing loose wires after repairs
Pro Tip: If you don’t have a multimeter, borrow one from a friend or buy a basic model from a hardware store. It’s a one-time investment that pays off for all future electrical repairs, not just holiday lights.
Keep your light strand’s user manual handy if available. It often includes a wiring diagram and fuse specs—critical for accurate troubleshooting.
Step-by-Step Guide to How to Fix LED Christmas String Lights Quick and Easy Solutions
Step 1: Unplug and Inspect the Entire Strand
Start by unplugging the lights from the power source. Safety first—never work on live circuits. Lay the strand out on a clean, flat surface like a table or garage floor.
Walk along the entire length and look for obvious signs of damage: frayed wires, melted plastic, loose bulbs, or bent sockets. Pay special attention to the plug end, the middle connections (if it’s a multi-section strand), and the last bulb.
If you spot a damaged section, circle it with a zip tie or tag it so you don’t forget. This visual inspection often reveals the root cause before you even start testing.
Warning: Never use tape or glue to patch cracked insulation on wires. It can lead to short circuits or fire hazards. Replace or properly splice damaged sections instead.
Step 2: Check the Fuse in the Plug
Most LED light strands have a small fuse compartment inside the plug. This is often the first thing to check—it’s quick, easy, and fixes the problem 30% of the time.
Use a small screwdriver to open the fuse door on the plug (usually on the side or back). Remove the two small fuses inside. Look closely: if the metal wire inside is broken or blackened, the fuse is blown.
Replace it with an identical fuse (check the manual or look for markings like “3A” or “5A”). If you don’t have spares, use a multimeter to test continuity. A blown fuse will show no continuity.
After replacing, plug the lights back in and test. If they work, you’ve just saved yourself an hour of troubleshooting.
Pro Tip: Fuses blow when too much current flows—often due to a short circuit. If the new fuse blows immediately, there’s still a problem downstream. Keep investigating!
Step 3: Test Each Bulb and Socket
LED strands are usually wired in parallel or series-parallel. If one bulb fails, it can affect a whole section. But unlike old lights, LEDs often have “shunt” technology—meaning a dead bulb won’t always kill the entire string.
Start at the first bulb and gently wiggle it in its socket. If the lights flicker, the bulb or socket has a loose connection. Remove the bulb and inspect the socket: look for corrosion, bent contacts, or debris.
Use a cotton swab dipped in rubbing alcohol to clean the socket contacts. Let it dry, then reinsert the bulb. If the section lights up, great! If not, move to the next bulb.
To test a bulb, remove it and plug the strand back in. If the rest of the section lights, the bulb is likely dead. Swap it with a working bulb from the end of the strand to confirm.
For bulbs that won’t light, use your multimeter in continuity mode. Touch the probes to the two metal contacts inside the bulb base. A working LED should show continuity (a beep or low resistance). No beep? Replace the bulb.
Real-Life Example: Sarah in Colorado had a 50-bulb strand with one dark section. After testing, she found a single corroded socket. Cleaning it with alcohol restored the whole section—no bulb replacements needed.
Step 4: Use a Multimeter to Trace the Circuit
If cleaning and bulb swaps don’t work, it’s time for deeper testing. A multimeter helps you find breaks in the wire or faulty connections.
Set your multimeter to continuity (the “beep” mode). Unplug the lights and disconnect any sections (if modular). Start at the plug end. Place one probe on the positive wire (usually the smooth side of the cord) and the other on the first bulb’s positive contact.
If the multimeter beeps, the circuit is intact. Move the second probe to the next bulb’s contact. Keep moving down the line until you don’t get a beep. That’s where the break is.
Repeat for the negative wire (the ribbed or marked side). A break in either wire will stop the lights.
For multi-section strands, test each connection point. A loose or corroded connector between sections is a common culprit.
Pro Tip: If you don’t have a multimeter, use the “bulb swap” method: move a known working bulb to each socket. If it lights, the socket and wiring up to that point are good. If not, the problem is upstream.
Step 5: Repair or Replace Damaged Sections
Once you’ve found the issue—a broken wire, loose connection, or dead driver—it’s time to fix it.
For broken wires: Cut out the damaged section with wire cutters. Strip about 1/2 inch of insulation from both ends. Twist the exposed copper together, then cover with a heat-shrink tube (or electrical tape). Use a lighter to shrink the tube, or wrap tape tightly in a spiral.
For loose connectors: Open the plastic housing and re-solder or tighten the wire connections. Use a small soldering iron (a $15 model works) or crimp connectors. Secure with zip ties to reduce strain.
For dead drivers or control boxes (common in animated or color-changing lights): These are usually sealed units. If the multimeter shows no voltage at the output, the driver is likely dead. You can try to replace it with an identical model, but it’s often easier to buy a new strand. However, for high-end lights, search online for the driver’s model number—some are available as replacements.
If the entire plug is damaged, cut it off and replace it with a new plug from a hardware store. Match the wire colors (black to black, white to white, green to ground if present).
Warning: Never splice wires without proper insulation. Exposed copper can short circuit or shock someone. Always use heat-shrink or tape.
Step 6: Reassemble and Test
After repairs, double-check all connections. Make sure no wires are pinched or exposed. Secure any loose sections with zip ties or tape.
Plug the lights into a GFCI outlet (or use a GFCI adapter). Turn them on. If they light up, great! If not, go back and recheck your work.
Test each section individually if it’s a multi-part strand. Sometimes a problem in one section affects the whole string.
For animated or remote-controlled lights, check that all modes work (steady, blinking, color changes). A faulty control board might need a reset—unplug for 30 seconds, then plug back in.
Once everything works, let the lights run for 15–30 minutes to ensure they don’t overheat or flicker under load.
Step 7: Store Properly to Prevent Future Issues
How you store your lights matters. A tangled, damp strand will have more problems next year.
After use, remove all bulbs and store them in a labeled bag. Wrap the strand around a cardboard rectangle or a dedicated light reel. Avoid tight knots or kinks.
Store in a dry, cool place—not the attic or basement where moisture builds. Use a sealed plastic bin to protect from dust and pests.
Label the strand with its type (LED, incandescent, color, length) so you know what you’re grabbing next season.
Pro Tip: Invest in a light storage reel ($10–$20). It prevents tangles and makes setup a breeze next year. You’ll thank yourself in December!
Pro Tips & Common Mistakes to Avoid
Even with the right tools, people make mistakes that cost time and frustration. Here’s how to avoid them.
- Don’t assume all bulbs are dead. LEDs can fail in ways that don’t look obvious. A bulb might have a cracked base or internal short. Always test or swap before tossing.
- Never use incandescent bulbs in LED strands. They draw more current and can overload the circuit. Always match the bulb type.
- Don’t overload outlets. The average LED strand draws 10–50 watts. But if you plug in 10 strands on one outlet, you risk tripping the breaker or overheating. Use a power strip with overload protection.
- Avoid cheap replacement bulbs. Off-brand bulbs may not have the same voltage or current rating. Stick to the manufacturer’s specs or trusted brands like GE, Philips, or Sylvania.
- Don’t ignore the control box. For color-changing or animated lights, the control unit is often the weakest link. If the lights flicker or won’t change modes, test the output voltage with a multimeter.
- Don’t repair in the rain or snow. Always work indoors or under cover. Water and electricity don’t mix—even with low-voltage LEDs.
Real-Life Scenario: Mike tried to fix his lights in the garage during a snowstorm. He didn’t notice a small tear in his glove. When he touched a live wire, he got a mild shock. Always wear rubber-soled shoes and dry gloves when working on electrical repairs.
Another common mistake? Jumping to conclusions. Just because one section is dark doesn’t mean the whole strand is broken. Test each part methodically. You might only need to replace one bulb or clean one socket.
Finally, don’t forget to check the timer or remote. A dead battery in the remote can make it seem like the lights are broken. Replace batteries first—it’s the easiest fix of all.
FAQs About How to Fix LED Christmas String Lights Quick and Easy Solutions
Q: Why do LED Christmas lights burn out so fast?
A: LEDs are long-lasting (up to 25,000 hours), but they can fail early due to poor quality, overheating, or voltage spikes. Using lights in wet conditions, overloading circuits, or storing them in damp areas can shorten their life. Stick to indoor/outdoor-rated LEDs and avoid daisy-chaining more than 3–5 strands.
Q: Can I use a regular light bulb to test an LED socket?
A: No. Incandescent bulbs draw more current and can damage the LED driver. Always use an LED bulb or a multimeter to test sockets. If you must, use a low-wattage incandescent (25W max), but it’s not recommended.
Q: My lights flicker on and off. What’s wrong?
A: Flickering often points to loose connections, a failing driver, or a bad bulb. Start by checking the plug and fuse. Then test each bulb and socket. If the flicker happens only in one section, focus there. For animated lights, the control board might be overheating.
Q: Can I cut and splice LED light strands?
A: Yes, but only if the strand is designed for it (look for “cut-to-length” or “modular” in the manual). Never cut a standard strand in the middle—it can damage the circuit. Use proper wire nuts or heat-shrink connectors, and insulate thoroughly.
Q: Why do some LED strands have “shunt” bulbs?
A: Shunt bulbs have a small bypass wire that allows current to flow around the LED if it fails. This means one dead bulb won’t kill the whole string. Not all LEDs have this, so check your manual. If your strand dies with one bad bulb, it likely lacks shunt technology.
Q: How many LED strands can I safely plug together?
A: Most manufacturers recommend no more than 3–5 standard LED strands in series. Check the packaging for the “max connectable” number. Exceeding this can overload the circuit and cause flickering or failure. Use a power strip with a built-in circuit breaker for safety.
Q: My remote-controlled lights won’t respond. What should I do?
A: First, replace the remote’s battery. Then unplug the lights for 30 seconds to reset the receiver. Make sure there’s no interference (like a Wi-Fi router or microwave) nearby. If it still doesn’t work, the receiver or control board may be faulty—test with a multimeter or contact the manufacturer.
Final Thoughts
You don’t need to be an electrician to master how to fix LED Christmas string lights quick and easy solutions. With a few tools, some patience, and this step-by-step guide, you can bring your holiday lights back to life—no matter the issue.
Remember: start simple (fuses, bulbs, sockets), then move to complex (wiring, drivers). Test as you go, and never skip safety steps. A little effort now saves you from buying new lights every year.
And don’t forget—how you store your lights matters. A tangle-free, dry storage system prevents 80% of future problems. Treat your lights right, and they’ll shine bright for many Christmases to come.
So next time your display goes dark, don’t panic. Grab your tools, follow these steps, and get ready to dazzle. The how to fix LED Christmas string lights quick and easy solutions are in your hands. Happy decorating!

