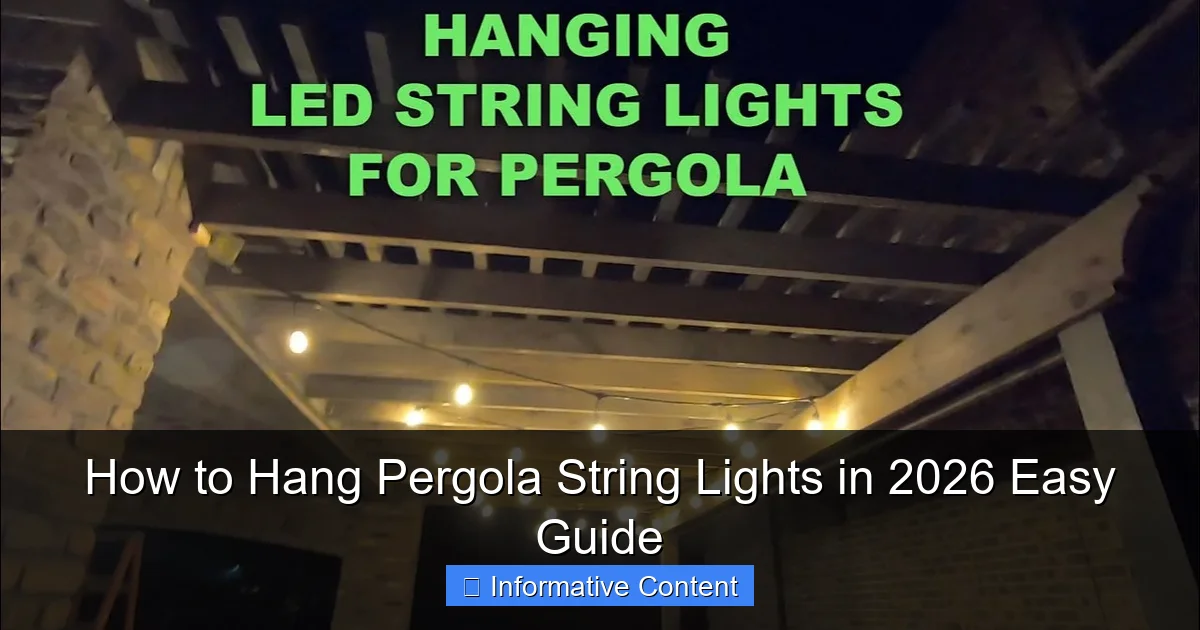
Featured image for how to hang pergola string lights
Image source: i.ytimg.com
Transform your pergola into a magical nighttime retreat by securely mounting string lights using weather-resistant hooks or cable ties for a clean, lasting look. Plan your layout to ensure even spacing and connect lights to a GFCI outlet for safety, avoiding overloaded circuits. With the right tools and a simple plug-and-play design, you can achieve professional results in under an hour—no electrician needed.
Key Takeaways
- Plan your layout first: Sketch light placement to avoid gaps and ensure even coverage.
- Use durable hardware: Install weather-resistant hooks or cables to support long-term use.
- Measure twice, hang once: Confirm spacing and length before installing for a balanced look.
- Prioritize safety: Turn off power and use a stable ladder when working overhead.
- Test before finalizing: Check lights work properly before securing them permanently.
- Weatherproof connections: Use outdoor-rated extensions and seal cords to prevent damage.
- Keep it neat: Conceal wires with clips or sleeves for a clean, professional finish.
📑 Table of Contents
How to Hang Pergola String Lights in 2026: Easy Guide
Imagine this: It’s a warm summer evening, the sun has just dipped below the horizon, and your backyard is softly illuminated by the gentle glow of pergola string lights. You’re sipping your favorite drink, laughing with friends or enjoying a quiet moment with a book. There’s something magical about that warm, twinkling ambiance that transforms an ordinary outdoor space into a cozy retreat. But if you’ve ever tried hanging pergola string lights, you know it’s not always as simple as it looks. One wrong move, and you could end up with tangled wires, drooping lights, or a setup that barely lasts through the season.
That’s where this guide comes in. Whether you’re a first-time pergola decorator or you’re upgrading your current setup, I’ve walked this path—sometimes literally, with a ladder and a handful of zip ties. Over the years, I’ve learned what works, what doesn’t, and how to make the process easier, safer, and more beautiful. In this 2026 easy guide, we’ll walk through everything you need to know to hang pergola string lights like a pro. From choosing the right lights to avoiding common mistakes, you’ll walk away with a plan that’s both practical and picture-perfect. No fluff, no sales pitch—just real, tested advice to help you create the outdoor oasis you’ve always wanted.
Choosing the Right String Lights for Your Pergola
Before you start hammering hooks or tying knots, the first step is choosing the right pergola string lights for your space. Not all lights are created equal, and picking the wrong ones can lead to frustration, poor lighting, or even safety hazards. Let’s break it down.
Types of String Lights
There are three main types of string lights you’ll encounter:
- Incandescent bulbs: These are the classic, warm-toned lights that many of us grew up with. They emit a soft, nostalgic glow and are generally less expensive. However, they use more energy, get hot, and don’t last as long—typically 1,000 to 3,000 hours. Great for occasional use, but not ideal for year-round pergola setups.
- LED string lights: These are the modern go-to. LEDs are energy-efficient, last up to 25,000 hours, and run cool to the touch. They come in warm white, cool white, and even color-changing options. Many are dimmable and compatible with smart home systems. For 2026, look for weatherproof, shatterproof LED strings with IP65 or higher ratings.
- Solar-powered lights: These are ideal if your pergola gets plenty of sun during the day. They charge via a small solar panel and turn on automatically at dusk. No wiring needed! The downside? They may not be as bright on cloudy days, and the battery life can degrade over time. Best for accent lighting, not primary illumination.
Pro tip: I once bought a beautiful set of incandescent lights for my pergola. After three months, half the bulbs burned out, and the heat from them actually warped the wooden beams slightly. Lesson learned: go with LEDs for durability and safety.
Key Features to Look For
When shopping, keep these features in mind:
- Weather resistance: Look for “wet-rated” or “damp-rated” labels. Wet-rated means they can handle rain and snow—essential for pergolas.
- Bulb spacing: Closer spacing (every 3–6 inches) gives a fuller, more even glow. Wider spacing (8–12 inches) works well for a minimalist look or if you’re using larger bulbs like Edison-style.
- Length and plug-in vs. battery/solar: Measure your pergola’s perimeter and add 10–15% extra for draping or slack. If using plug-in lights, make sure there’s an outdoor-rated outlet nearby or plan to run an extension cord safely.
- Connectivity: Some strings can be connected end-to-end. This is great for long runs, but check the max number of connectable strings (often 3–5) to avoid overloading.
For example, I used a 50-foot strand of warm white LED lights with 4-inch spacing on my 12×12 ft pergola. I connected two strands, and the effect was stunning—like a canopy of stars. But I made sure the total wattage was under the manufacturer’s recommended limit to avoid fire risk.
Planning Your Layout and Design
Now that you’ve got your lights, it’s time to plan how they’ll look. A little planning goes a long way in avoiding a messy, uneven installation. Think of this as your lighting “blueprint.”
Measure and Map Your Space
Grab a tape measure and note:
- The total perimeter of your pergola (all four sides)
- Any open ends or gaps (e.g., where the pergola meets a wall)
- The height of the beams (so you know how far to reach)
- Where the power source is located (if using plug-in lights)
Sketch a simple diagram. Mark where you want the lights to start and end, and where you’ll need to cross between beams. This helps you visualize the flow and avoid awkward gaps.
Choose a Hanging Style
There are several popular ways to hang pergola string lights, each with its own vibe:
- Straight across: The simplest method. Run the lights horizontally along the top beams. Best for a clean, modern look. Use clips or hooks to keep them straight.
- Crisscross (X-pattern): Create an “X” by running lights diagonally from corner to corner. This adds depth and drama. Works well on larger pergolas. Be careful not to tangle!
- Hanging canopy: Drape the lights vertically from the top beams to create a tent-like effect. Use pulleys or adjustable hooks for even tension. This style is great for intimate gatherings.
- Zigzag pattern: Alternate short and long runs across the pergola. It’s playful and dynamic, perfect for a festive feel.
- Double or triple layer: Combine two or more patterns (e.g., straight across + crisscross) for a more complex, layered look.
I tried the crisscross style first, but my pergola had uneven beam heights, so the lights sagged in the middle. I switched to a zigzag pattern with shorter runs, and it looked much more balanced. The key? Test your design with painter’s tape or string before committing to permanent hardware.
Account for Power and Access
If using plug-in lights, plan your route to the outlet. Avoid running cords across walkways (trip hazard!). Use outdoor-rated extension cords with built-in surge protection. For a cleaner look, consider installing an outdoor GFCI outlet near your pergola—this is a one-time investment that pays off in convenience and safety.
For solar lights, position the panel where it gets at least 6 hours of direct sun daily. I once mounted my solar panel on the north side of the house—big mistake. It barely charged and the lights flickered all night.
Tools, Materials, and Safety Prep
You don’t need a full workshop to hang pergola string lights, but having the right tools makes the job faster and safer. Let’s go over what you’ll need.
Essential Tools and Materials
- Ladder: A sturdy, non-slip ladder is a must. For two-story pergolas, use a tall extension ladder with stabilizers.
- Measuring tape and chalk: For marking beam positions.
- Outdoor-rated mounting hardware: Options include:
- Plastic or stainless steel clip-on hooks (won’t damage wood)
- Zip ties (use UV-resistant ones for longevity)
- S-hooks (great for metal pergolas)
- Adhesive clips (for smooth surfaces, but avoid in extreme heat)
- Drill and screws (optional): Only if you’re installing permanent hooks. Use stainless steel or coated screws to prevent rust.
- Extension cords (if needed): Choose outdoor-rated, heavy-duty cords with a minimum 14-gauge wire.
- Timer or smart plug: Automate your lights to turn on at sunset and off at bedtime. Saves energy and adds convenience.
- Gloves and safety glasses: Protect your hands and eyes, especially if working at height.
Safety First
Outdoor electrical work isn’t something to take lightly. Follow these safety tips:
- Turn off power: If you’re near an outlet, switch it off at the breaker before handling cords.
- Check for weather: Never install lights in rain, wind, or extreme heat. Wait for dry, calm conditions.
- Secure your ladder: Place it on level ground. Have someone spot you if possible.
- Use GFCI outlets: These cut power if they detect a ground fault—critical for outdoor use.
- Inspect lights: Before hanging, check for frayed wires, broken bulbs, or loose connections. Discard any damaged lights.
I once rushed to hang lights before a party and skipped the ladder stabilizers. The ladder wobbled, and I dropped a whole strand—lights, hooks, and all. Not only did I waste time cleaning up, but one bulb shattered, and I nearly fell. Now I always take 10 minutes to set up safely. It’s worth it.
Step-by-Step Installation Process
Now for the fun part: putting it all together. Follow these steps for a smooth, professional-looking installation.
Step 1: Prepare the Pergola
Clean the beams with a damp cloth to remove dust or cobwebs. This helps clips and hooks stick better. If you’re using adhesive clips, wipe the surface with rubbing alcohol first.
Step 2: Install Mounting Hardware
Start at one corner and work your way around. For each mounting point:
- Mark spots every 12–18 inches (closer for heavier lights).
- Attach clips, hooks, or zip ties. For zip ties, thread them through the light’s mounting loop or bulb socket, then tighten around the beam. Trim excess with scissors.
- For crisscross or zigzag patterns, mark diagonal points first, then install hardware.
Tip: Use a helper to hold the ladder or pass you tools. It’s much easier (and safer) than climbing up and down constantly.
Step 3: Hang the Lights
Now, unroll your lights and start hanging them:
- Begin at the power source (plug-in) or highest point (solar). This prevents tangles.
- Hook or clip each bulb or mounting point as you go. Don’t stretch the cord—let it hang naturally with a slight drape.
- For crisscross patterns, use a second set of clips on the opposite beam to secure the diagonal runs.
- If using multiple strands, connect them at the end and secure the connection point with an extra clip or zip tie.
I like to hang one side first, then the other, to keep the tension even. This prevents sagging or pulling.
Step 4: Secure Power and Test
Once the lights are up:
- Plug in the first strand and test. Look for dark spots, flickering, or dim bulbs.
- Connect additional strands if needed, but don’t exceed the max number allowed.
- Route the power cord along the beam and secure it with zip ties or clips. Keep it hidden but accessible.
- Plug into a GFCI outlet. If using an extension cord, tuck it out of the way or use a cord cover.
Turn on the lights at dusk to see how they look. Adjust any drooping sections or uneven spacing.
Step 5: Add Finishing Touches
- Trim excess zip ties for a clean look.
- Hide cords behind plants, furniture, or decorative boxes.
- Add a timer or smart plug so your lights turn on automatically.
- For solar lights, angle the panel toward the sun and clean it monthly.
Maintenance, Troubleshooting, and Longevity
Hanging your pergola string lights is just the beginning. To keep them shining bright for years, a little maintenance goes a long way.
Seasonal Care
- Spring: Inspect for damage from winter weather. Replace broken bulbs or frayed cords. Clean the pergola and re-secure any loose clips.
- Summer: Wipe down lights monthly to remove dust and pollen. Check for overheating (especially incandescent). Trim nearby plants that could block solar panels.
- Fall: Before winter, unplug and store lights if your area gets heavy snow or ice. If leaving them up, ensure all connections are waterproof and cords are protected.
- Winter: For year-round use, use only weatherproof lights. Clear snow gently with a soft broom. Never use salt or ice melt near electrical cords.
Common Issues and Fixes
| Issue | Cause | Solution |
|---|---|---|
| Flickering lights | Loose bulb, faulty connection, or overloaded circuit | Replace bulb, check connections, or reduce number of connected strands |
| Sagging lights | Too much slack, weak clips, or heavy bulbs | Shorten runs, use stronger hardware, or add support clips |
| Solar lights not charging | Panel shaded, dirty, or faulty battery | Clean panel, reposition for more sun, or replace battery |
| Cords exposed or tripping hazard | Improper routing | Use cord covers, tuck behind furniture, or install an outdoor outlet |
Extending Lifespan
- Use surge protectors to guard against power spikes.
- Store lights in a dry, temperature-controlled space when not in use.
- Replace bulbs or entire strands every 3–5 years, even if they still work. LEDs degrade over time, becoming dimmer.
- Label cords and connections so you know which is which during seasonal changes.
I once ignored a flickering strand for months, assuming it was a bad bulb. Turns out, the connection point was corroded from moisture. A quick fix with a waterproof connector saved the whole set. Now I check all connections twice a year.
Creative Ideas and Final Tips
Now that your pergola is lit, why stop there? Here are some creative ways to elevate your space—and avoid common pitfalls.
Creative Lighting Ideas
- Layer with lanterns: Hang small paper or metal lanterns at varying heights for depth.
- Add colored filters: Use removable gels on white LEDs for themed events (e.g., red for holidays, blue for summer nights).
- Integrate with other lights: Combine string lights with pathway lights, spotlights, or fire pits for a layered ambiance.
- Use dimmers: Adjust brightness for different moods—soft for dinner, bright for parties.
- Go smart: Use Wi-Fi or voice-controlled lights (e.g., Alexa or Google Assistant) to change colors or set scenes.
Final Tips for Success
- Start simple: Don’t overcomplicate your first installation. A clean, straight run often looks better than a chaotic design.
- Test before committing: Hang a single strand first to see how it looks at night.
- Think long-term: Invest in quality lights and hardware. Cheap clips break; good ones last for years.
- Enjoy the process: This is about creating a space you love. Take photos, invite friends, and celebrate your handiwork.
I’ll never forget the first time I turned on my pergola lights. My kids ran outside, laughing, and said it looked like a “magic castle.” That’s the power of good lighting. It’s not just about brightness—it’s about warmth, joy, and making memories.
So grab your tools, pick your favorite lights, and get started. With this guide, you’re not just hanging pergola string lights—you’re creating a sanctuary. And that’s worth every zip tie and ladder rung.
Frequently Asked Questions
How do I hang pergola string lights without damaging the structure?
Use removable hooks, zip ties, or adhesive clips designed for outdoor use to avoid drilling into your pergola. These methods securely hold pergola string lights while protecting the wood or metal finish.
What’s the best way to plan the layout for pergola string lights?
Measure your pergola’s perimeter and sketch a layout, spacing lights evenly (6–12 inches apart) for balanced illumination. Consider zigzag or crisscross patterns to maximize coverage and visual appeal.
Can I install pergola string lights in 2026 without hiring an electrician?
Yes! Most pergola string lights are plug-and-play or solar-powered, requiring no hardwiring. Just ensure outdoor-rated extension cords and GFCI outlets are used for safety.
How do I keep string lights from sagging between pergola beams?
Use tension wire or cable kits to create a taut base for the lights. Alternatively, install small eye hooks at regular intervals to support the strands and prevent drooping.
Are there weatherproof options for pergola string lights?
Absolutely! Look for lights with an IP65 or higher waterproof rating and UV-resistant materials. These are designed to withstand rain, wind, and sun exposure in 2026 and beyond.
What tools do I need to hang pergola string lights easily?
Basic tools include a ladder, measuring tape, outdoor-rated hooks or clips, and zip ties. For larger setups, a staple gun (for temporary installations) or cable tensioners may help.

