Featured image for how to put indoor string lights on kitchen wall
Image source: i.ytimg.com
Transform your kitchen into a warm, inviting space by mounting indoor string lights along the wall using discreet adhesive hooks or clips—no drilling required. Choose a layout that highlights architectural features or frames open shelving for maximum cozy impact, and always opt for battery-powered or low-voltage lights for safe, flexible installation. With the right placement and soft glow, you’ll elevate everyday moments into something magical.
Key Takeaways
- Plan your layout first: Sketch light placement to ensure even coverage and avoid overhangs.
- Use adhesive hooks: Secure lights with damage-free hooks for easy, renter-friendly installation.
- Hide cords creatively: Tuck wires behind shelves or molding for a clean, seamless look.
- Opt for warm white lights: Choose bulbs with 2700K-3000K for a cozy, inviting glow.
- Layer with other lighting: Combine string lights with under-cabinet lights for balanced ambiance.
- Test lights before installing: Check functionality to avoid rework after mounting.
📑 Table of Contents
- Why String Lights Transform Your Kitchen into a Cozy Retreat
- Choosing the Right String Lights for Your Kitchen
- Planning Your Layout for Maximum Impact
- Step-by-Step Installation Guide
- Creative Placement Ideas to Elevate Your Kitchen
- Maintaining Safety and Longevity
- Data Table: Comparing String Light Options
- Conclusion: Light Up Your Kitchen with Confidence
Why String Lights Transform Your Kitchen into a Cozy Retreat
Imagine walking into your kitchen after a long day and being greeted not just by the aroma of your favorite meal, but by a soft, warm glow that wraps around the space like a hug. This is the magic of indoor string lights—a simple yet transformative addition that can turn an ordinary kitchen into a haven of comfort and style. Whether you’re hosting a dinner party or enjoying a quiet cup of coffee, the gentle shimmer of string lights adds an undeniable charm. They’re not just for holidays; with the right placement, they can become a permanent fixture in your home, elevating your kitchen’s ambiance year-round.
But how do you achieve this cozy effect without turning your kitchen into a tangled mess of wires or a fire hazard? The key lies in thoughtful planning, the right tools, and a few clever tricks. From choosing the perfect lights to securing them safely on your walls, this guide will walk you through every step to create a kitchen that feels both inviting and stylish. Whether you have a minimalist modern space or a rustic farmhouse kitchen, string lights can adapt to your aesthetic while adding a touch of warmth and personality. Let’s dive into the art and science of installing indoor string lights on your kitchen wall.
Choosing the Right String Lights for Your Kitchen
Types of String Lights: Warm vs. Cool, LED vs. Incandescent
Before you start drilling holes or taping wires, it’s crucial to select the right type of string lights for your kitchen. The two main categories to consider are LED and incandescent, each with distinct advantages. LED lights are energy-efficient, long-lasting, and emit less heat, making them ideal for kitchens where safety and efficiency are priorities. They’re also available in a wide range of colors, including warm white (2700K–3000K), which mimics the cozy glow of candlelight, or cool white (4000K–5000K), which offers a brighter, more modern look. Incandescent lights, while less energy-efficient, provide a classic, nostalgic glow—perfect for vintage or rustic kitchens.
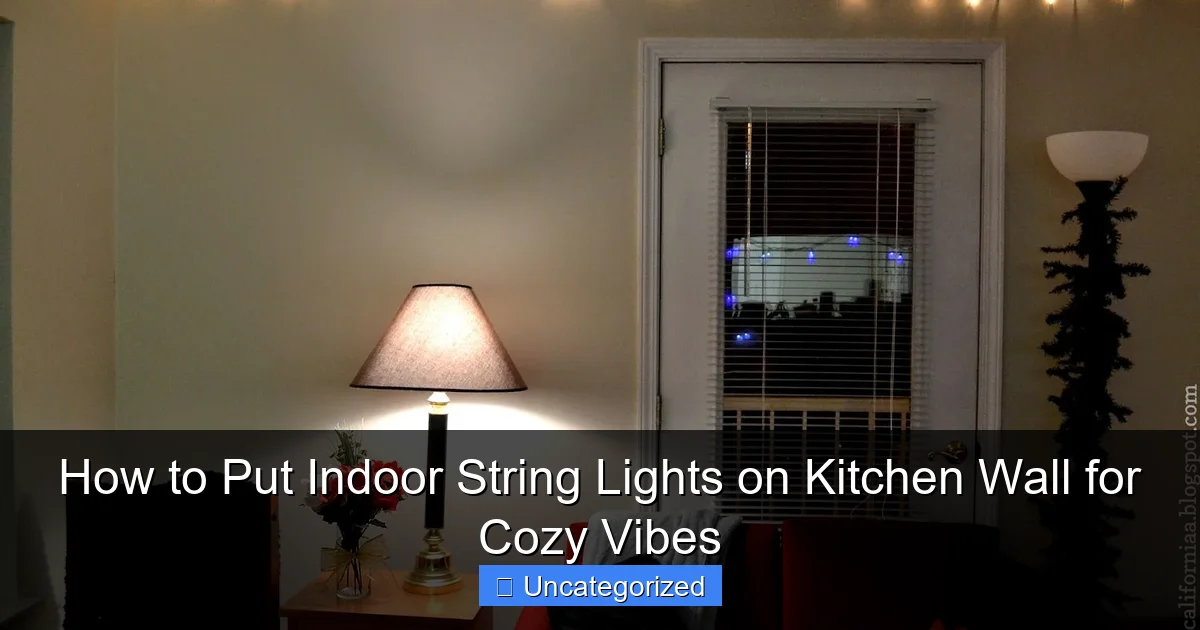
Visual guide about how to put indoor string lights on kitchen wall
Image source: cdn.decoist.com
When it comes to color temperature, warm white is the go-to for creating a cozy vibe. It pairs beautifully with wooden cabinets, exposed brick, or neutral tones, enhancing the warmth of your kitchen. For a bolder statement, consider multicolor lights (great for playful or eclectic spaces) or color-changing LEDs that let you switch between hues for different moods. For example, a warm white glow during dinner and a soft blue for a late-night snack can transform the same space.
Length, Brightness, and Style: Matching Lights to Your Kitchen
Measure your kitchen wall space to determine the ideal length of string lights. A common rule of thumb is to leave 6–12 inches of extra length at each end for flexibility in placement. For brightness, opt for lights with 8–10 watts per foot for a soft glow or 15–20 watts per foot for a more pronounced effect (ideal over dining areas or islands). Consider the style, too: fairy lights (tiny bulbs spaced closely) create a delicate, twinkling effect, while globe lights (larger, round bulbs) offer a bolder, more modern look.
Pro tip: Test your lights before installation. Plug them in and drape them over a ladder or chair to visualize how they’ll look on your wall. If they’re too bright, try diffusing the light with sheer curtains or placing them behind a translucent valance. For a kitchen with high ceilings, consider curtain lights (lights strung vertically) to draw the eye upward and create a sense of height.
Planning Your Layout for Maximum Impact
Mapping Out the Design: Patterns, Focal Points, and Zones
String lights aren’t just for draping—they’re a design tool. Start by sketching a rough layout of your kitchen wall, noting architectural features like windows, cabinets, or backsplashes. Decide whether you want a focal point (e.g., above a stove or sink) or a continuous pattern (like a zigzag or wave) that ties the room together. For example:
- Above the sink or island: Hang lights in a straight line to highlight a functional area.
- Along the ceiling line: Create a “halo” effect by stringing lights around the perimeter of the room.
- Behind open shelves: Add depth and dimension by placing lights behind glass-front cabinets.
Consider zoning your kitchen into activity areas. A cluster of lights over the dining nook can make it feel separate from the cooking zone, while a subtle line along the backsplash adds ambiance without overwhelming the space.
Tools and Materials: What You’ll Need
Before you begin, gather these essentials to ensure a smooth installation:
- Measuring tape (for precise spacing)
- Level (to keep lines straight)
- Pencil (for marking drill points)
- Stud finder (for heavy fixtures)
- Adhesive hooks, nails, or clips (depending on your wall type)
- Extension cord or power strip (if outlets are far away)
- Wire clips or cable ties (to manage excess cords)
For renters or those avoiding wall damage, use removable adhesive hooks (rated for at least 2 lbs per hook) or magnetic strips (for metal surfaces). Always check your lights’ weight—most indoor string lights weigh less than 1 lb per 10 feet, but heavy globe lights may require additional support.
Step-by-Step Installation Guide
Preparing Your Wall and Lights
Start by cleaning your wall with a damp cloth to remove dust and grease, which can weaken adhesive hooks. Lay your string lights on the floor and untangle any knots. Plug them in to test functionality—replace any dead bulbs before installation. For LED lights, check if they’re compatible with dimmers (a great way to control ambiance). If your lights have a plug, plan where the cord will run to avoid tripping hazards. Use a cord cover (like a plastic raceway) to hide wires along baseboards or cabinets.
Securing the Lights: Techniques for Every Wall Type
The method you choose depends on your wall material:
- Drywall: Use adhesive hooks (for lightweight lights) or drywall anchors (for heavier fixtures). Mark hook positions with a pencil, then press firmly or drill anchors. Space hooks every 12–18 inches.
- Tile or backsplash: Avoid drilling by using removable adhesive clips (like Command™ Outdoor Light Clips) or magnetic hooks (if your tiles are metal-backed). For a permanent solution, use a glass/tile drill bit to create pilot holes.
- Wood or cabinets: Screw in cup hooks or eye screws for a rustic, secure hold. Sand edges to prevent splinters.
For a seamless look, hide the first and last hooks behind appliances or decor. If you’re creating a zigzag pattern, use a level to ensure each “peak” is aligned. For example, if you’re hanging lights above a backsplash, start 3–4 inches above the countertop to avoid water splashes.
Managing Cords and Power Sources
Nothing ruins a cozy vibe like a messy cord. Here’s how to keep things tidy:
- Use cord clips: Adhere them to the wall or cabinet edges to guide cords vertically or horizontally.
- Hide behind decor: Route cords behind a plant, picture frame, or utensil holder.
- Use a power strip: Place it inside a cabinet or under the sink, then run the cord through a small hole (seal with silicone to prevent moisture).
For kitchens with limited outlets, consider battery-operated lights (ideal for small sections) or a remote-controlled outlet extender to turn lights on/off without plugging/unplugging.
Creative Placement Ideas to Elevate Your Kitchen
Highlighting Architectural Features
Use string lights to accentuate your kitchen’s unique elements:
- Open shelves: Drape lights along the back edge for a “floating” effect.
- Range hood: Wrap lights around the base or hang them in a vertical cascade.
- Window trim: Frame windows with lights to mimic a café vibe.
For a modern twist, install LED strip lights under cabinets or along toe kicks. These provide task lighting while adding a subtle glow.
Creating a Dining Nook or Breakfast Bar
Transform a corner into a cozy dining spot by hanging string lights in a geometric shape (like a hexagon or diamond) above the table. Use a ceiling hook to anchor the center point, then secure the edges to wall hooks. For a boho look, layer lights with macramé plant hangers or woven baskets.
Adding Seasonal Flair
Swap out light colors or add themed decorations for holidays. For Christmas, pair warm white lights with mini ornaments. In summer, use solar-powered lights on a balcony-connected kitchen window. For a permanent touch, install a dimmable switch to adjust brightness for different seasons.
Maintaining Safety and Longevity
Electrical Safety and Fire Prevention
Safety is non-negotiable. Follow these guidelines:
- Check for certifications: Only use lights with UL, ETL, or CSA marks.
- Don’t overload circuits: Plug lights into a GFCI outlet (common in kitchens) to prevent shocks.
- Inspect cords: Replace frayed or damaged wires immediately.
- Keep away from water: Avoid placing lights near sinks or dishwashers unless they’re rated for damp locations (look for “IP44” or higher).
Never leave lights on overnight or unattended. Use a timer to automate on/off times.
Cleaning and Storage Tips
To maintain brightness, wipe bulbs with a microfiber cloth every 3–6 months. For LED lights, avoid harsh chemicals—use a mild soap and water mix. When removing lights, store them in a cardboard tube or reusable bag to prevent tangling. Label cords with masking tape to remember which plug goes where.
Data Table: Comparing String Light Options
| Type | Energy Use | Lifespan | Best For | Cost (per 10 ft) |
|---|---|---|---|---|
| LED Warm White | 5–10 watts | 25,000–50,000 hours | Cozy, modern kitchens | $15–$30 |
| LED Multicolor | 8–12 watts | 20,000–40,000 hours | Playful, eclectic spaces | $20–$40 |
| Incandescent | 20–40 watts | 2,000–3,000 hours | Vintage, rustic kitchens | $10–$20 |
| Fairy Lights | 2–5 watts | 15,000–25,000 hours | Delicate, whimsical designs | $12–$25 |
| Globe Lights | 10–15 watts | 20,000–30,000 hours | Bold, contemporary looks | $25–$50 |
Conclusion: Light Up Your Kitchen with Confidence
Indoor string lights are more than just decor—they’re a way to infuse your kitchen with warmth, personality, and a sense of home. By choosing the right lights, planning a thoughtful layout, and installing them safely, you can create a space that feels both functional and magical. Whether you opt for a minimalist line above your backsplash or a dramatic cascade over your dining nook, the glow of string lights has the power to transform ordinary moments into something extraordinary.
Remember, the best installations are those that reflect your lifestyle. Experiment with patterns, play with colors, and don’t be afraid to mix and match techniques. With the steps in this guide, you’re equipped to turn your kitchen into a cozy retreat that’s as practical as it is beautiful. So grab your lights, gather your tools, and let the glow begin—your dream kitchen is just a few hooks away.
Frequently Asked Questions
How do I attach indoor string lights to my kitchen wall without damaging paint?
Use damage-free adhesive hooks, painter’s tape, or removable mounting strips to secure the lights. These methods hold well and peel off cleanly, preserving your wall finish while creating cozy vibes. Always test adhesive strength first.
What’s the best way to hang kitchen string lights in a small space?
Opt for a grid pattern or zigzag layout to maximize light coverage without clutter. Use small nails or adhesive clips to guide the indoor string lights along cabinets, backsplashes, or open shelving.
Can I use indoor string lights on a textured kitchen wall?
Yes, but choose hooks with longer stems or use putty to help the adhesive conform to the texture. Ensure the mounting method supports the lights’ weight to prevent slipping.
How do I hide the cords when installing kitchen string lights?
Tuck cords behind cabinets, molding, or use cord covers that match your wall color. For a seamless look, run the wires along natural pathways like shelves or the edge of backsplashes.
Are battery-powered or plug-in string lights better for kitchen walls?
Battery-powered lights offer flexibility for placement without nearby outlets, while plug-in models provide consistent brightness. Choose based on outlet access and your preference for indoor string lights with minimal upkeep.
How can I make my kitchen string lights look professional and intentional?
Plan a layout first (like a frame around a window or along upper cabinets) and use matching hardware for symmetry. Secure lights tautly with even spacing, and layer with other lighting for balanced ambiance.

